# 2025 Iowa Keyboard Meetup Corn Macropad Assembly Guide
Thank you for attending the meetup! All the parts you need to build the kit are included but you will need a soldering iron, a rubber band and flush cutters
# Flash the MCU
It's important to flash the MCU before starting to make sure it works.
- Download the .uf2 file for the device from here 2025 Iowa Meetup Corn Macropad Firmware (opens new window).
- While holding the boot button, plug the MCU into the computer.
- Drag the .uf2 file into the new drive that shows up. Confirm the device shows up in VIAL after it disconnects and reconnects.
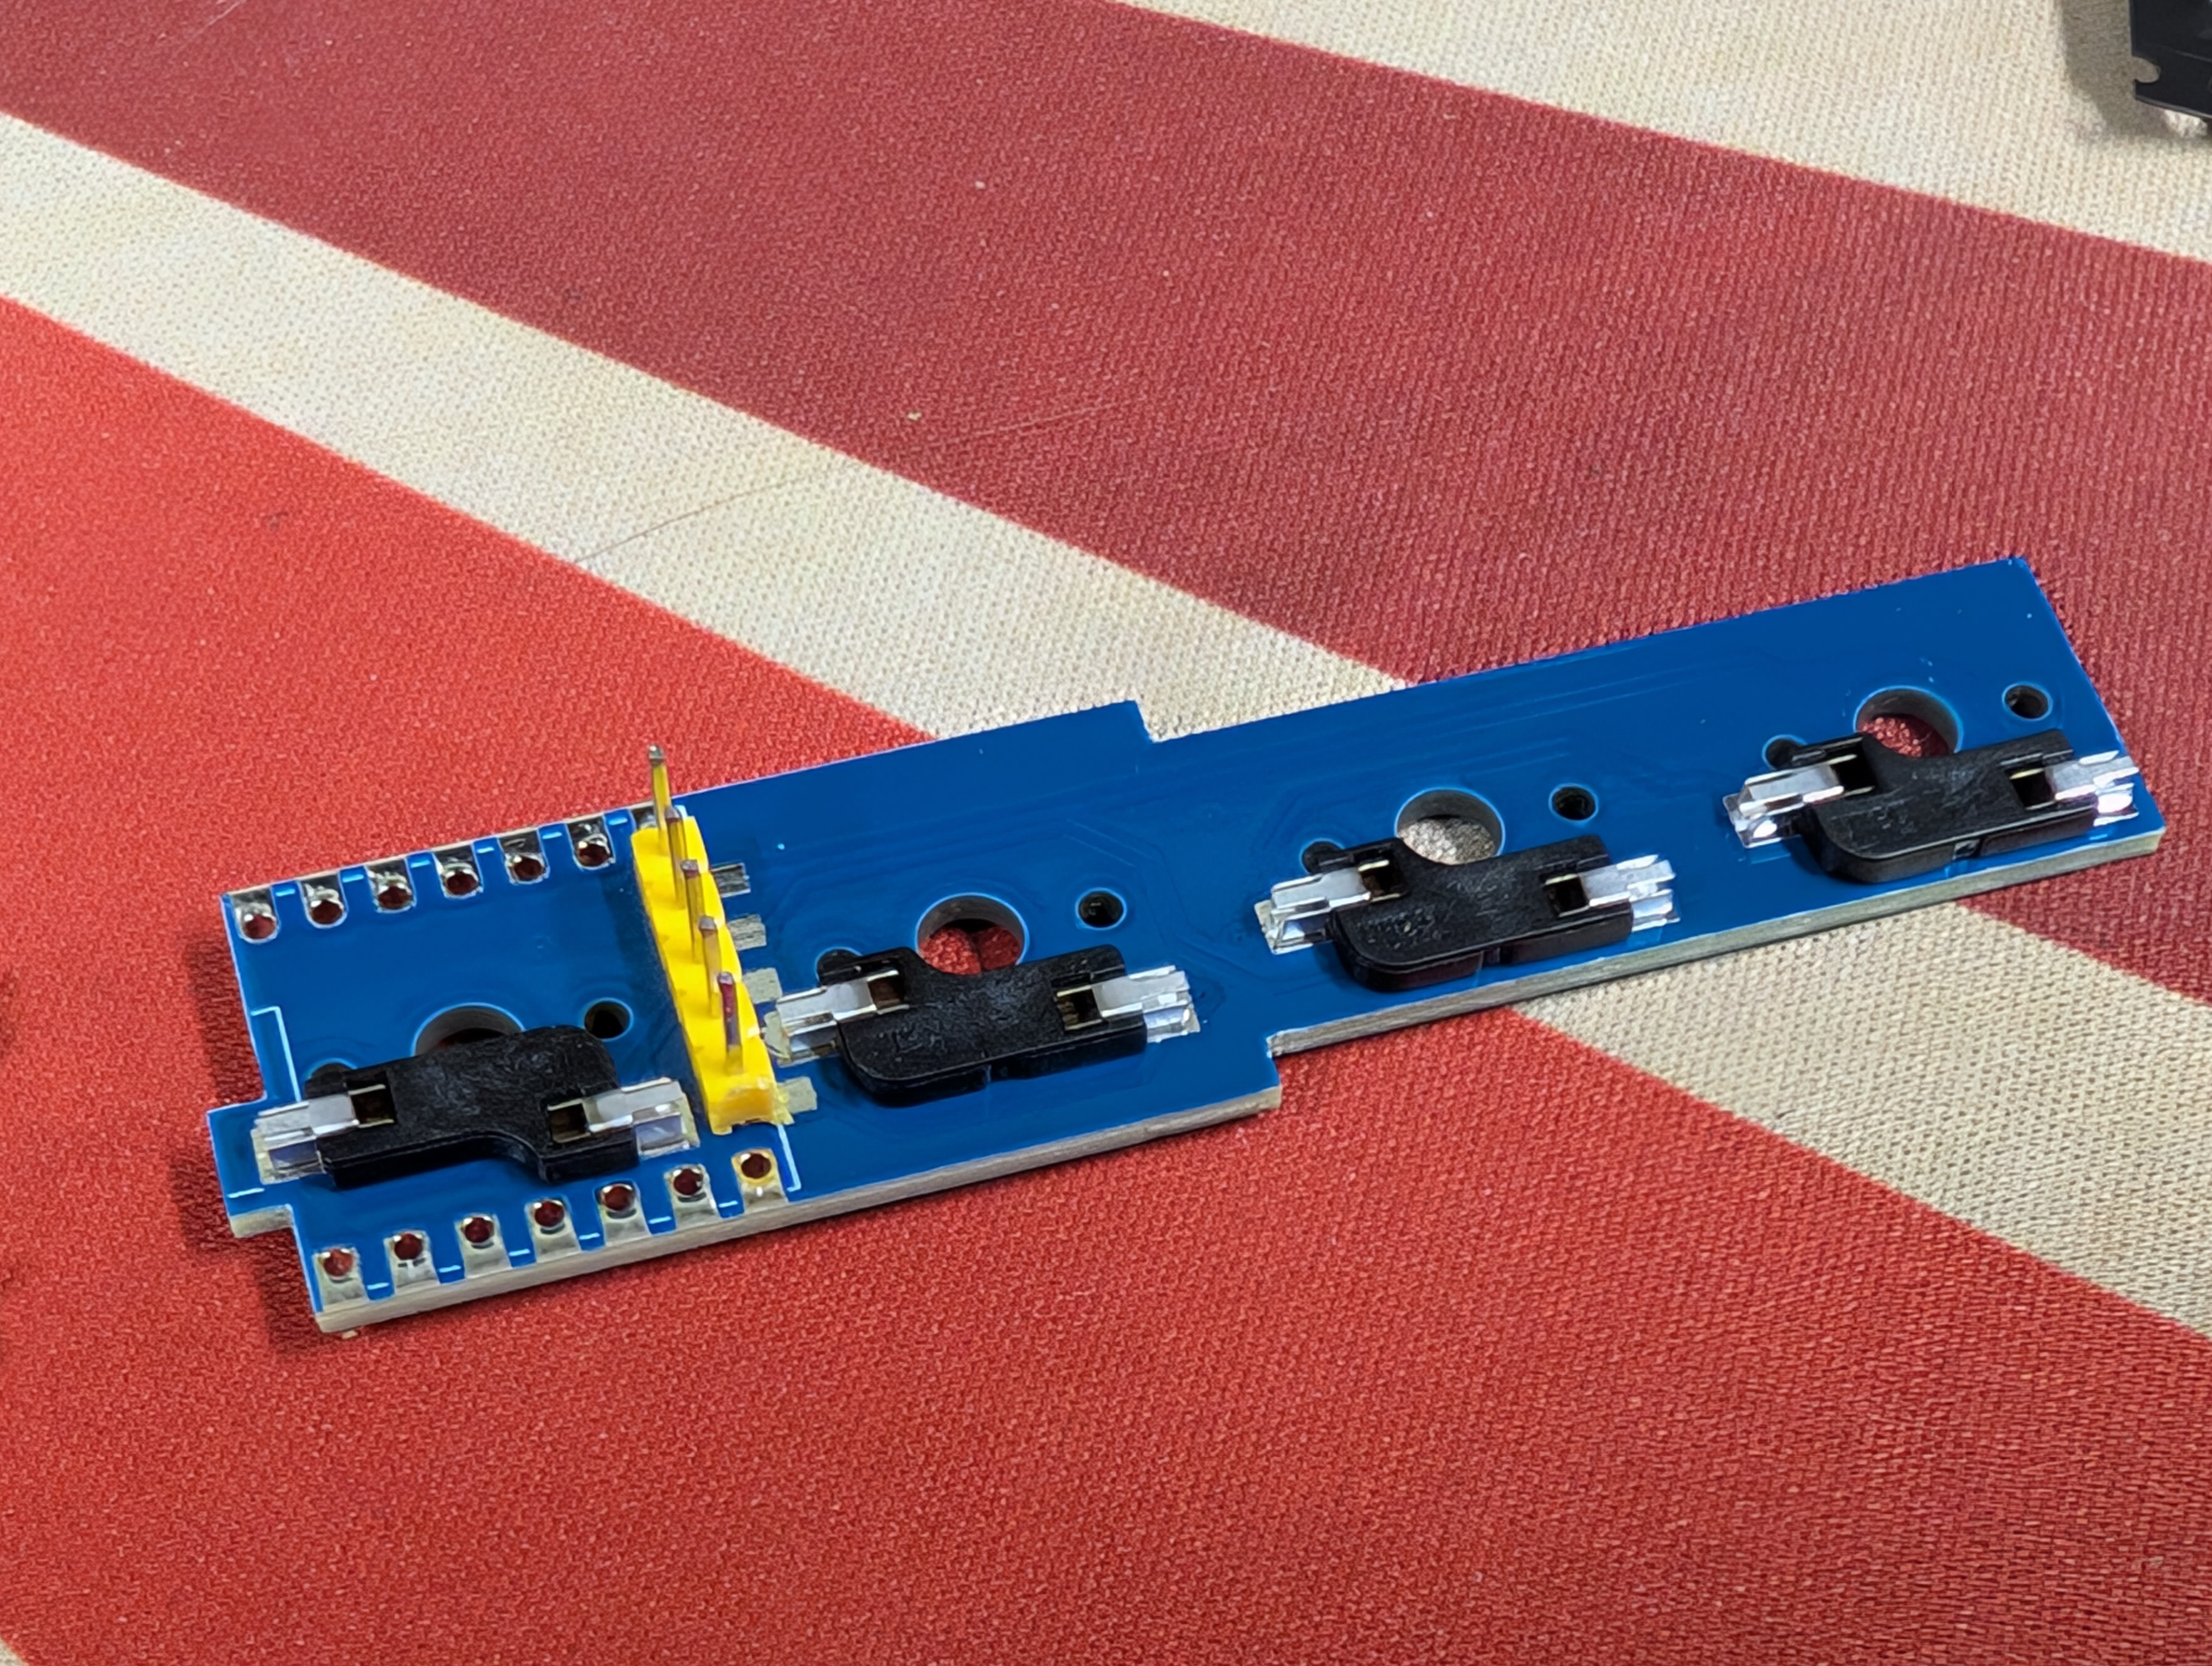
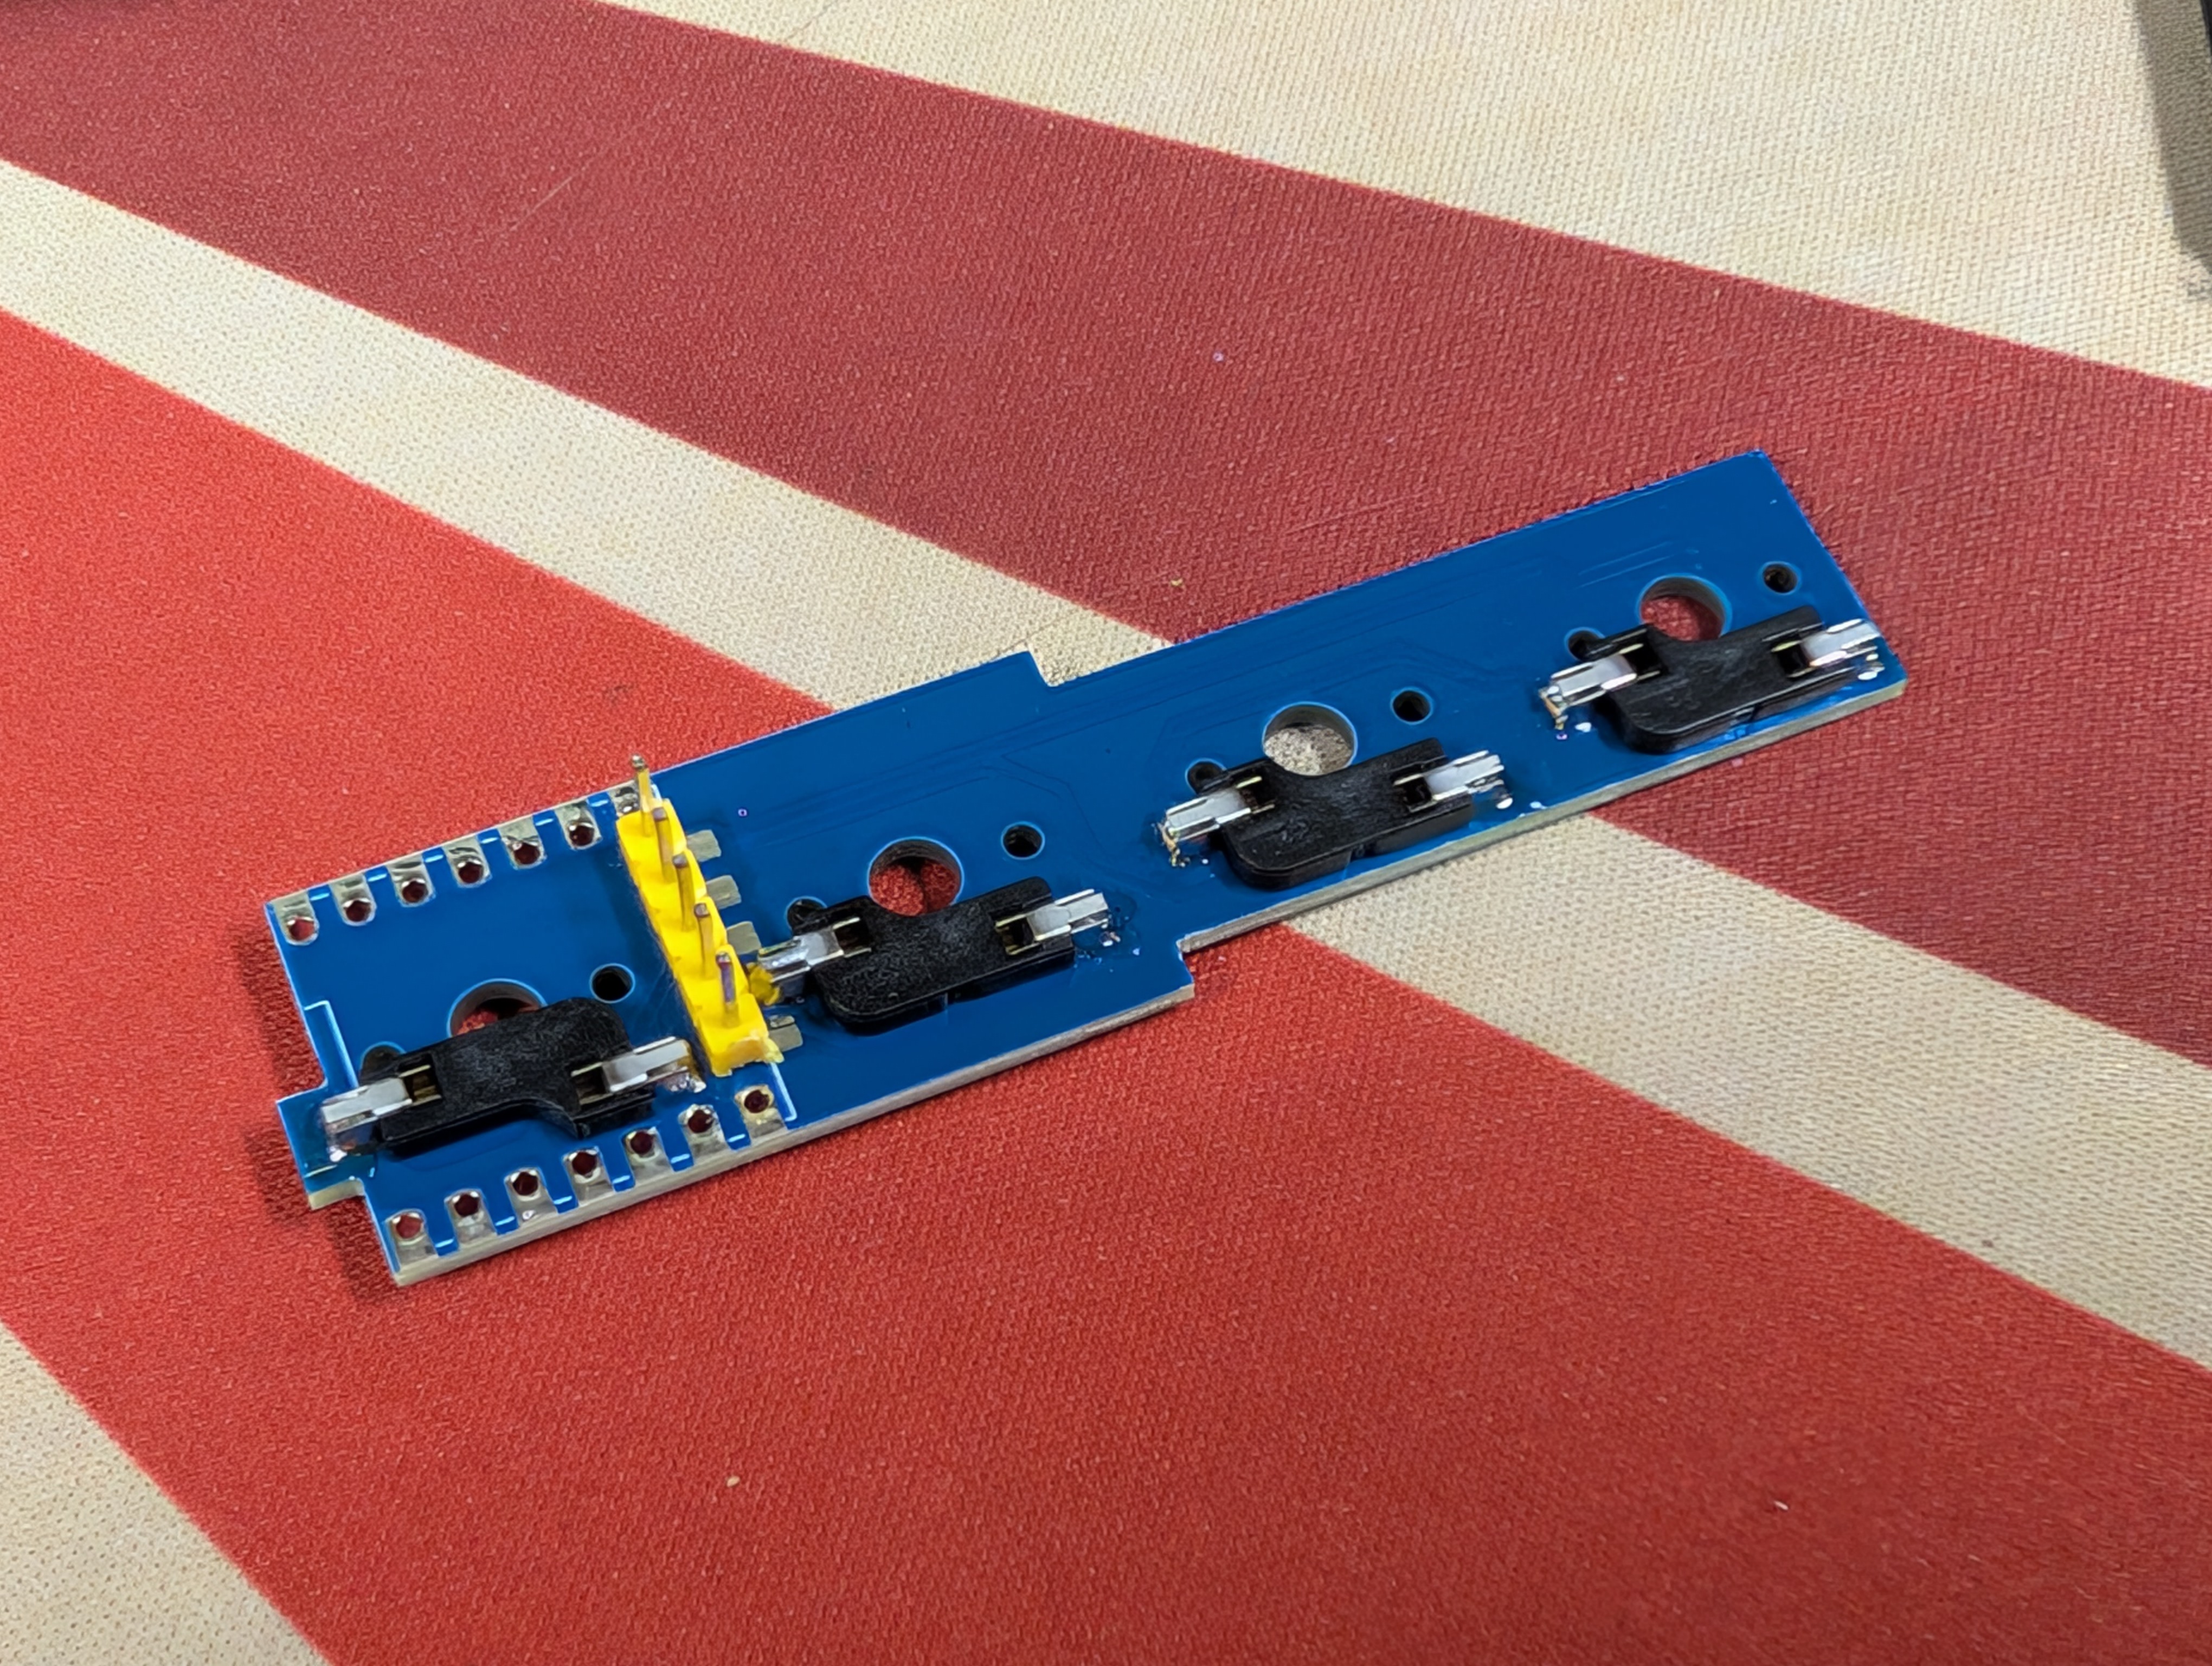
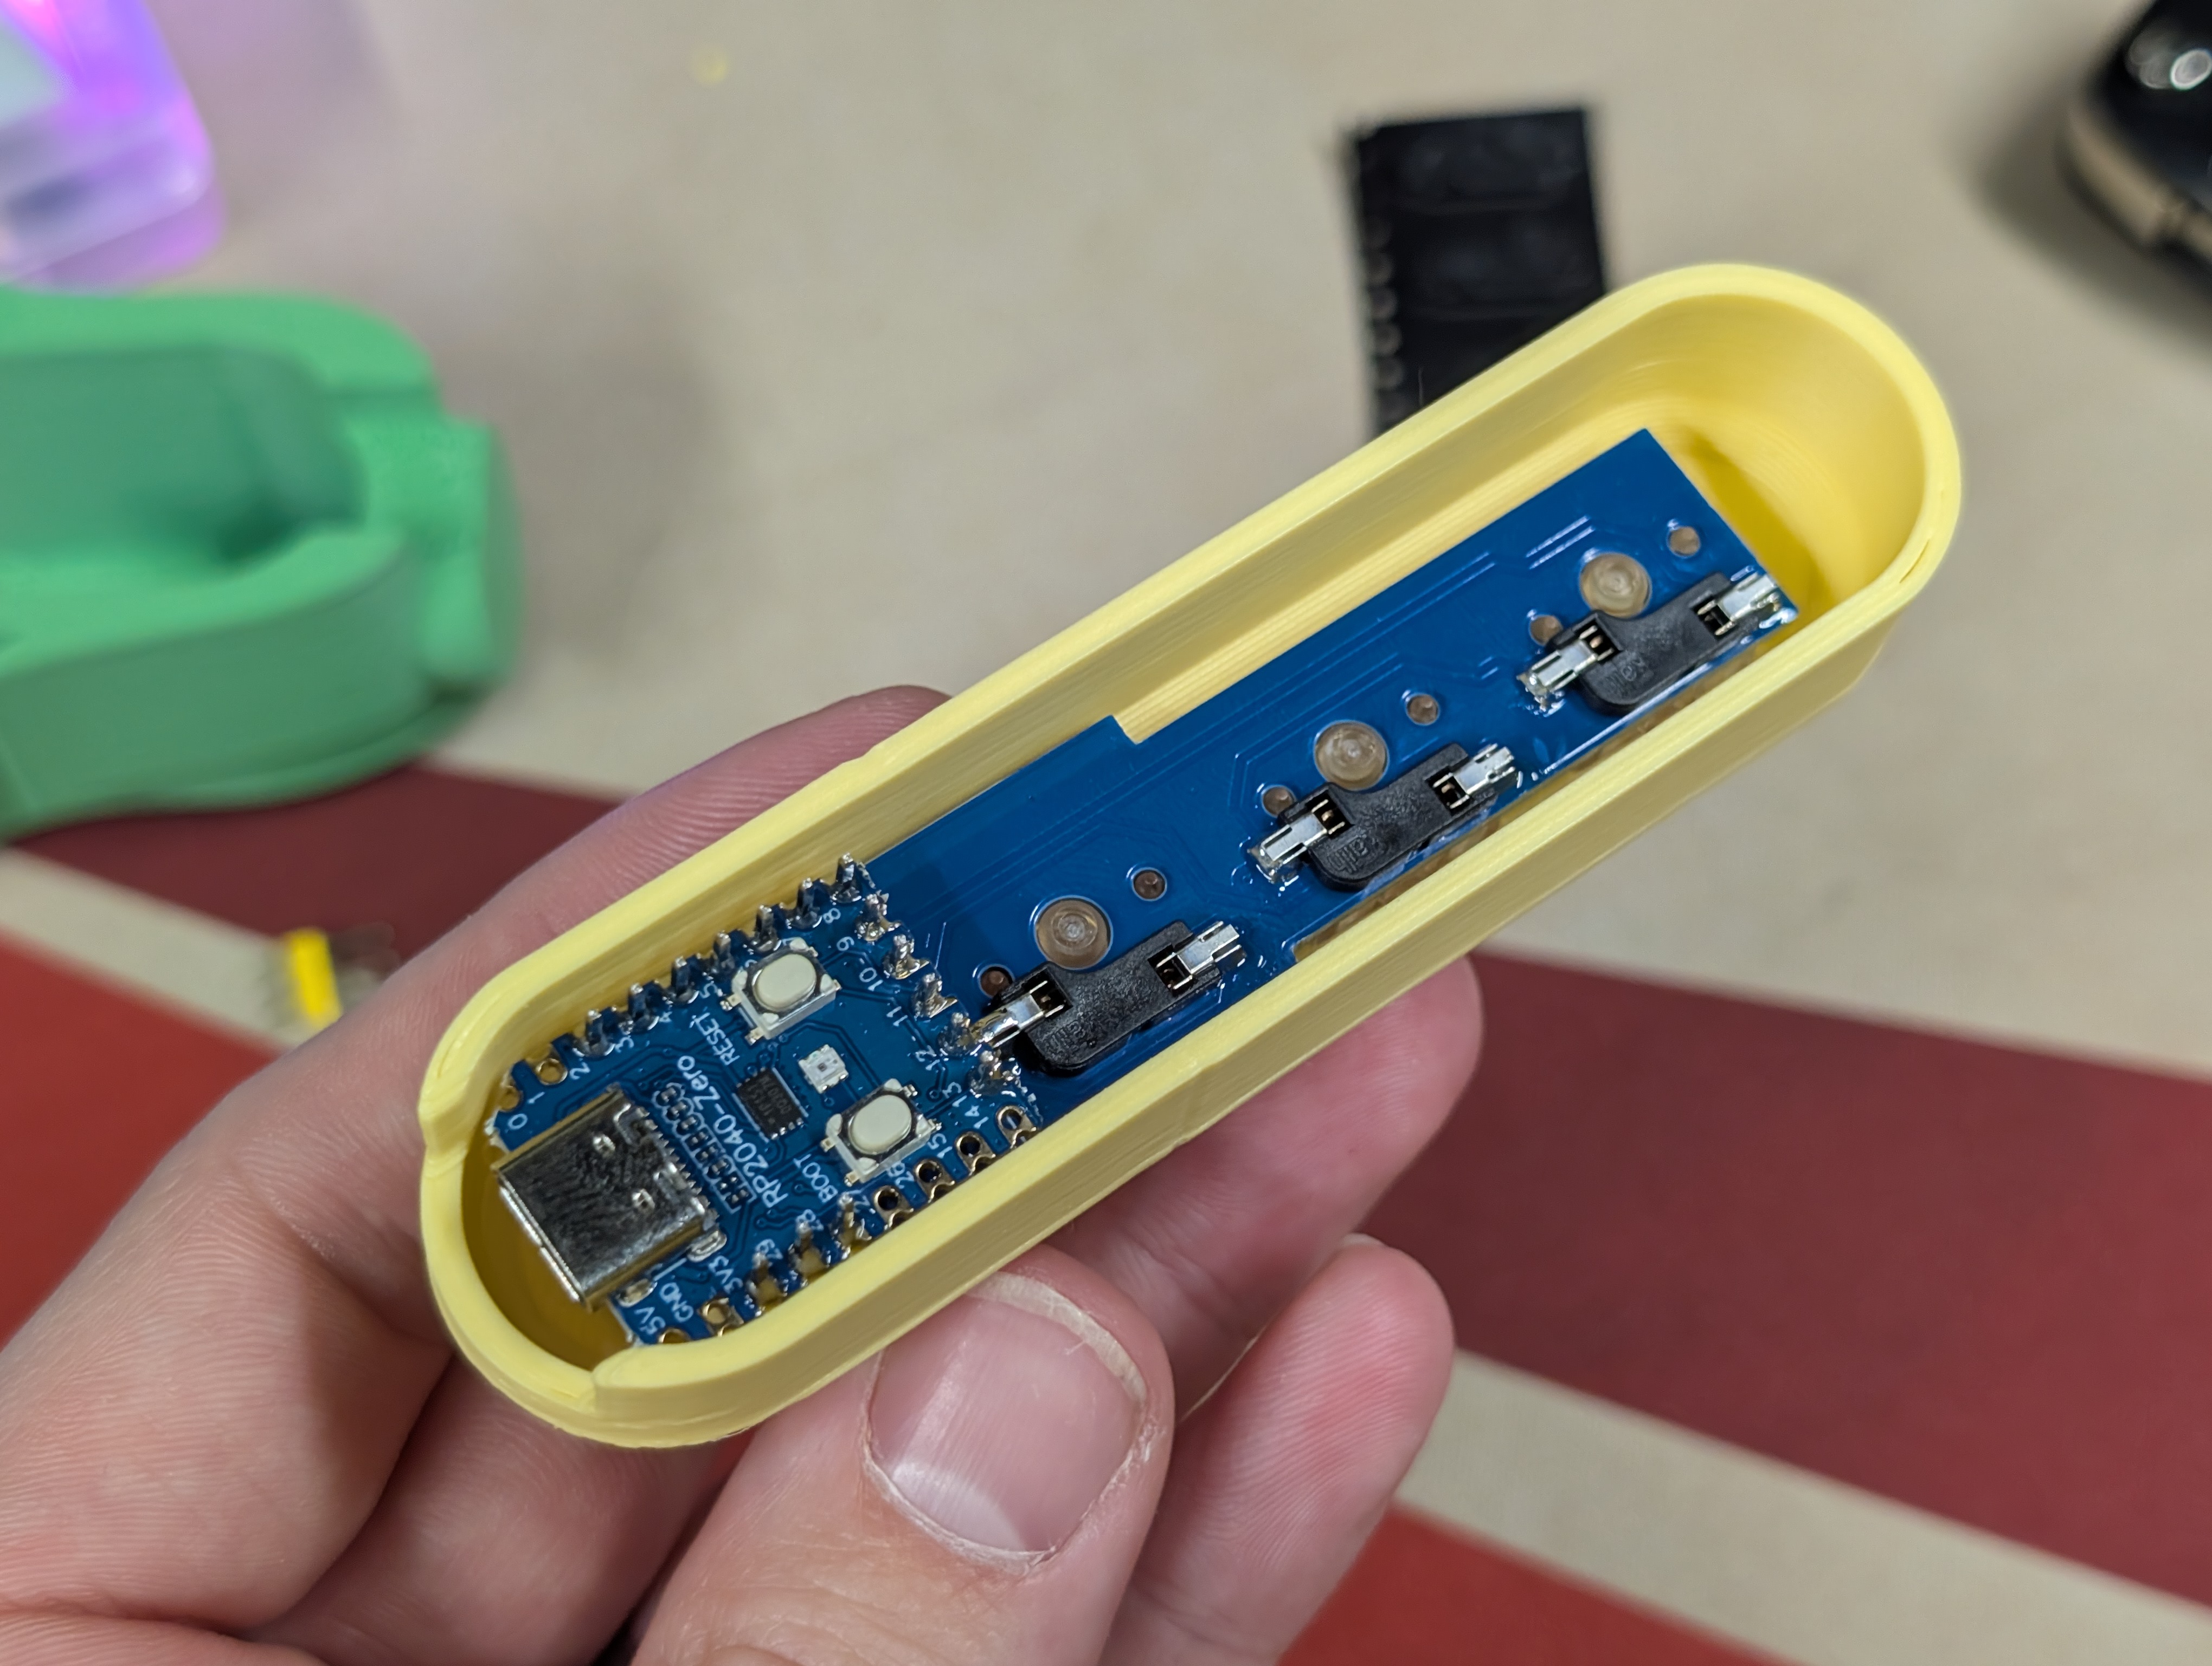
# Solder the Hotswap Sockets
(Ignore the yellow piece for now)
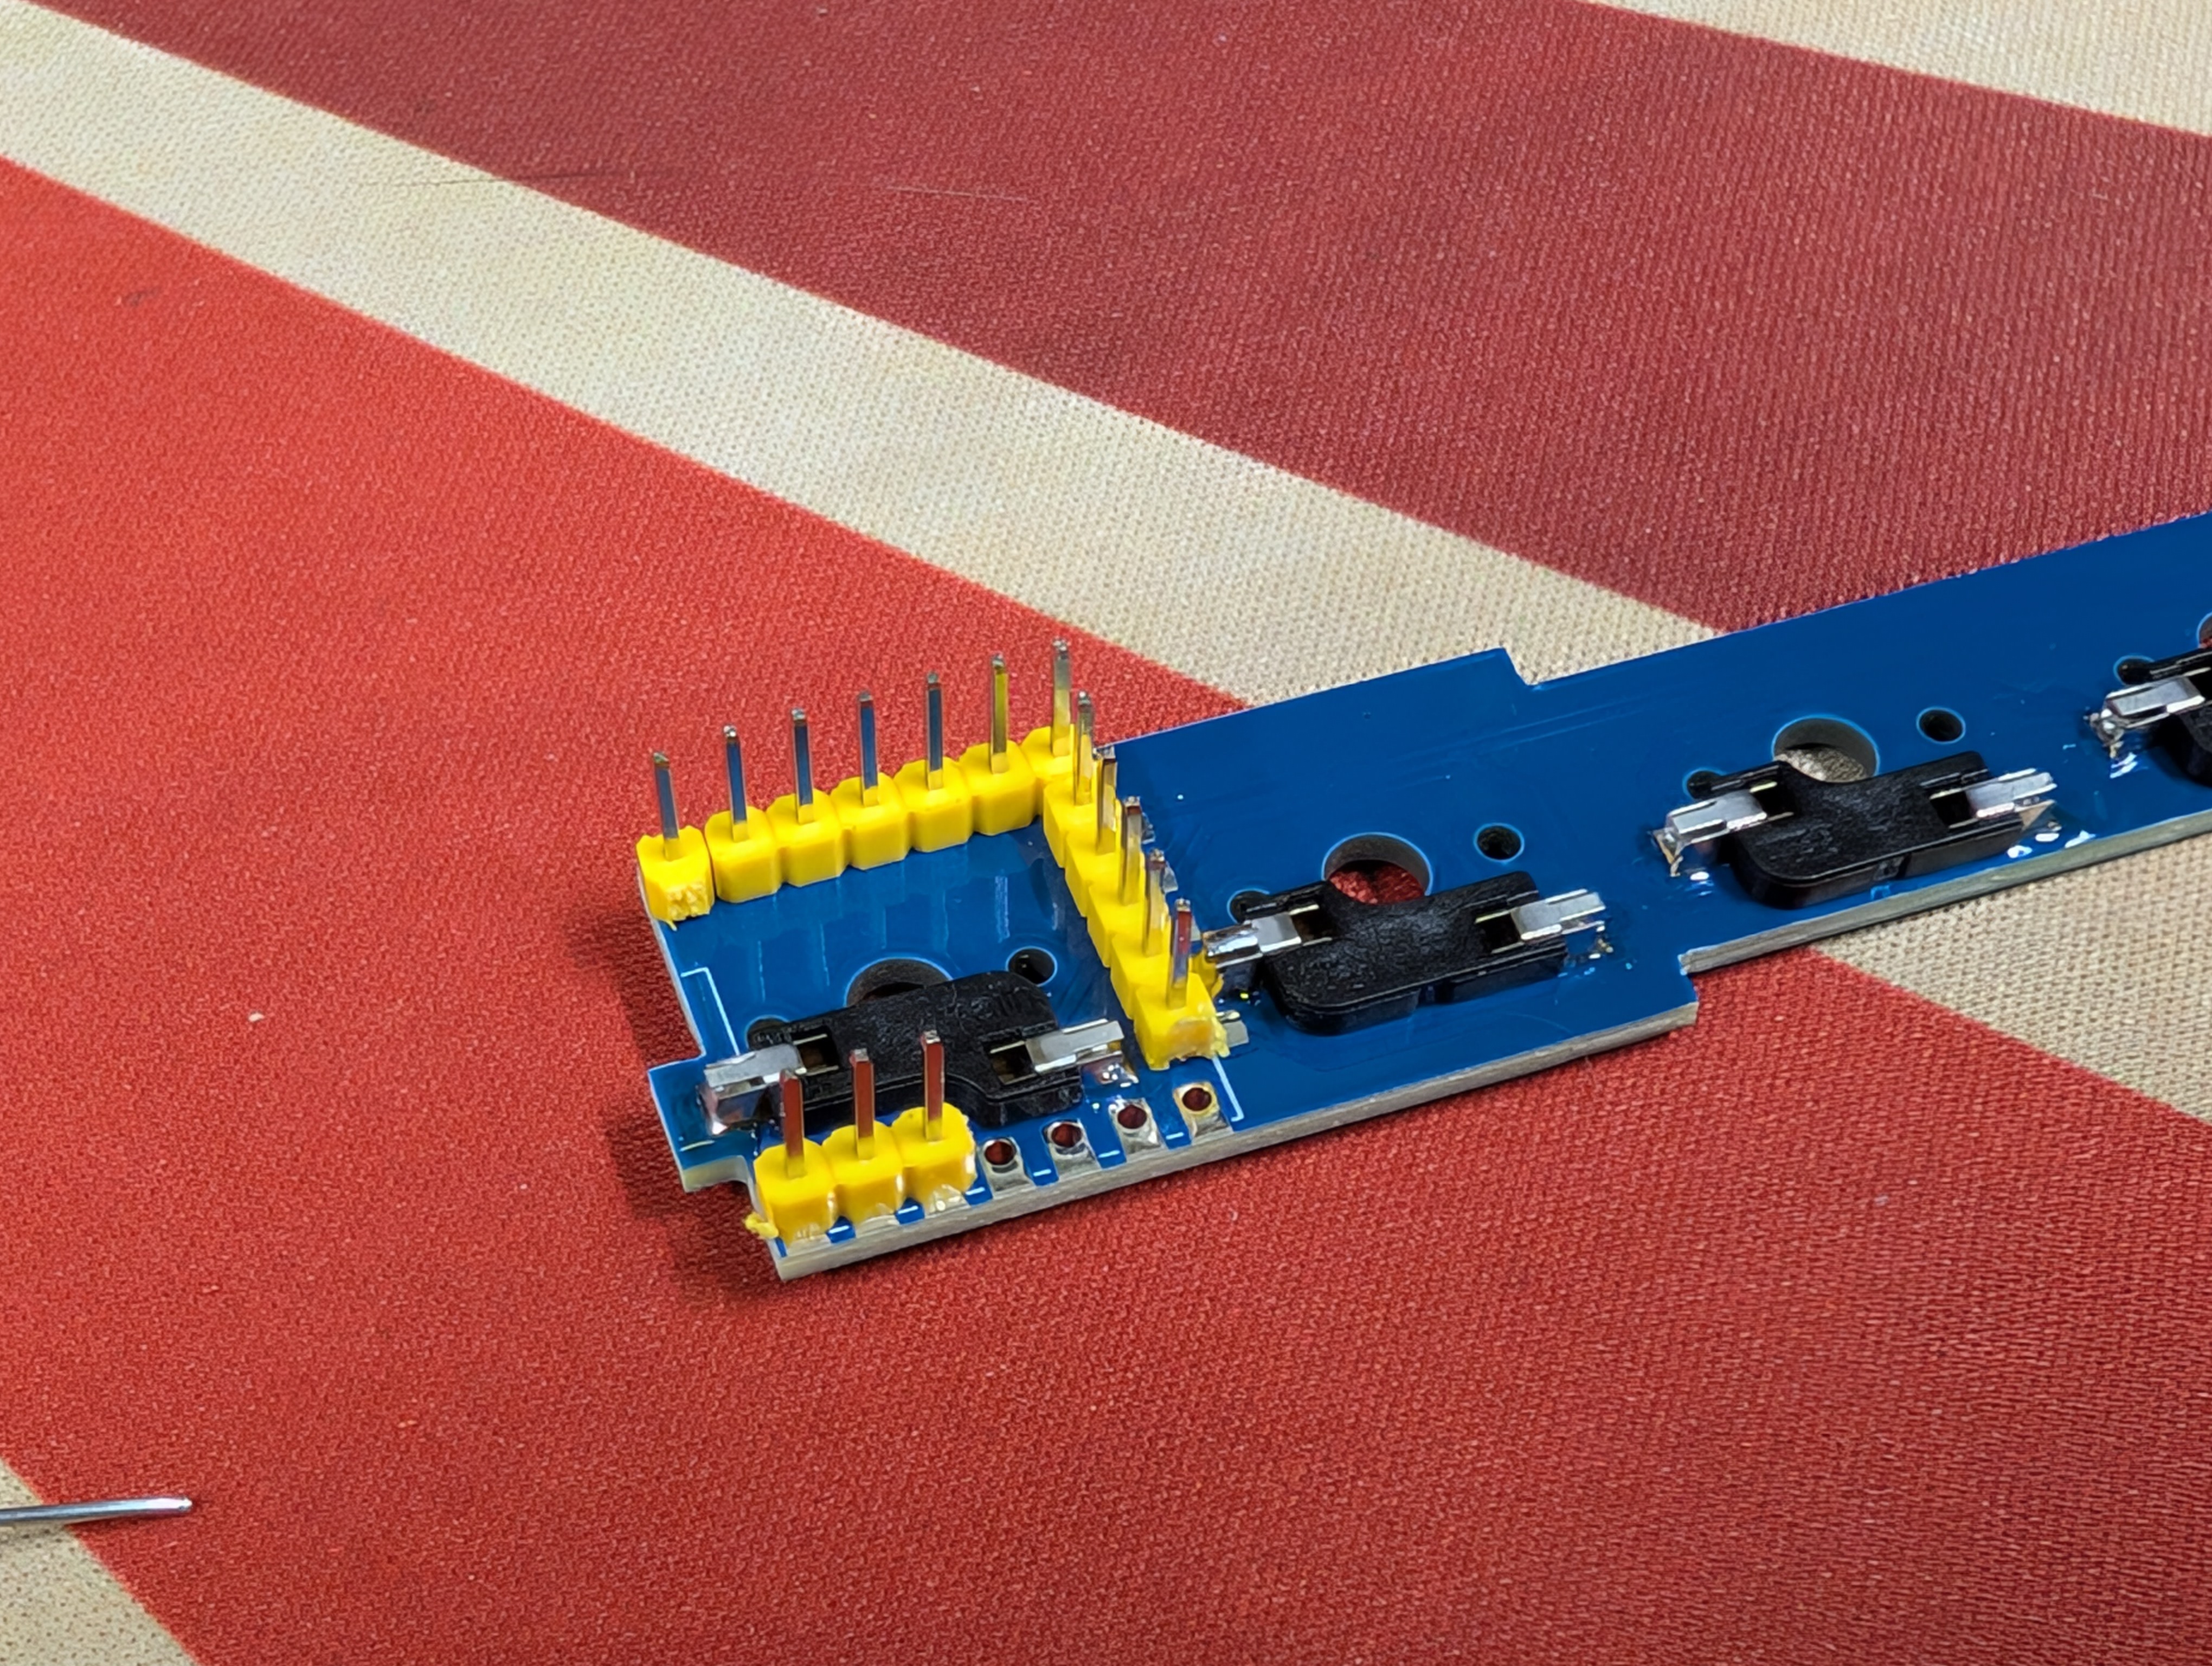
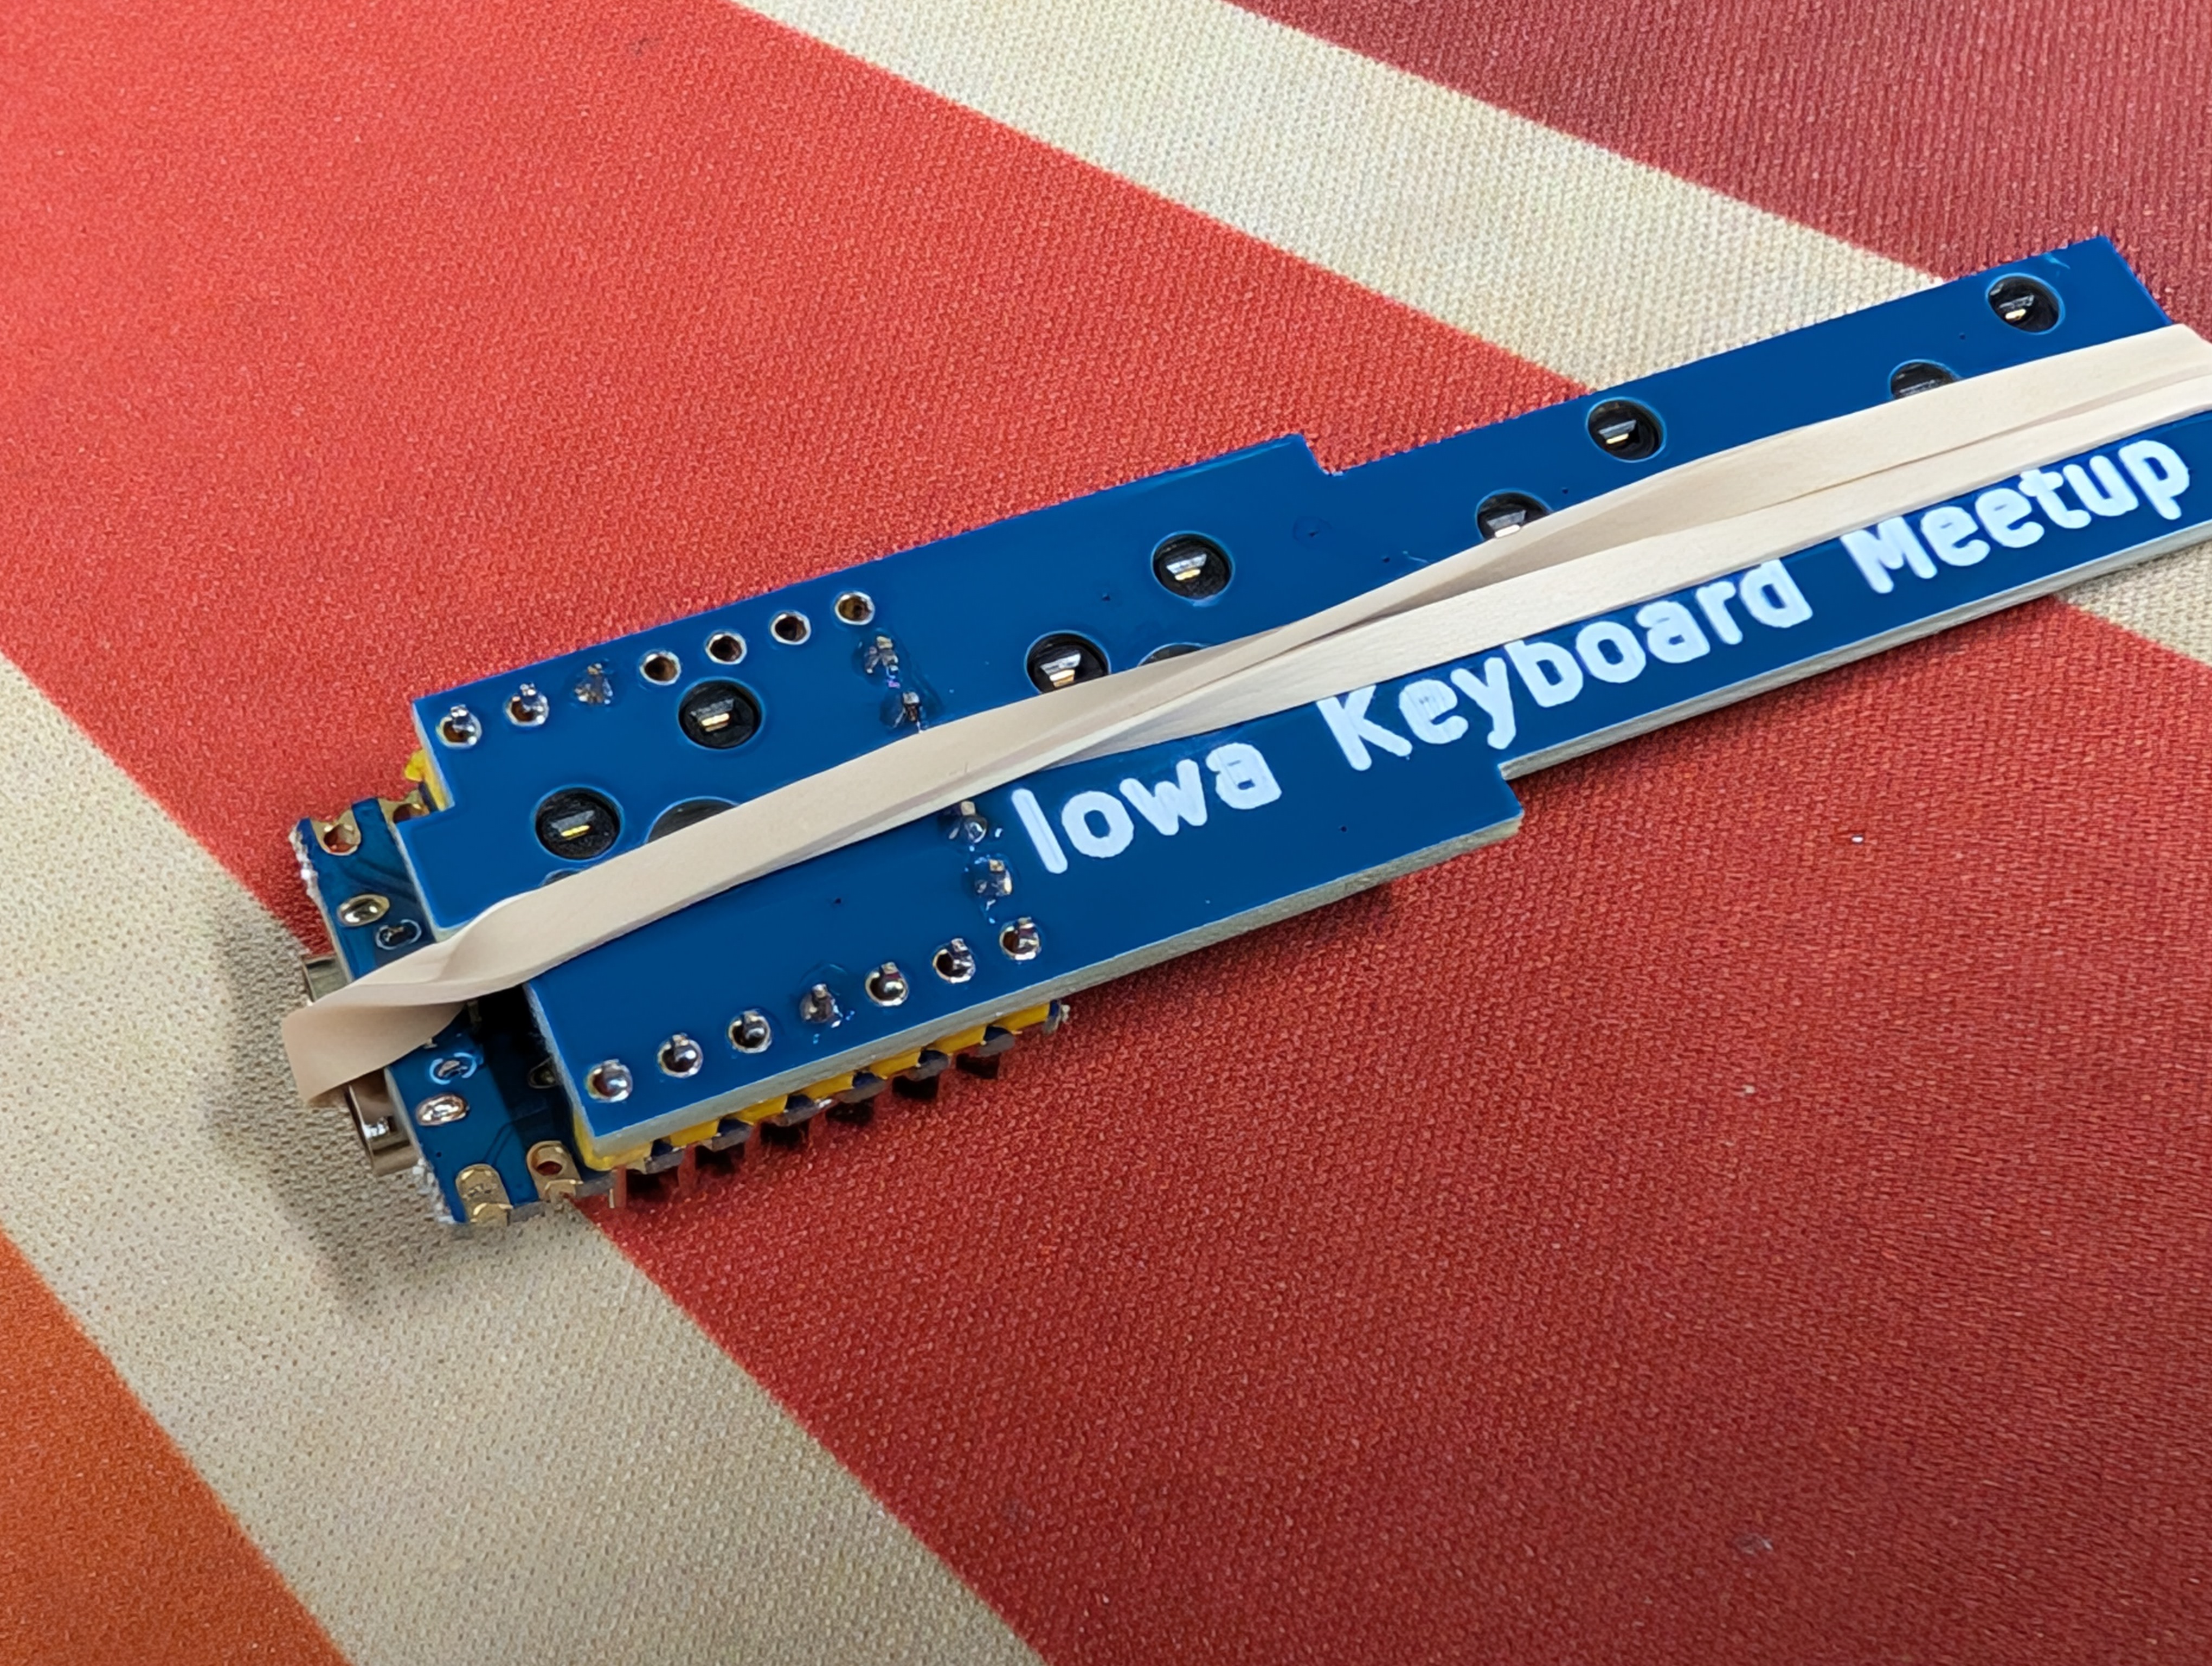
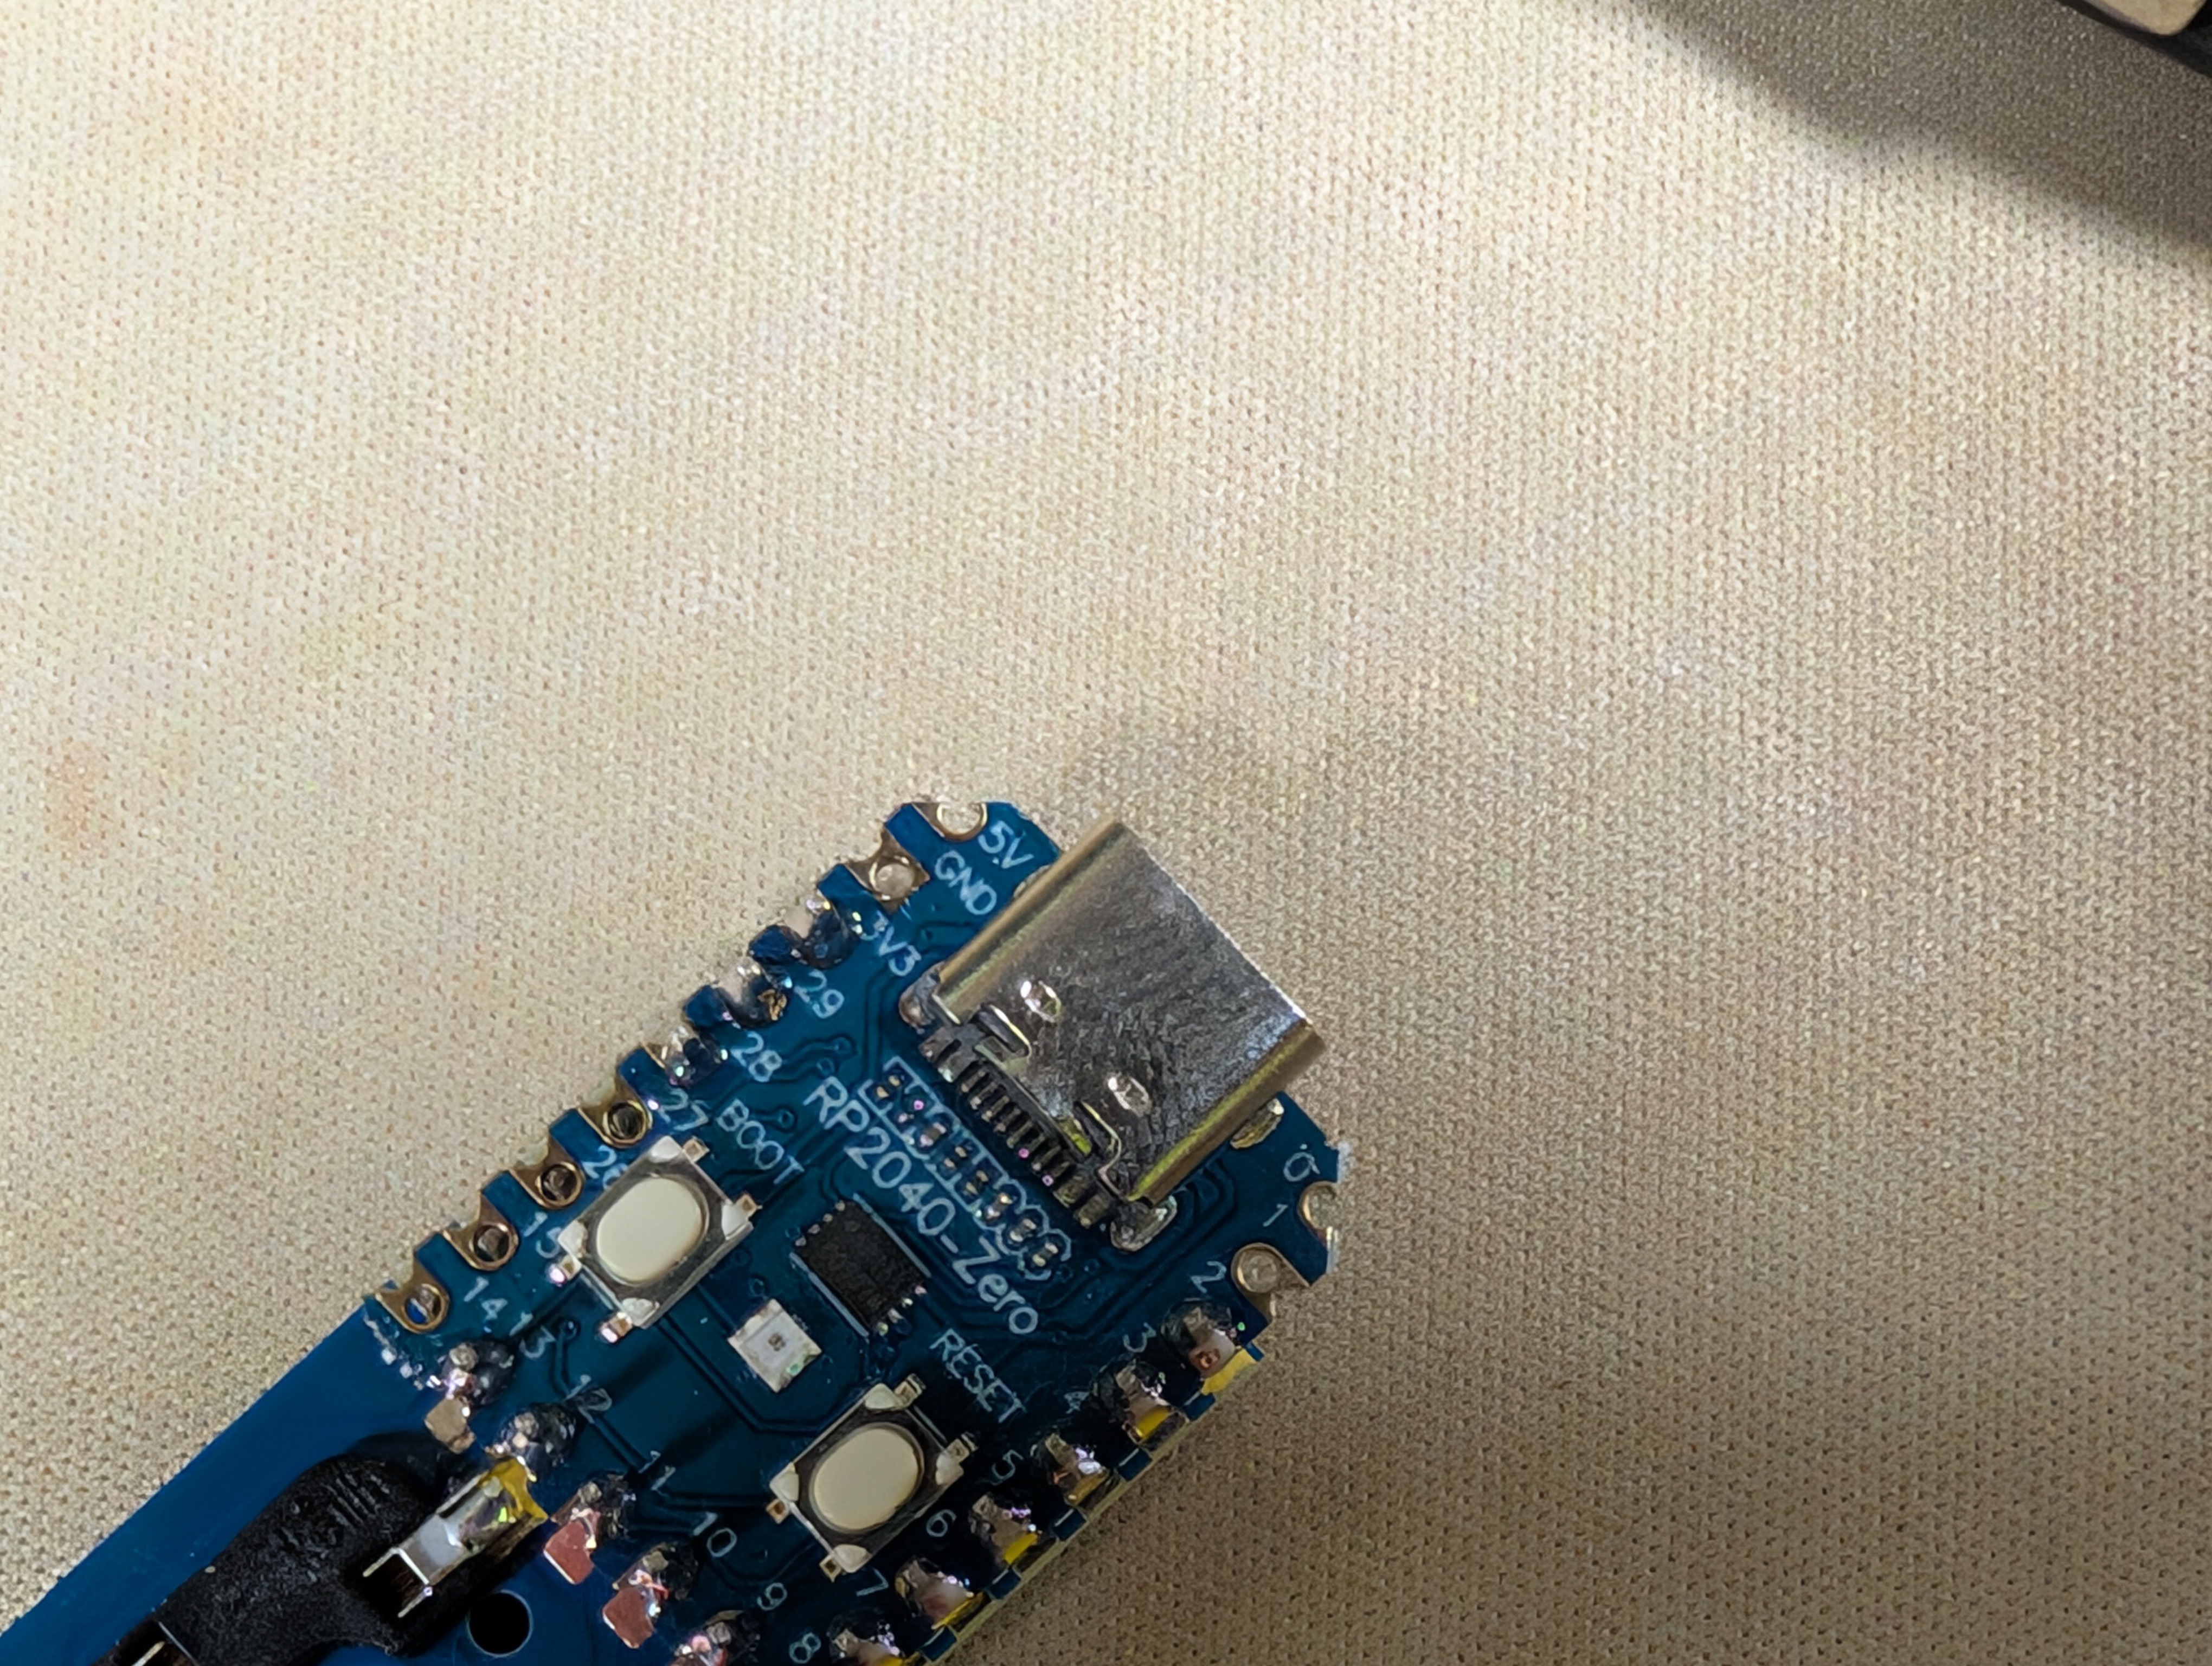
# Solder the MCU
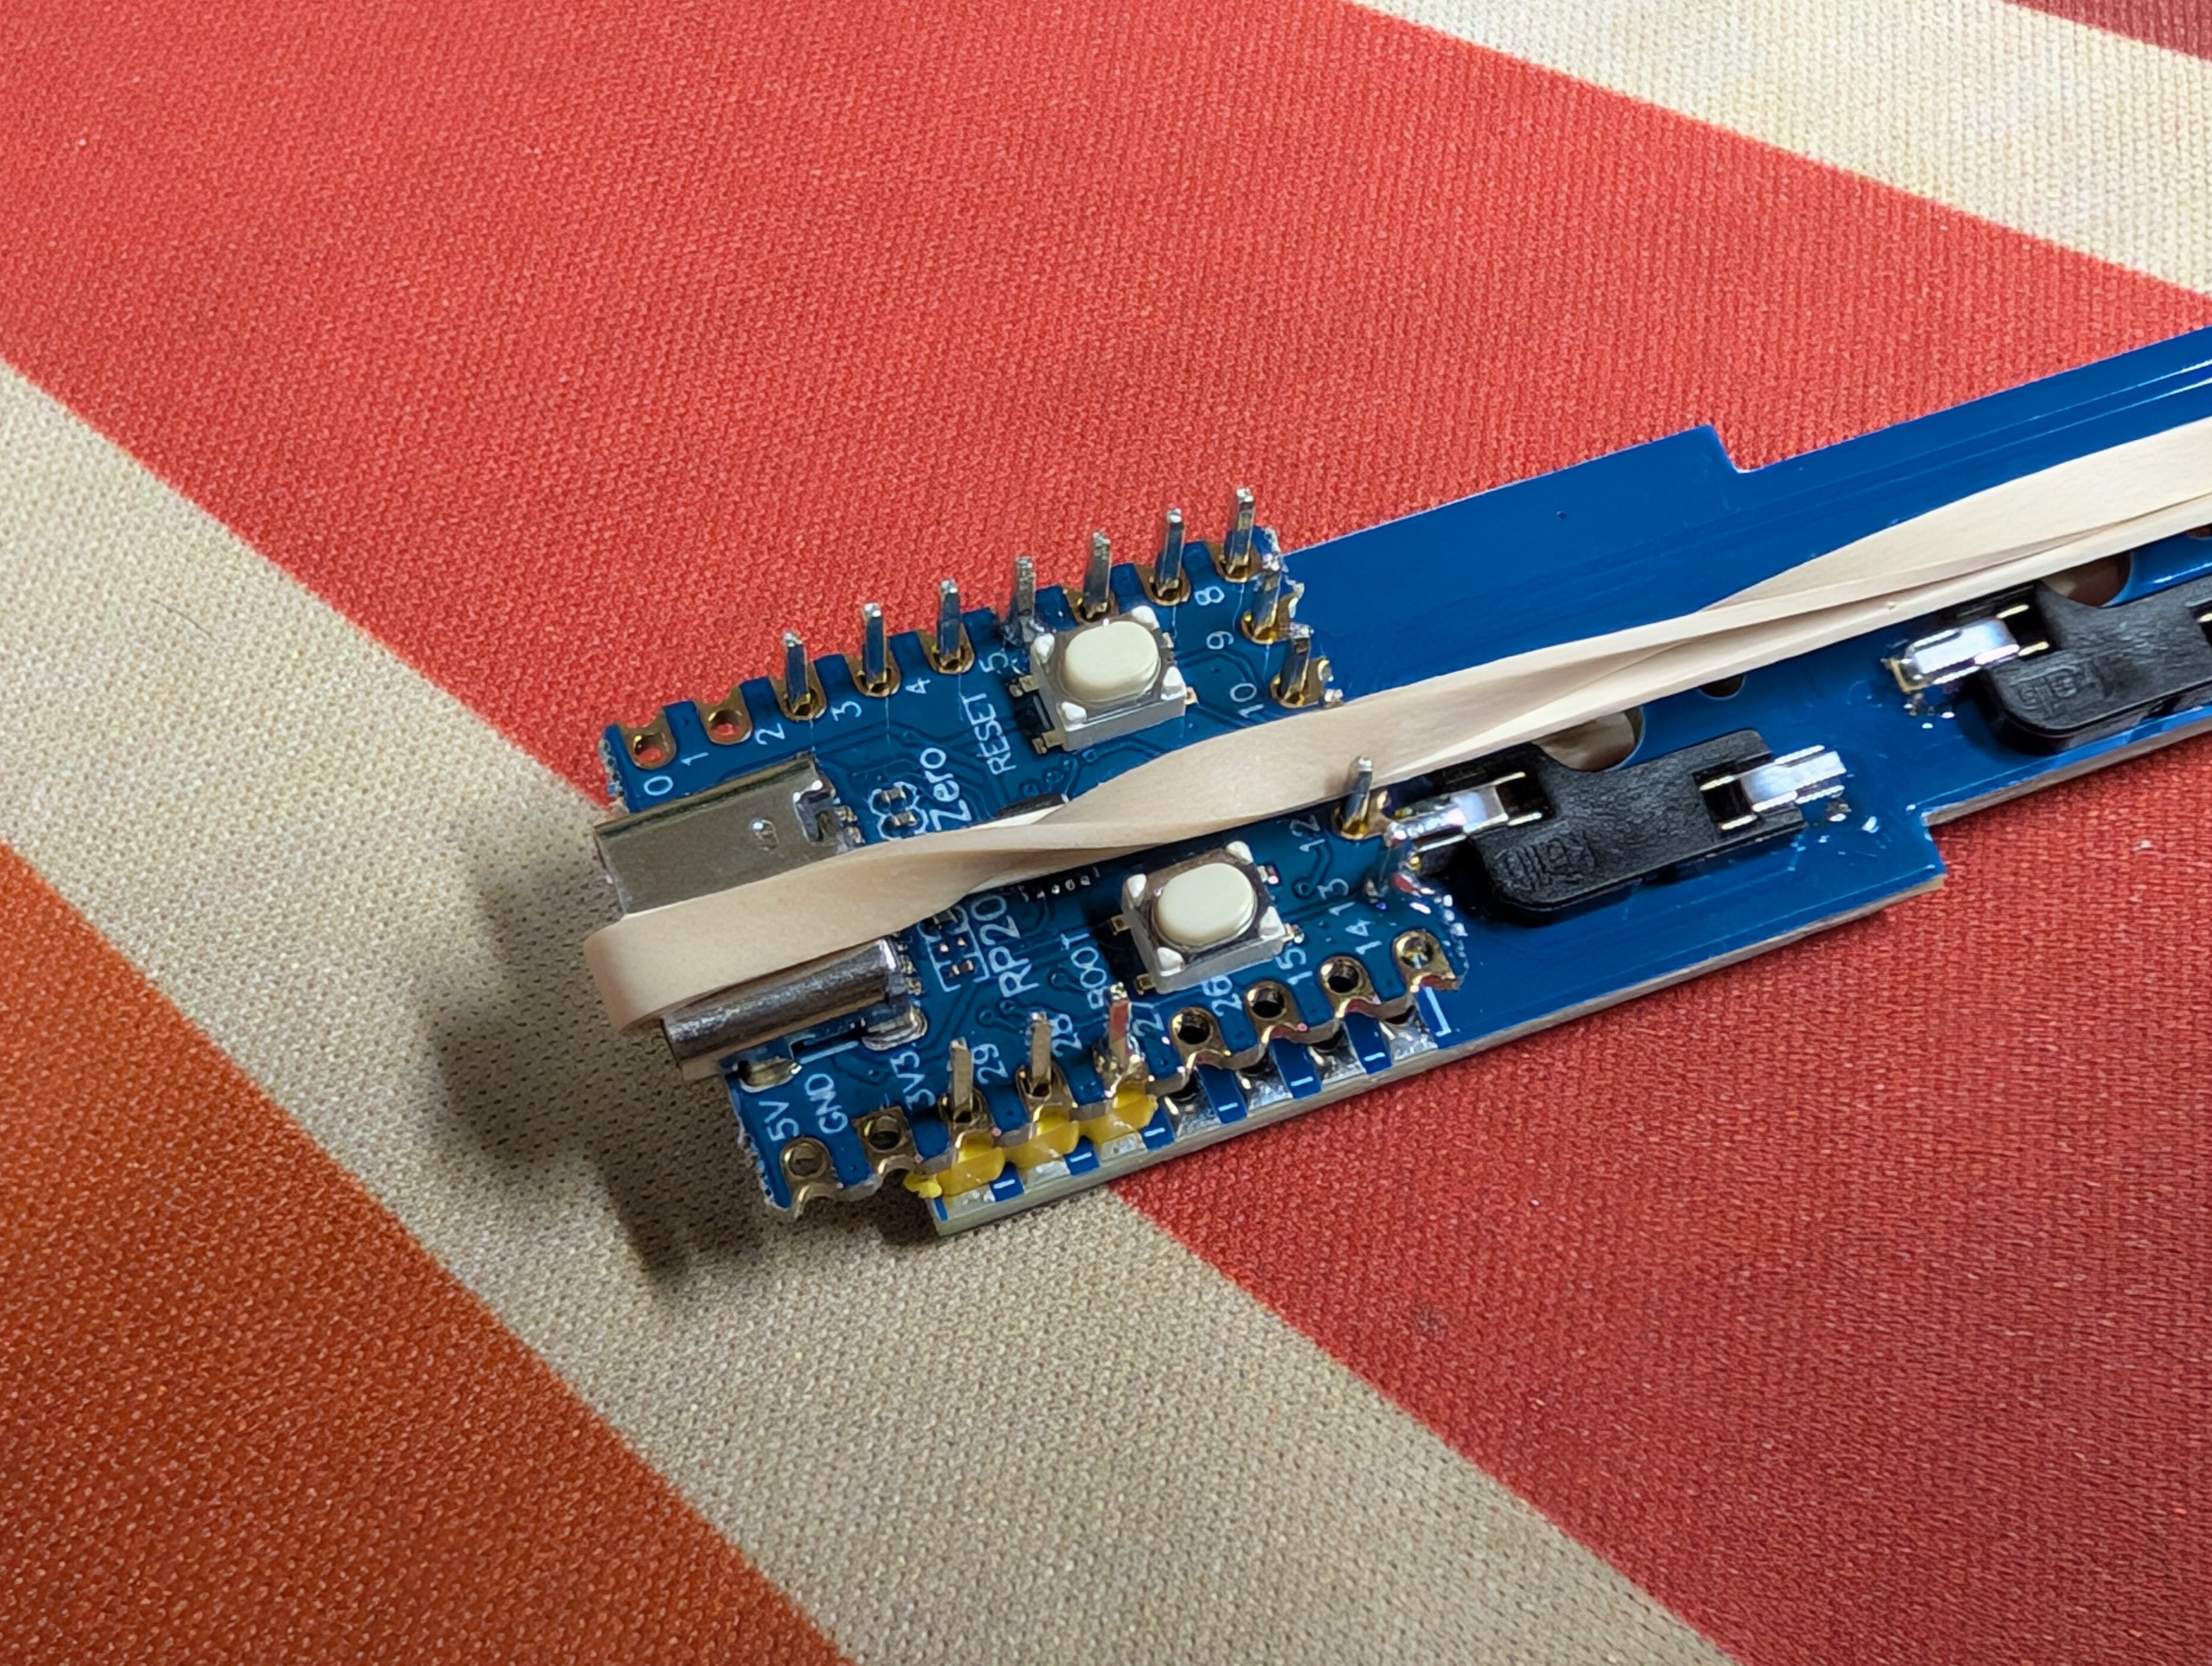
You wont and shouldn't use all the headers. Use flush cuts to trim the headers so that they match the picture
Place the MCU on the PCB like so. Add a rubber band to hold it all together.
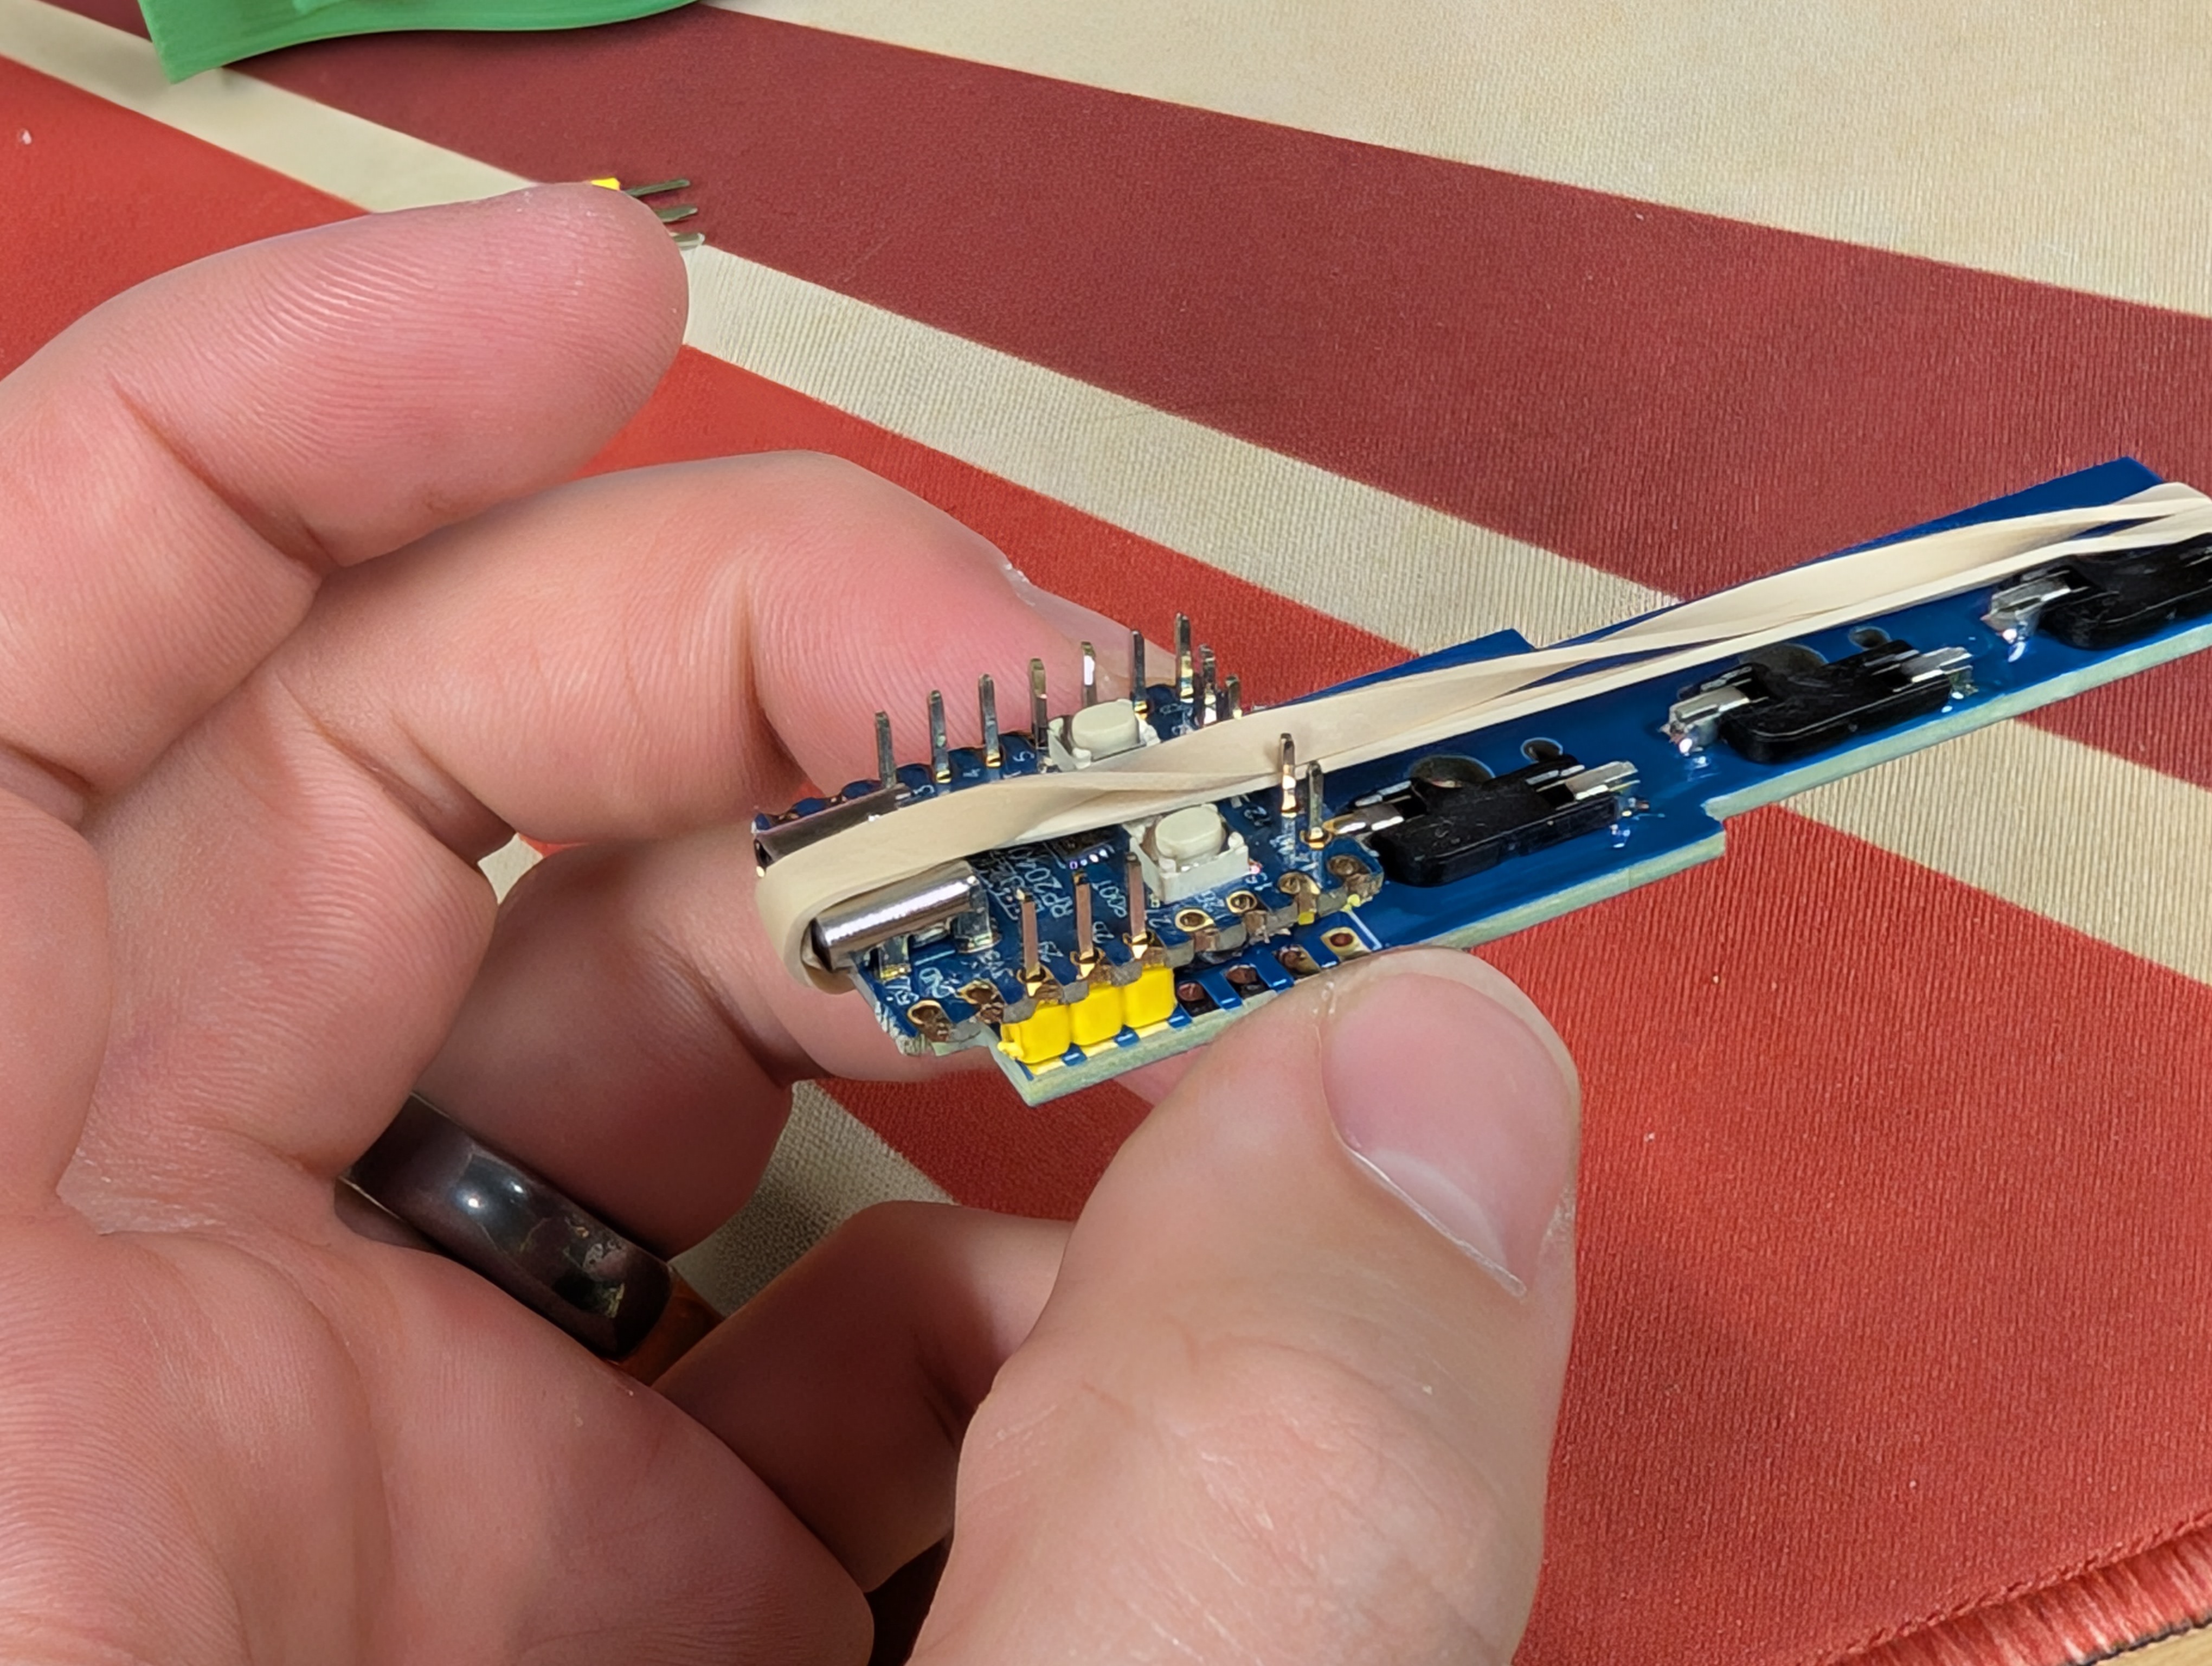
Then solder the MCU to the PCB
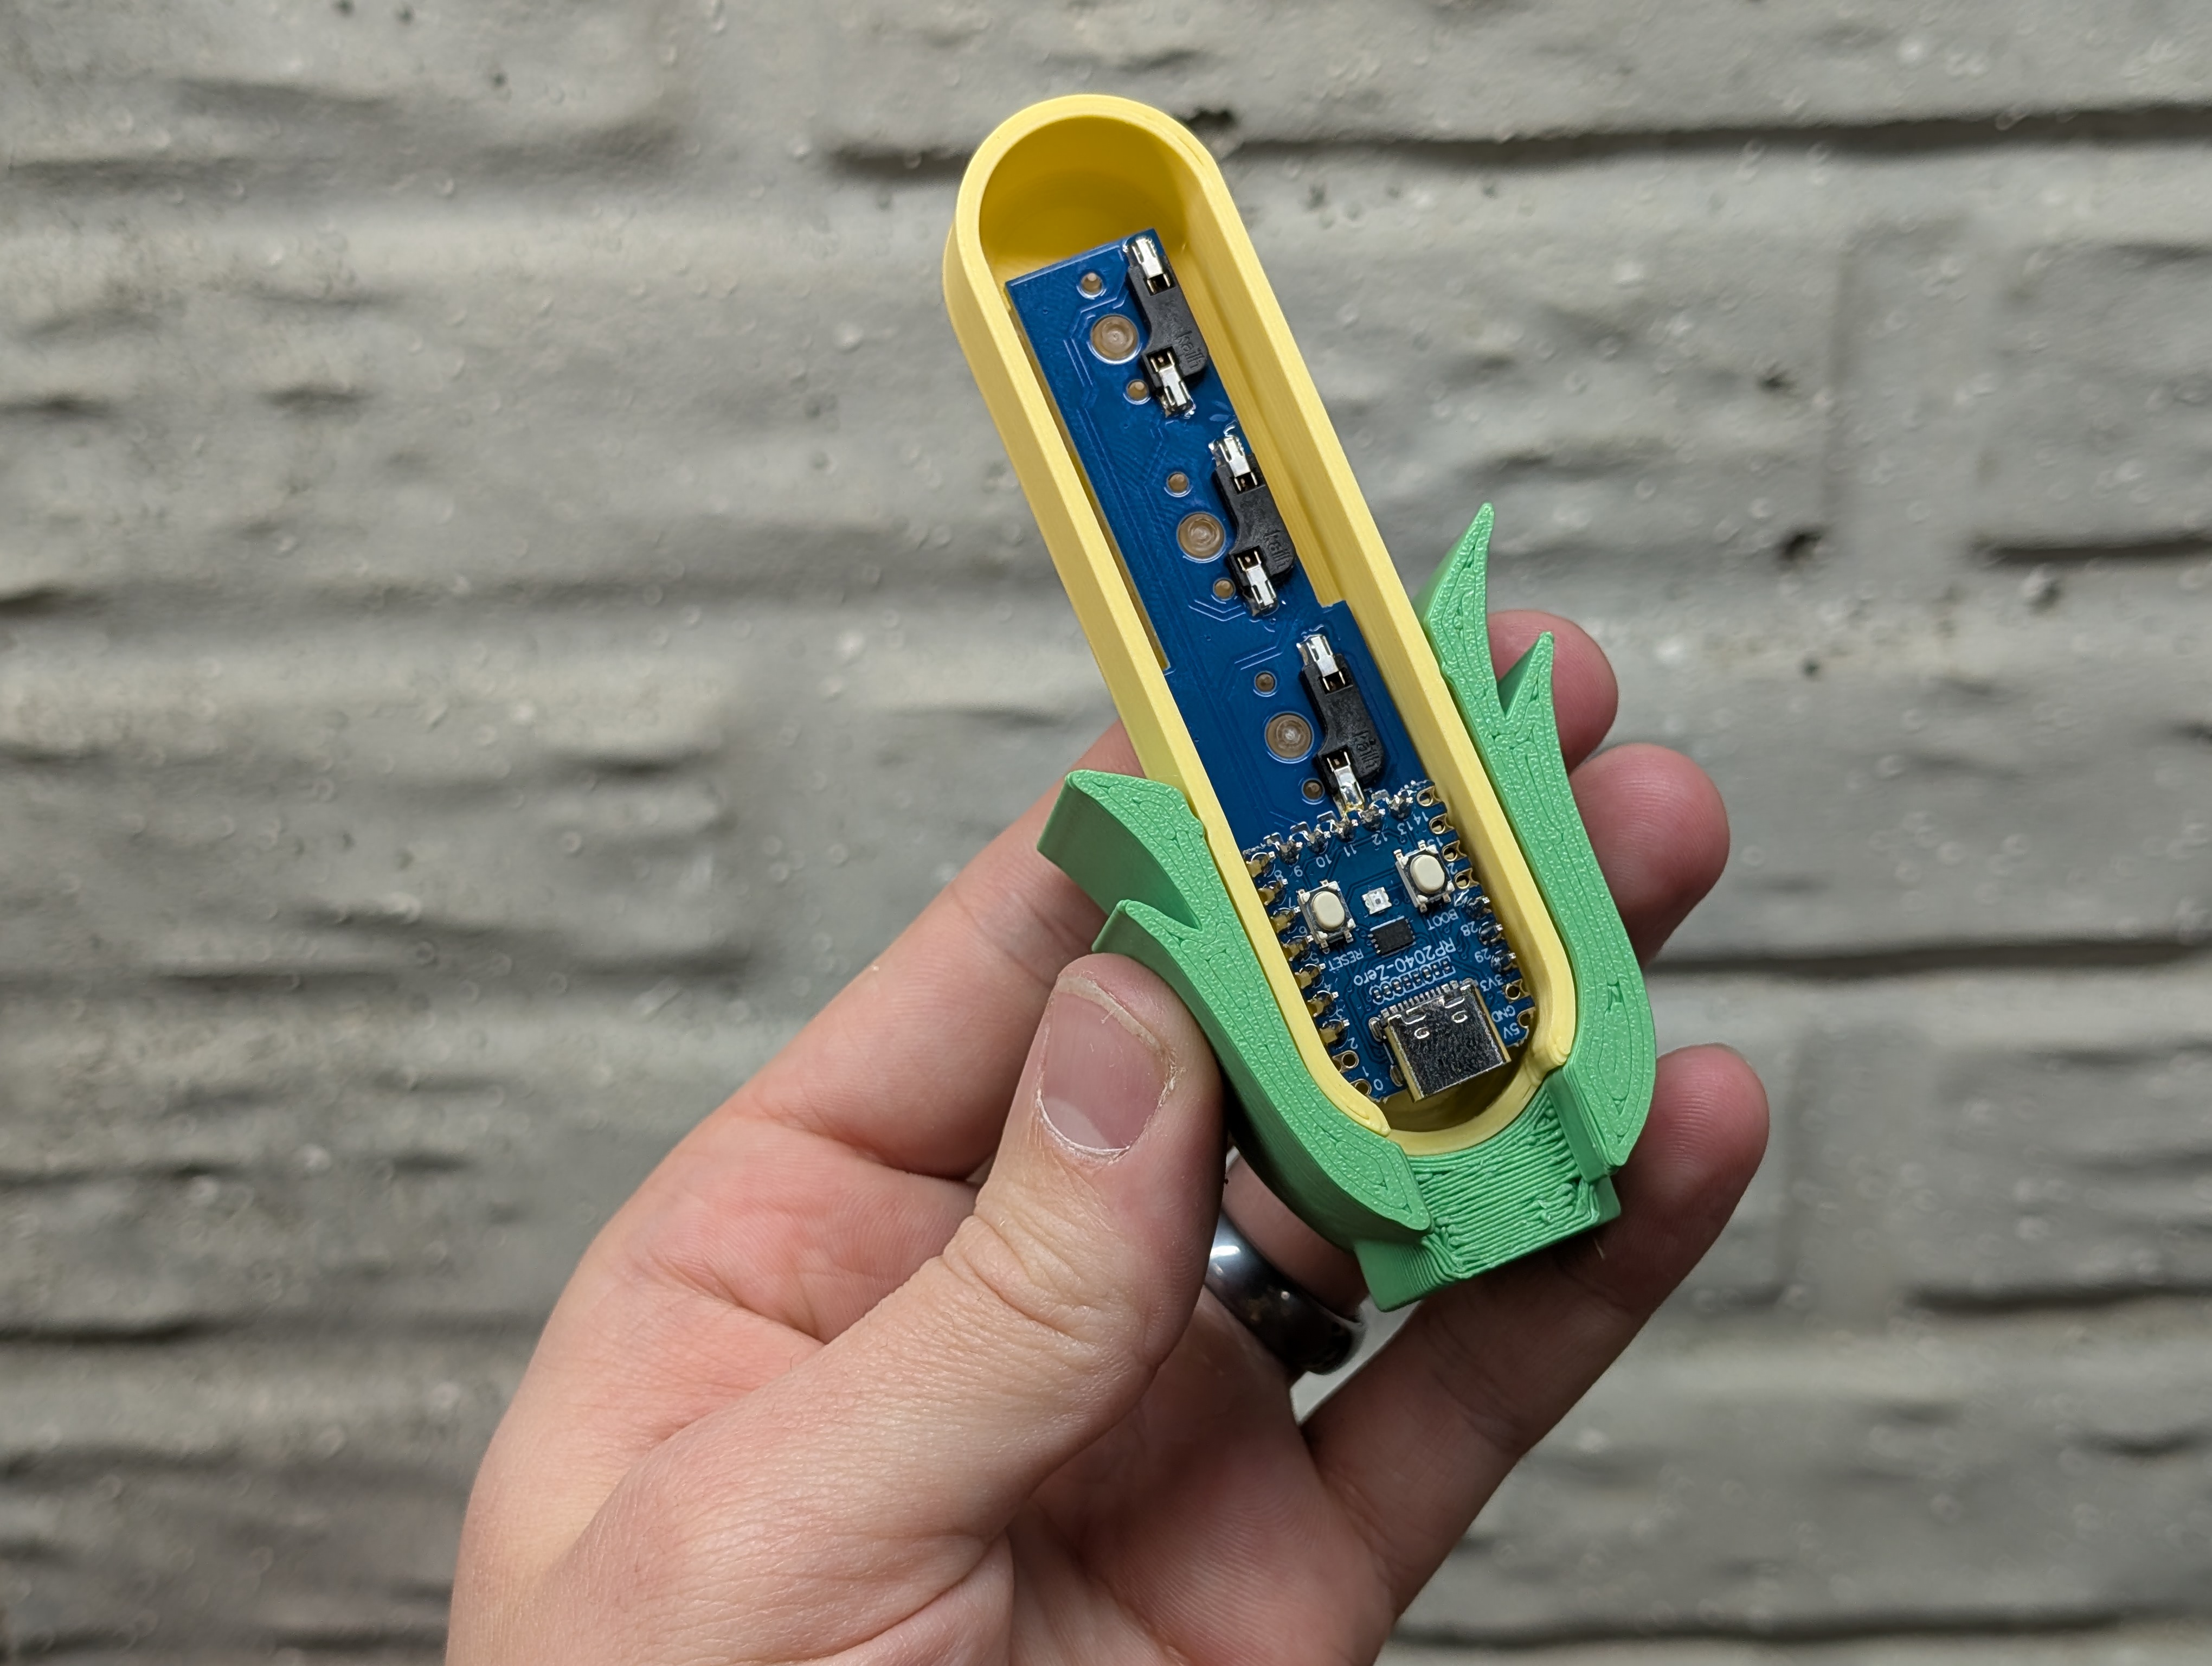
# Finish Assembly
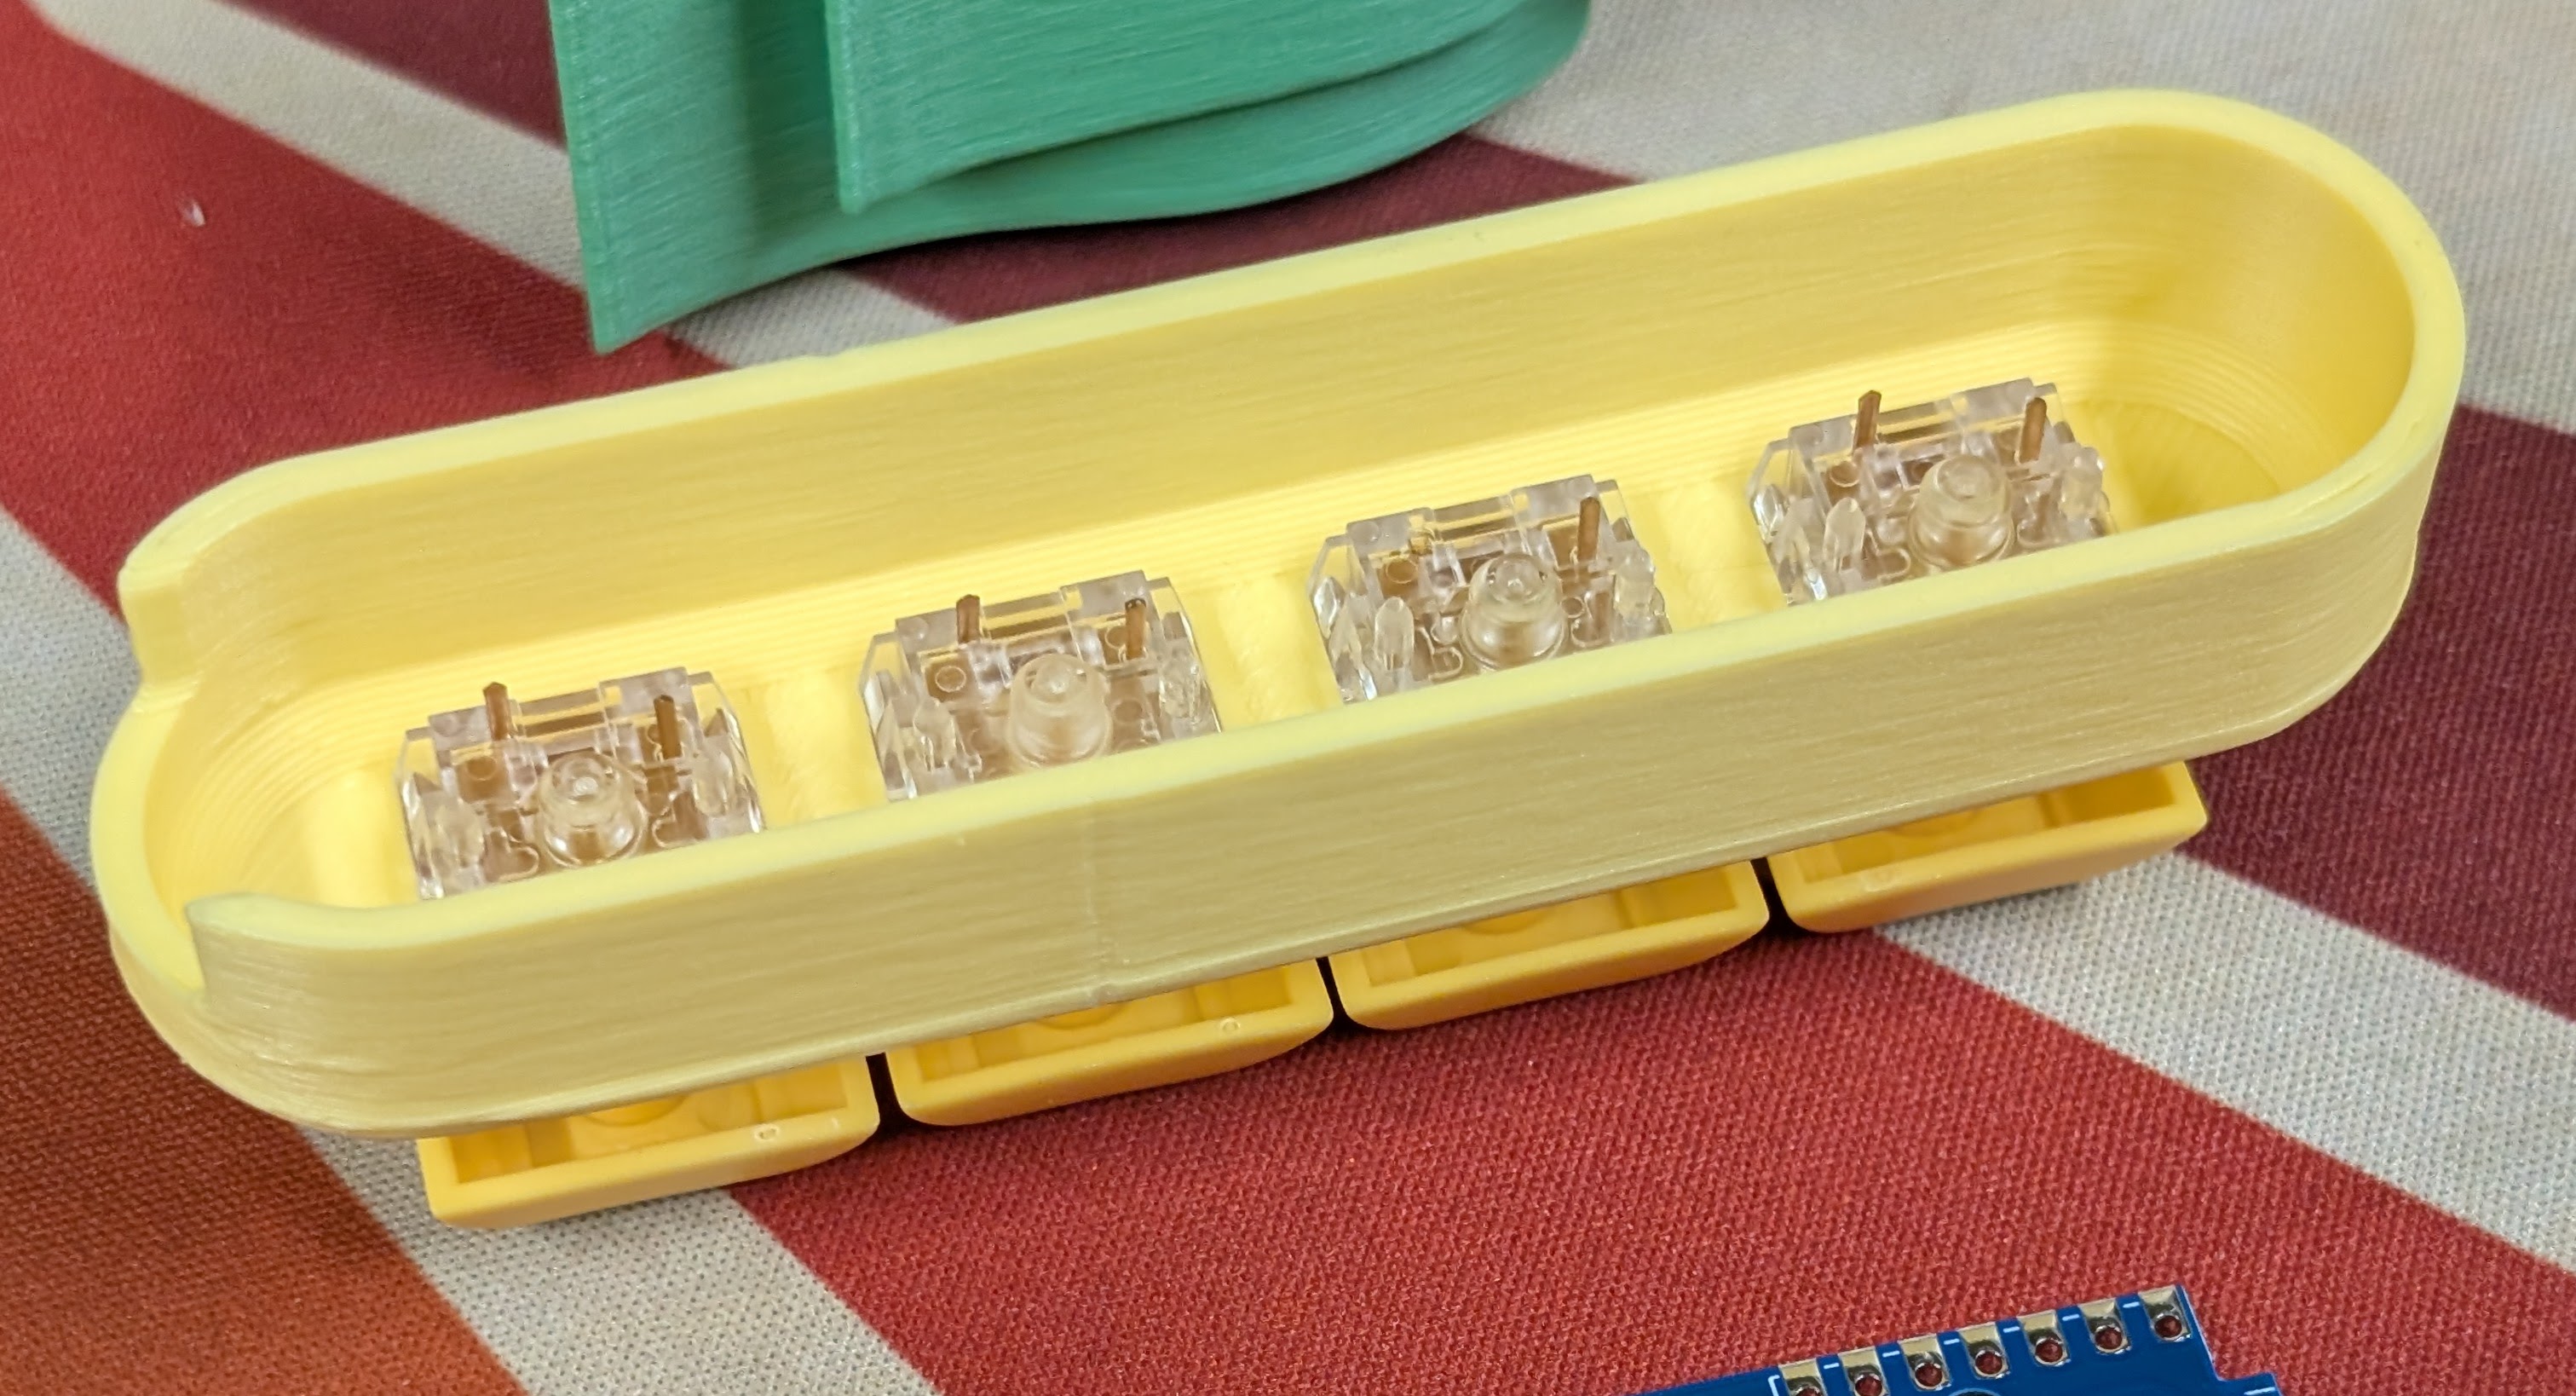
With the PCB together, it's time to assemble the remaining components and complete the keyboard.
Insert the switches into the "cob". Be sure the pins are straight
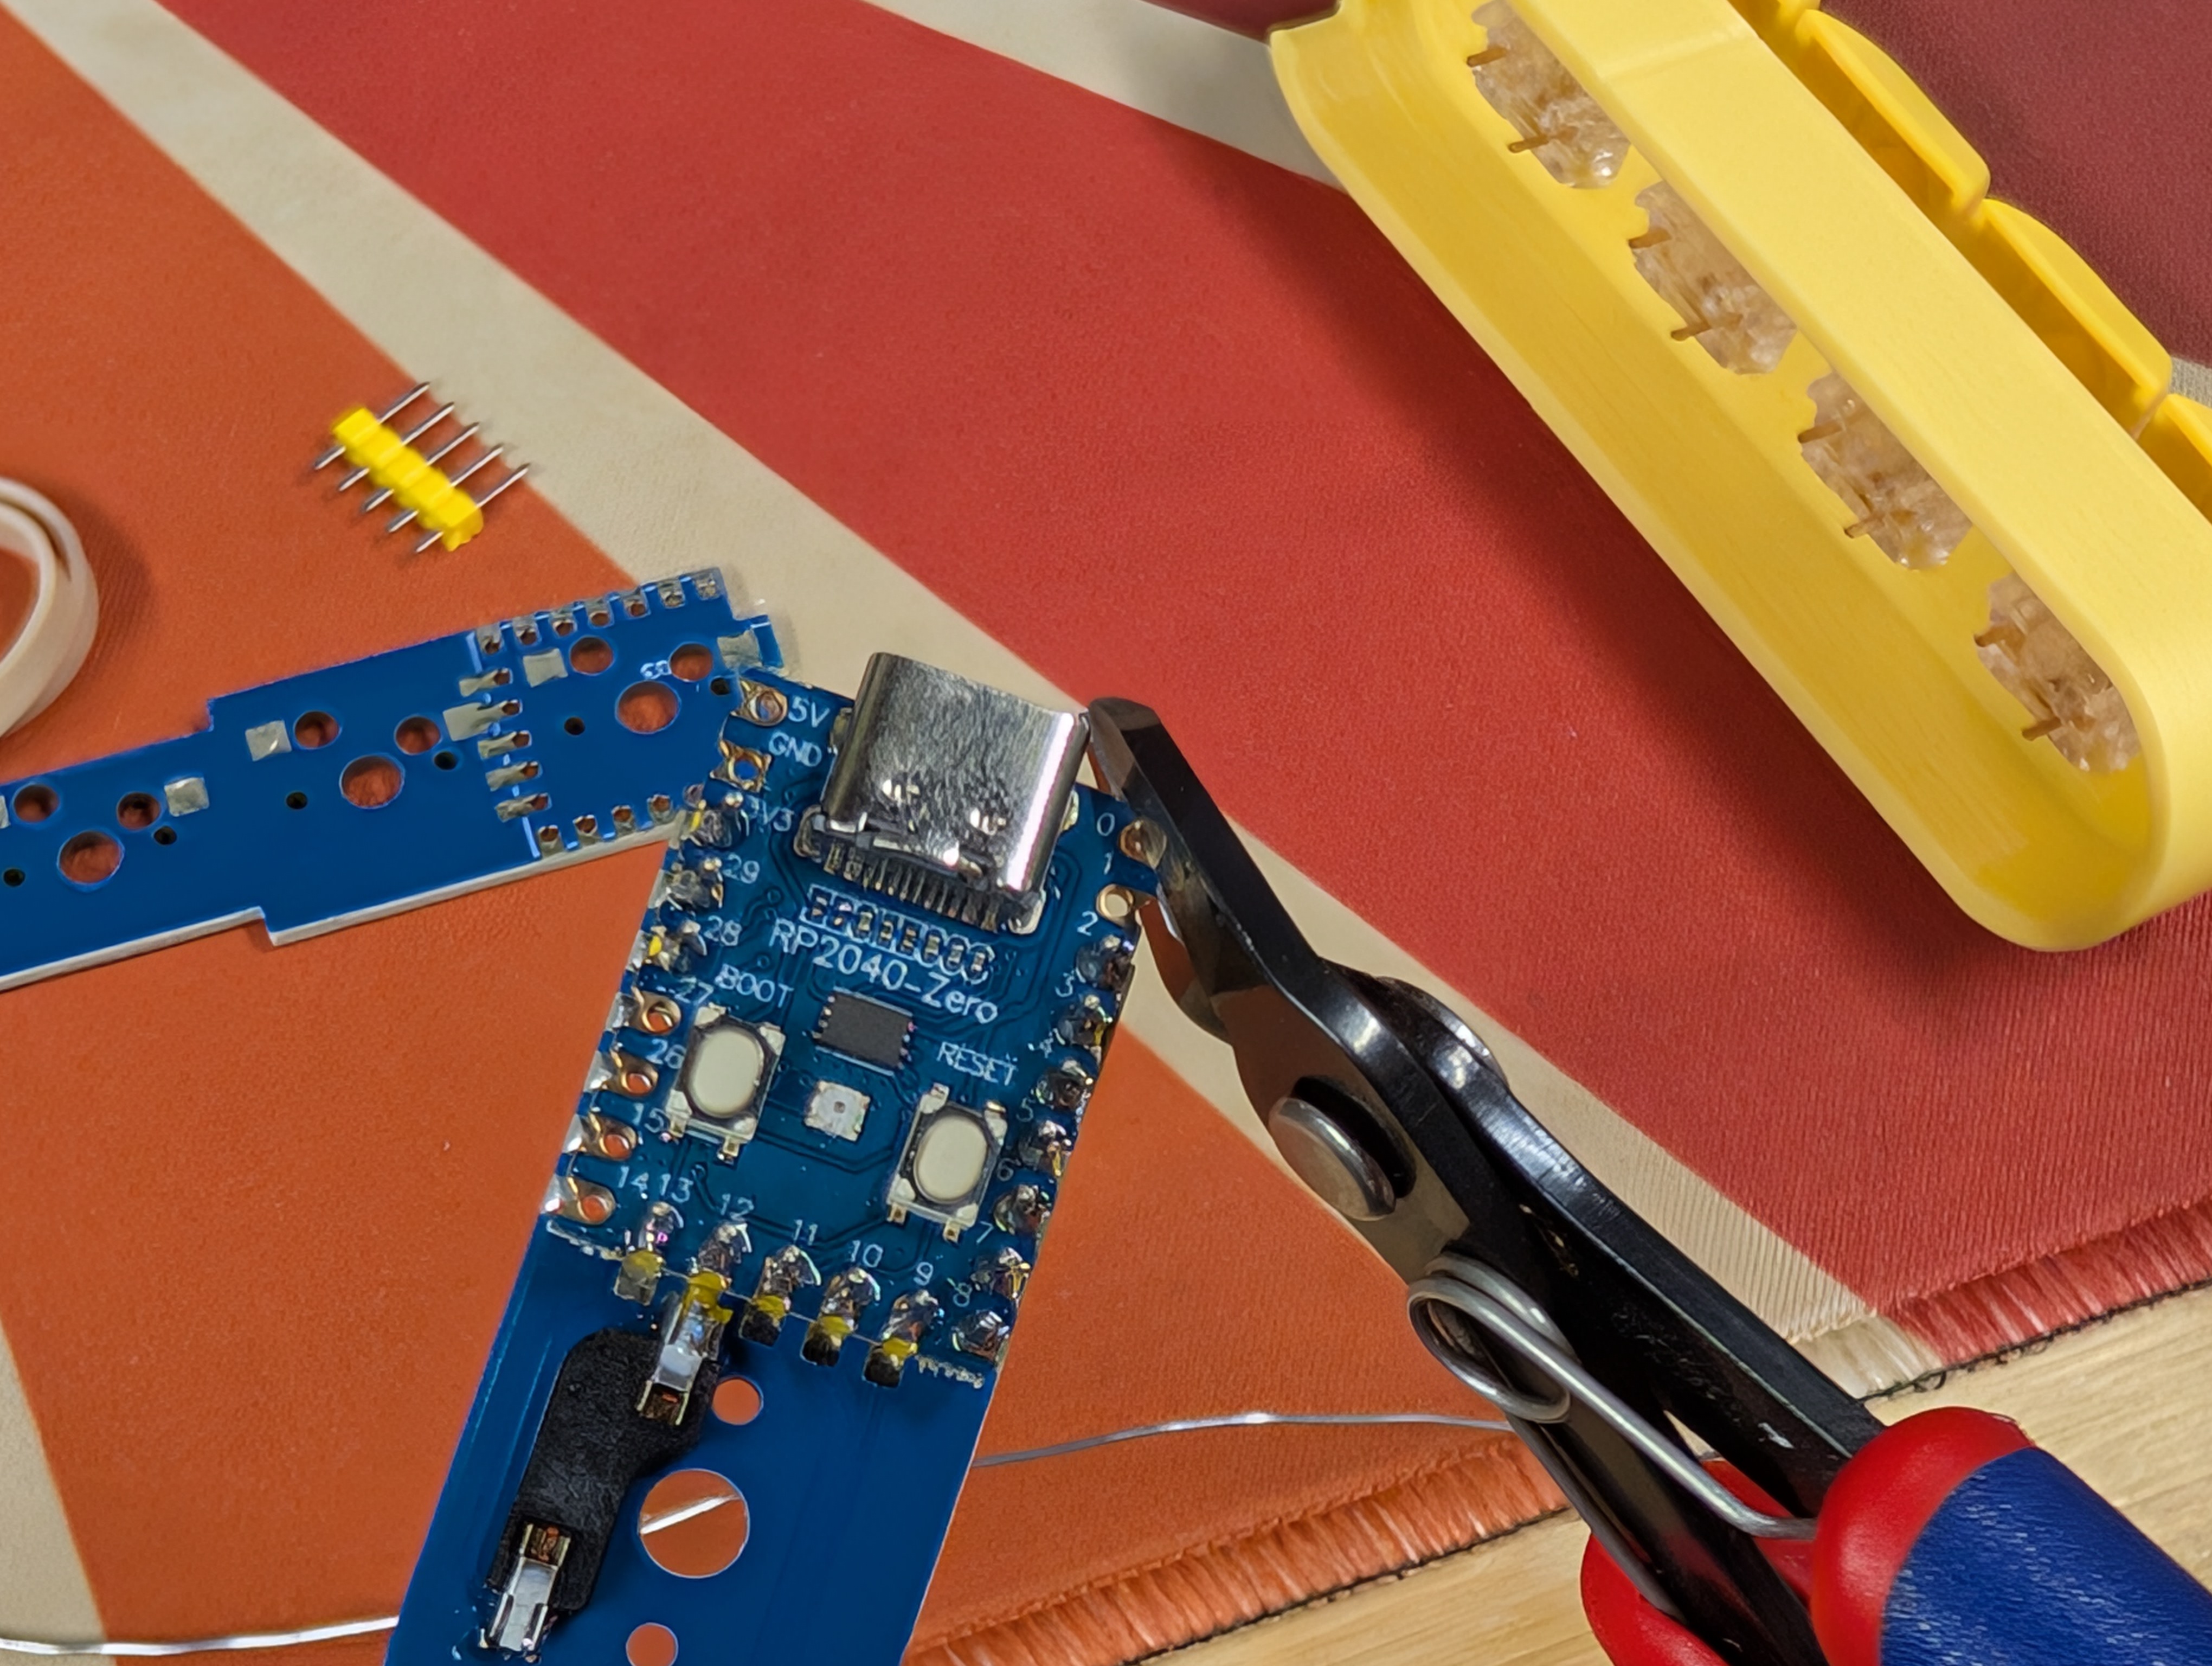
Trim the MCU to size. Use flush cuts or possibly scissors to trim just enough of the corner of the MCU off so that it fits in the case.
Attach the PCB to the switches. Be careful not to bend the pins.
- That's it!
# Programming the keys
Check out the programming guide to learn more about how to use your device.