# Macrostab Assembly Guide
Thank you for purchasing a Minnesota Macropad kit. You'll need the PCB from the meetup along with all the items that came with your kit.
# Flash the MCU
It's important to flash the MCU before starting to make sure it works.
- Download the .uf2 file for the device from the firmware list.
- While holding the boot button, plug the MCU into the computer.
- Drag the .uf2 file into the new drive that shows up. Confirm the device shows up in VIAL after it disconnects and reconnects.
TODO(add photos)
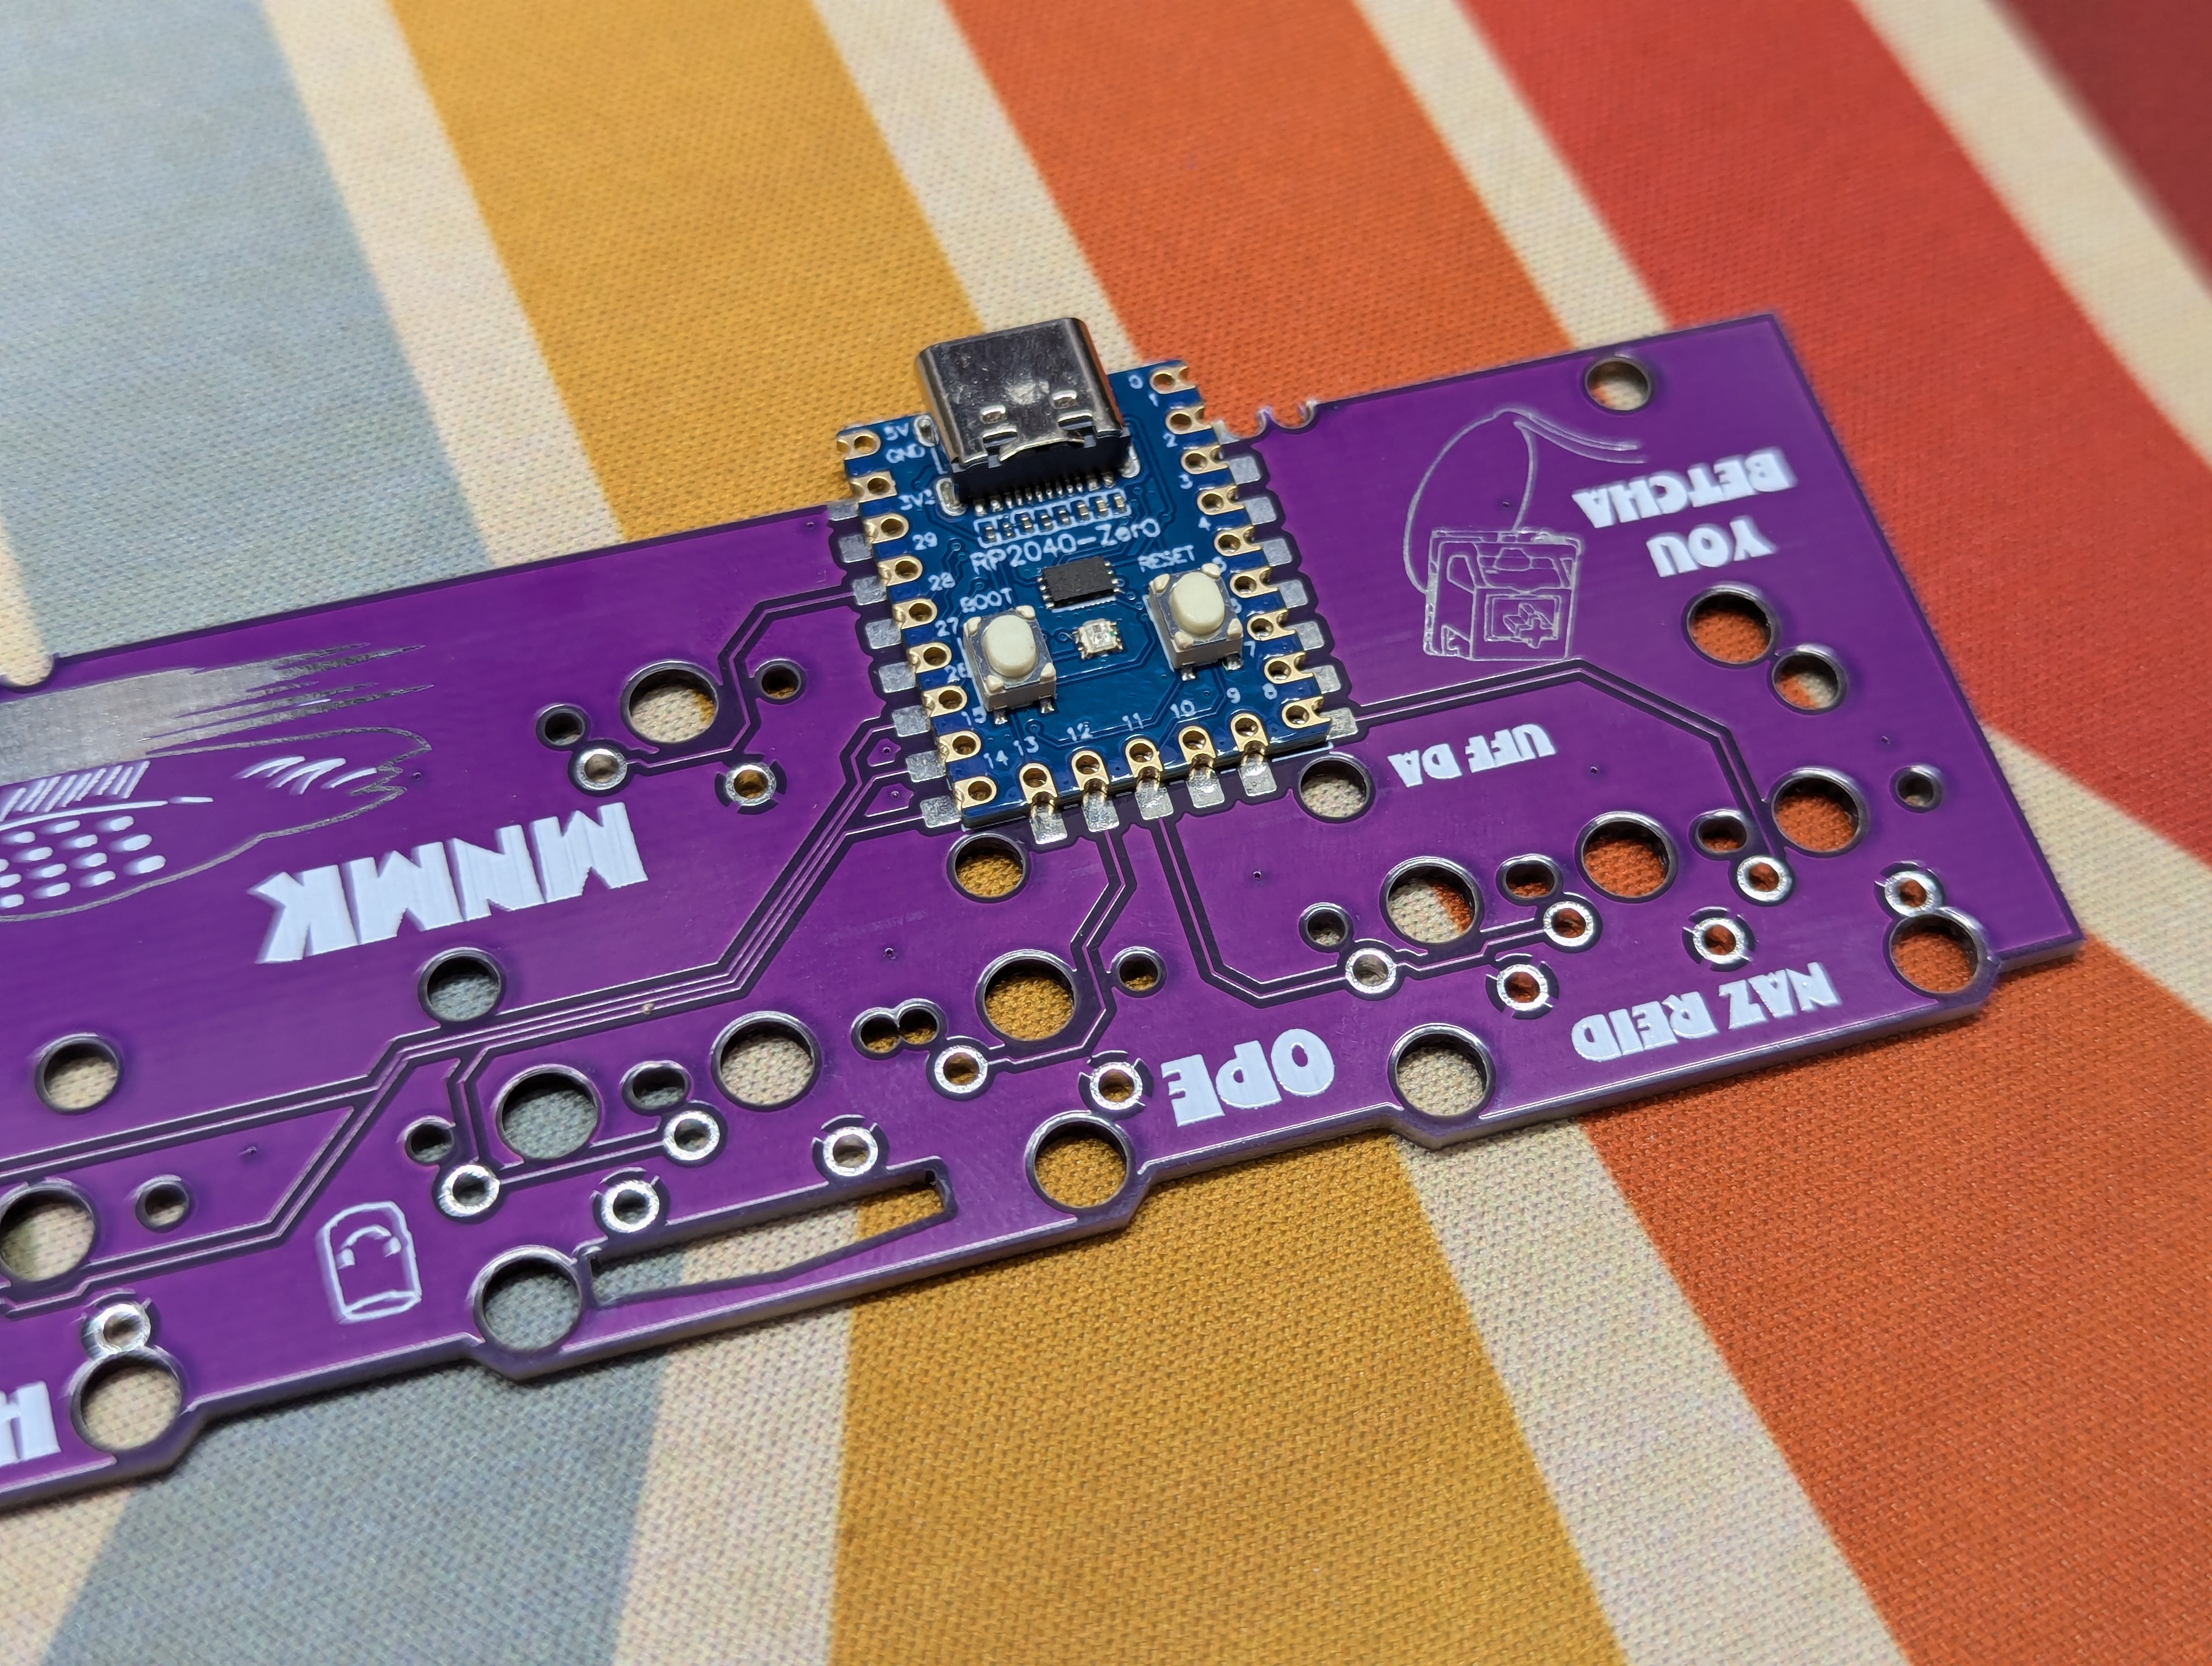
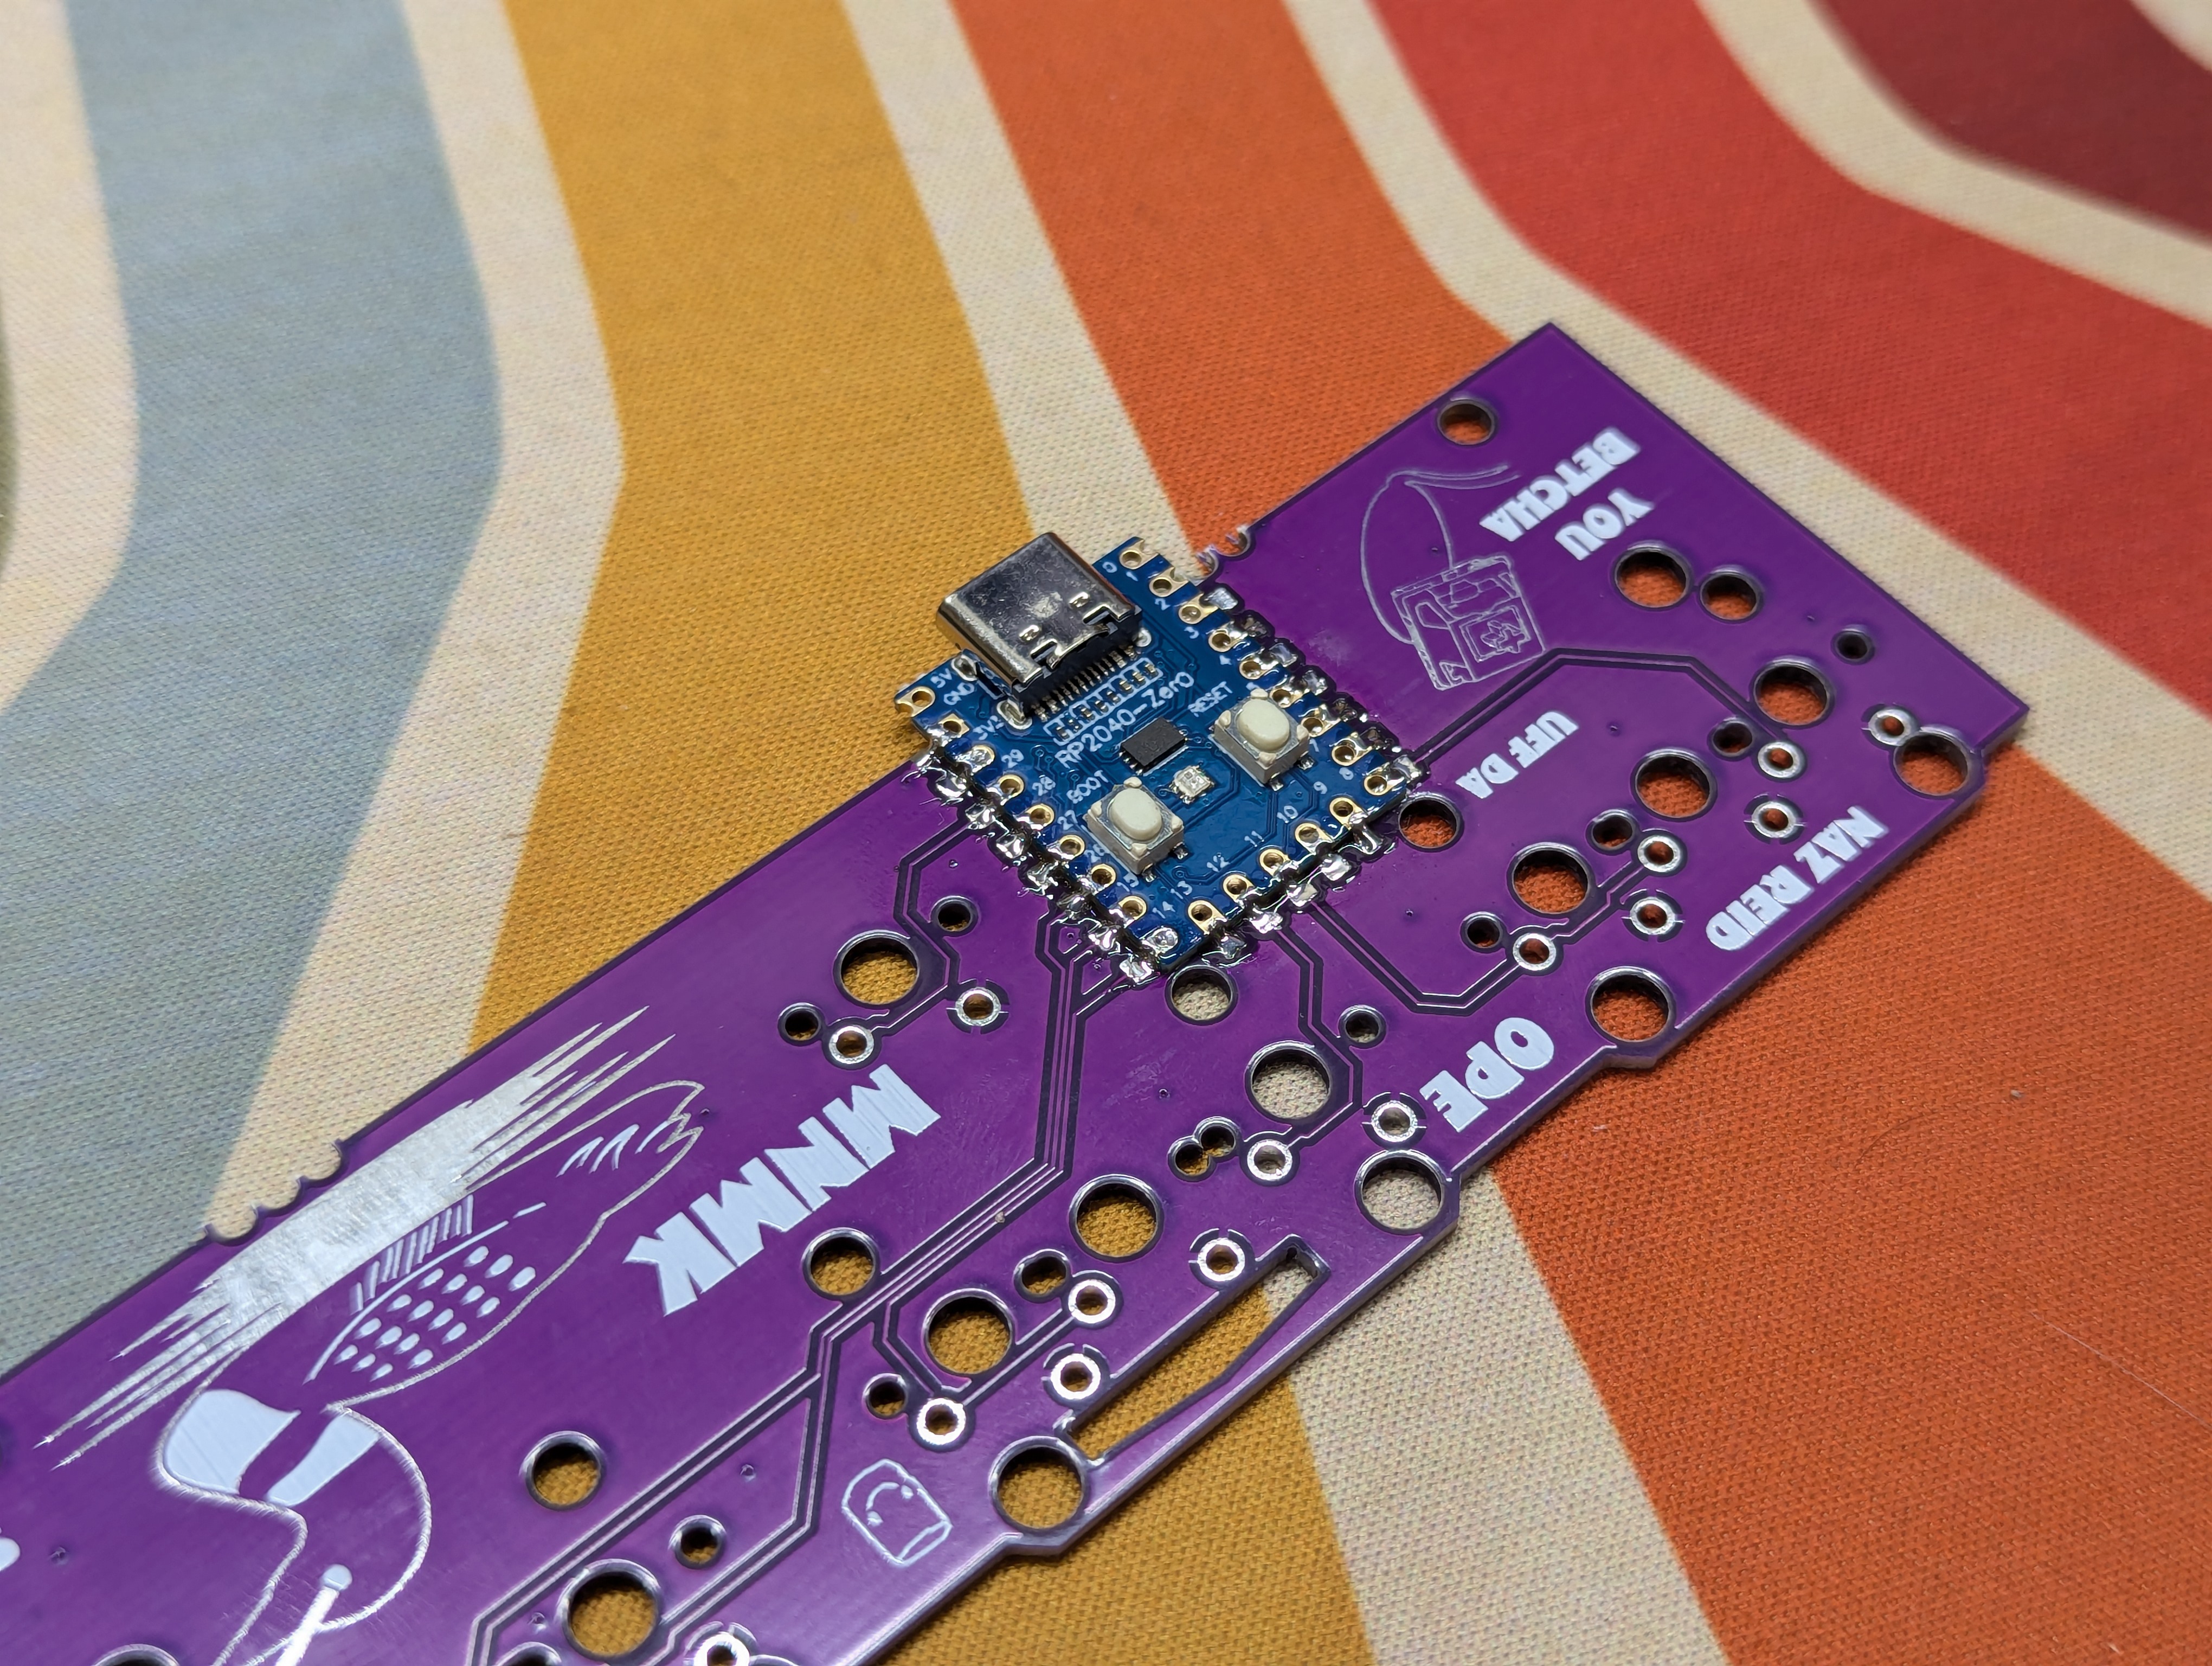
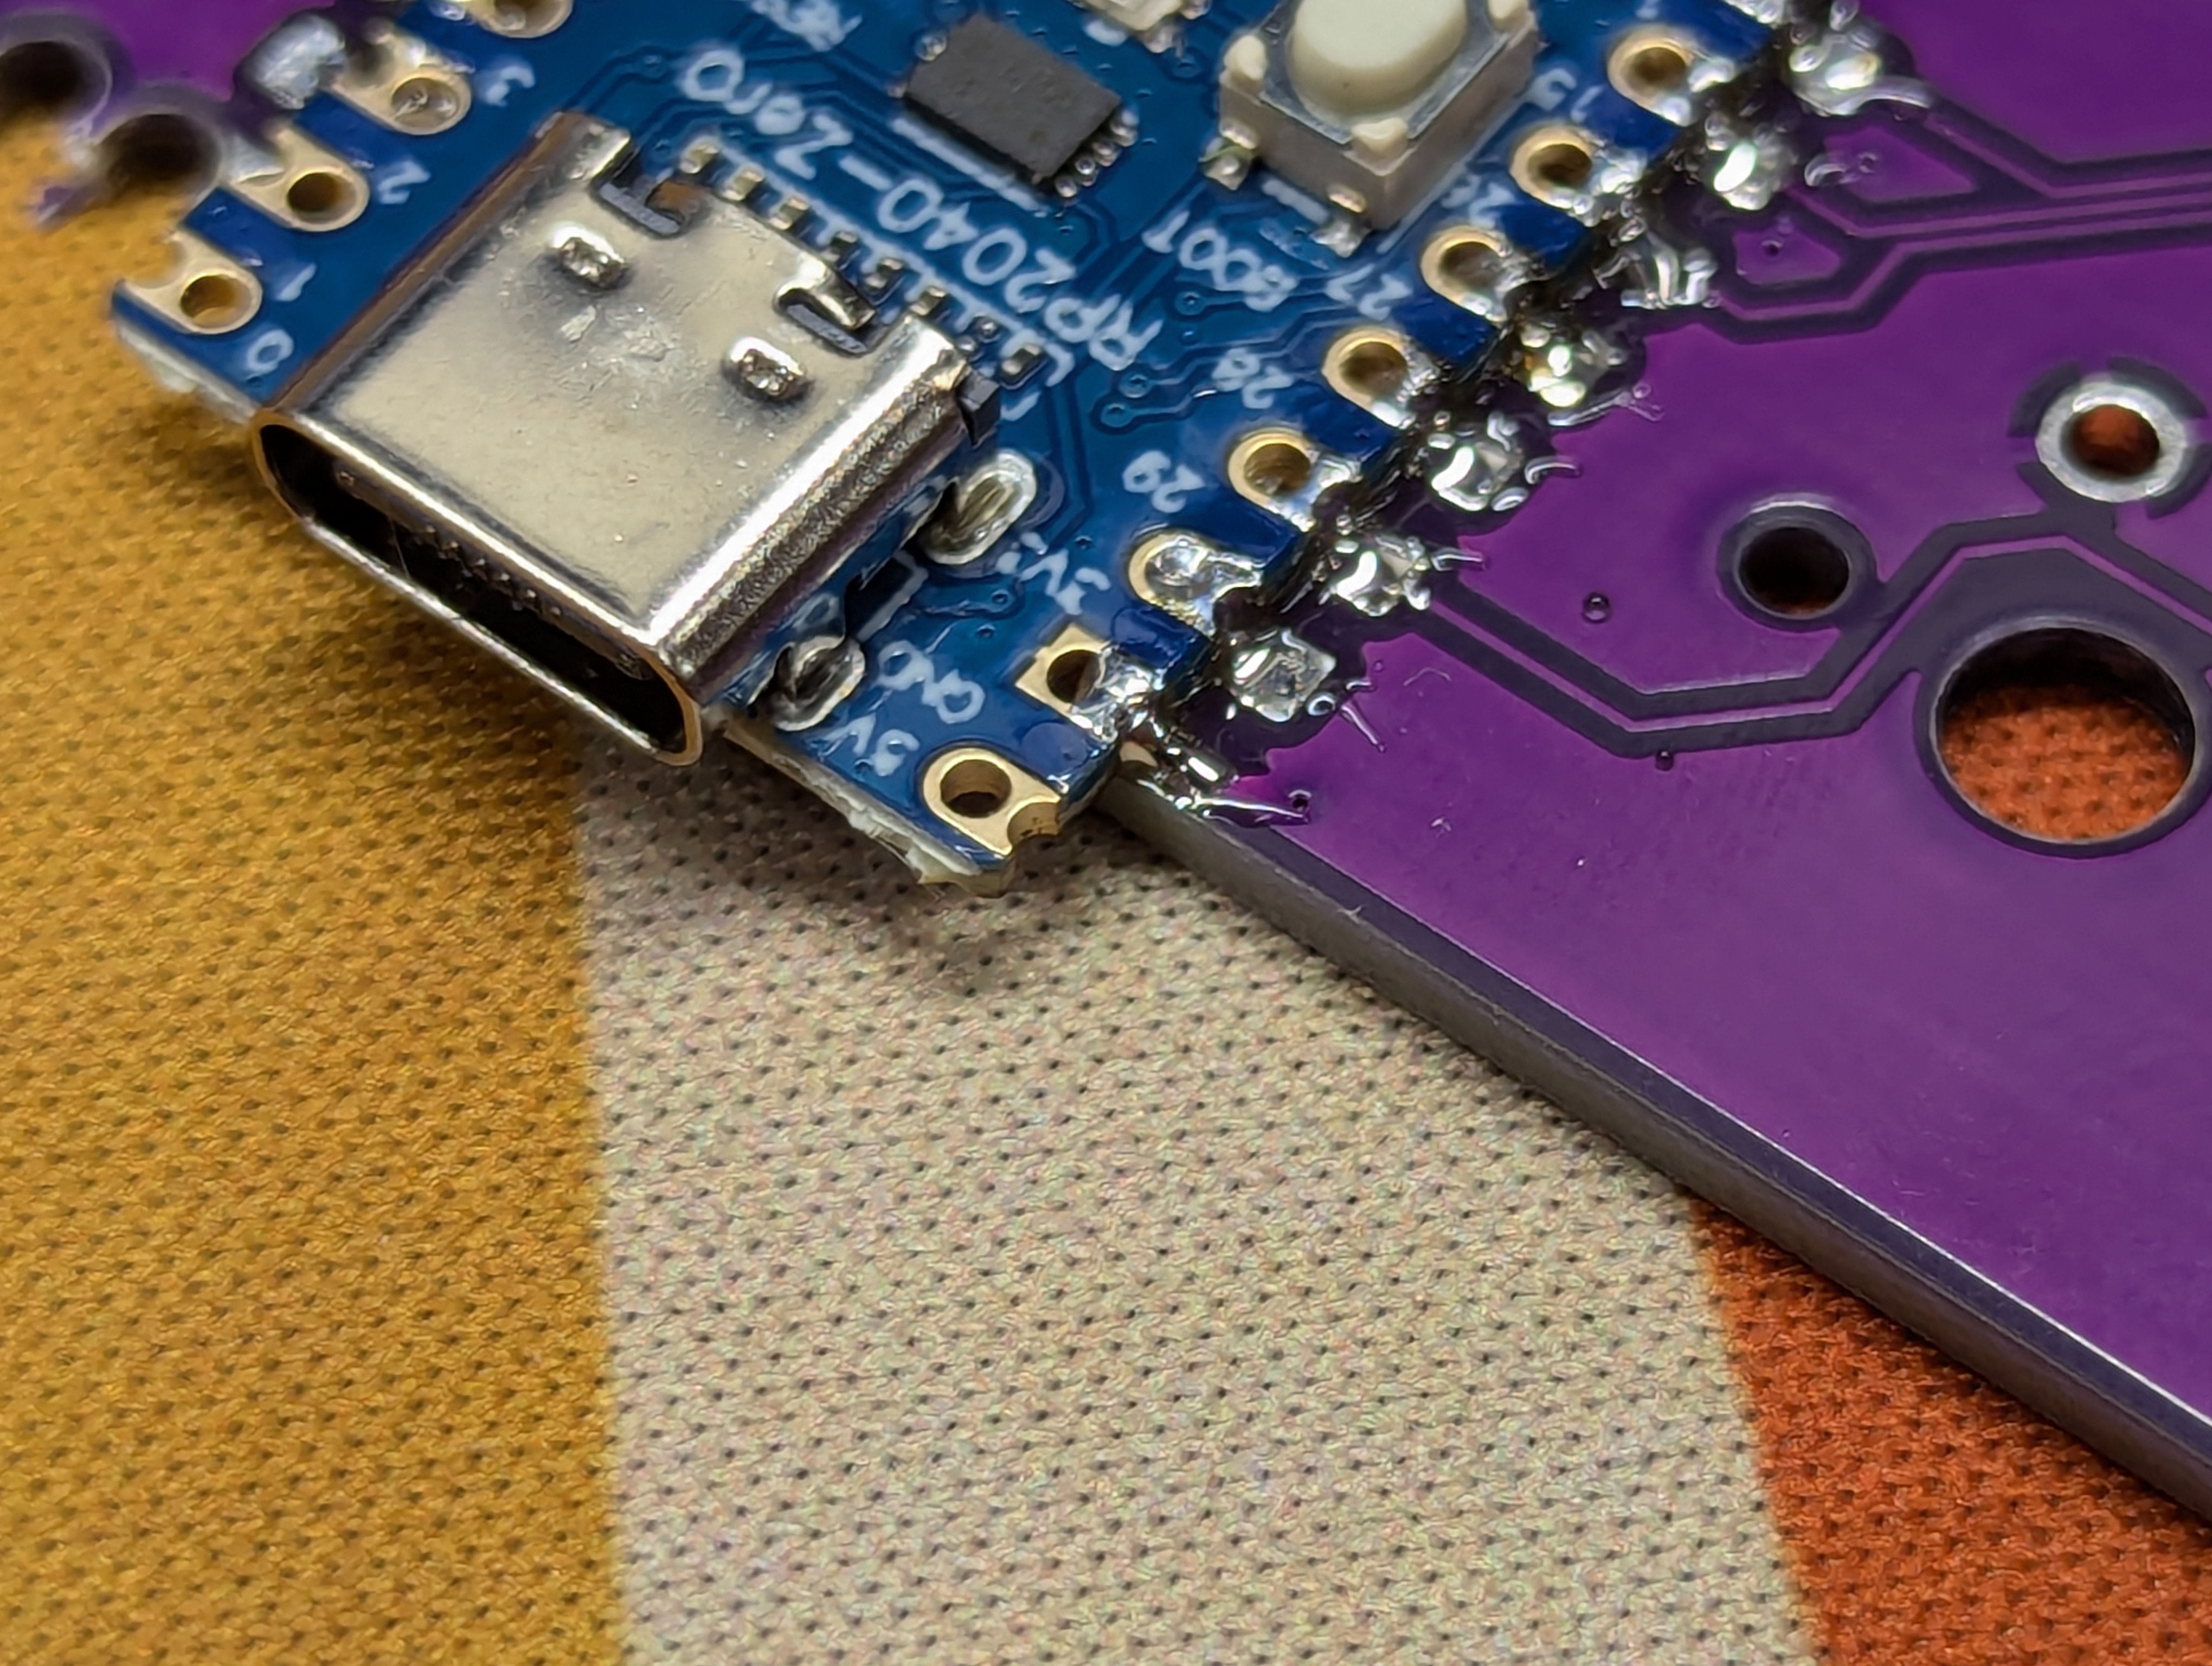
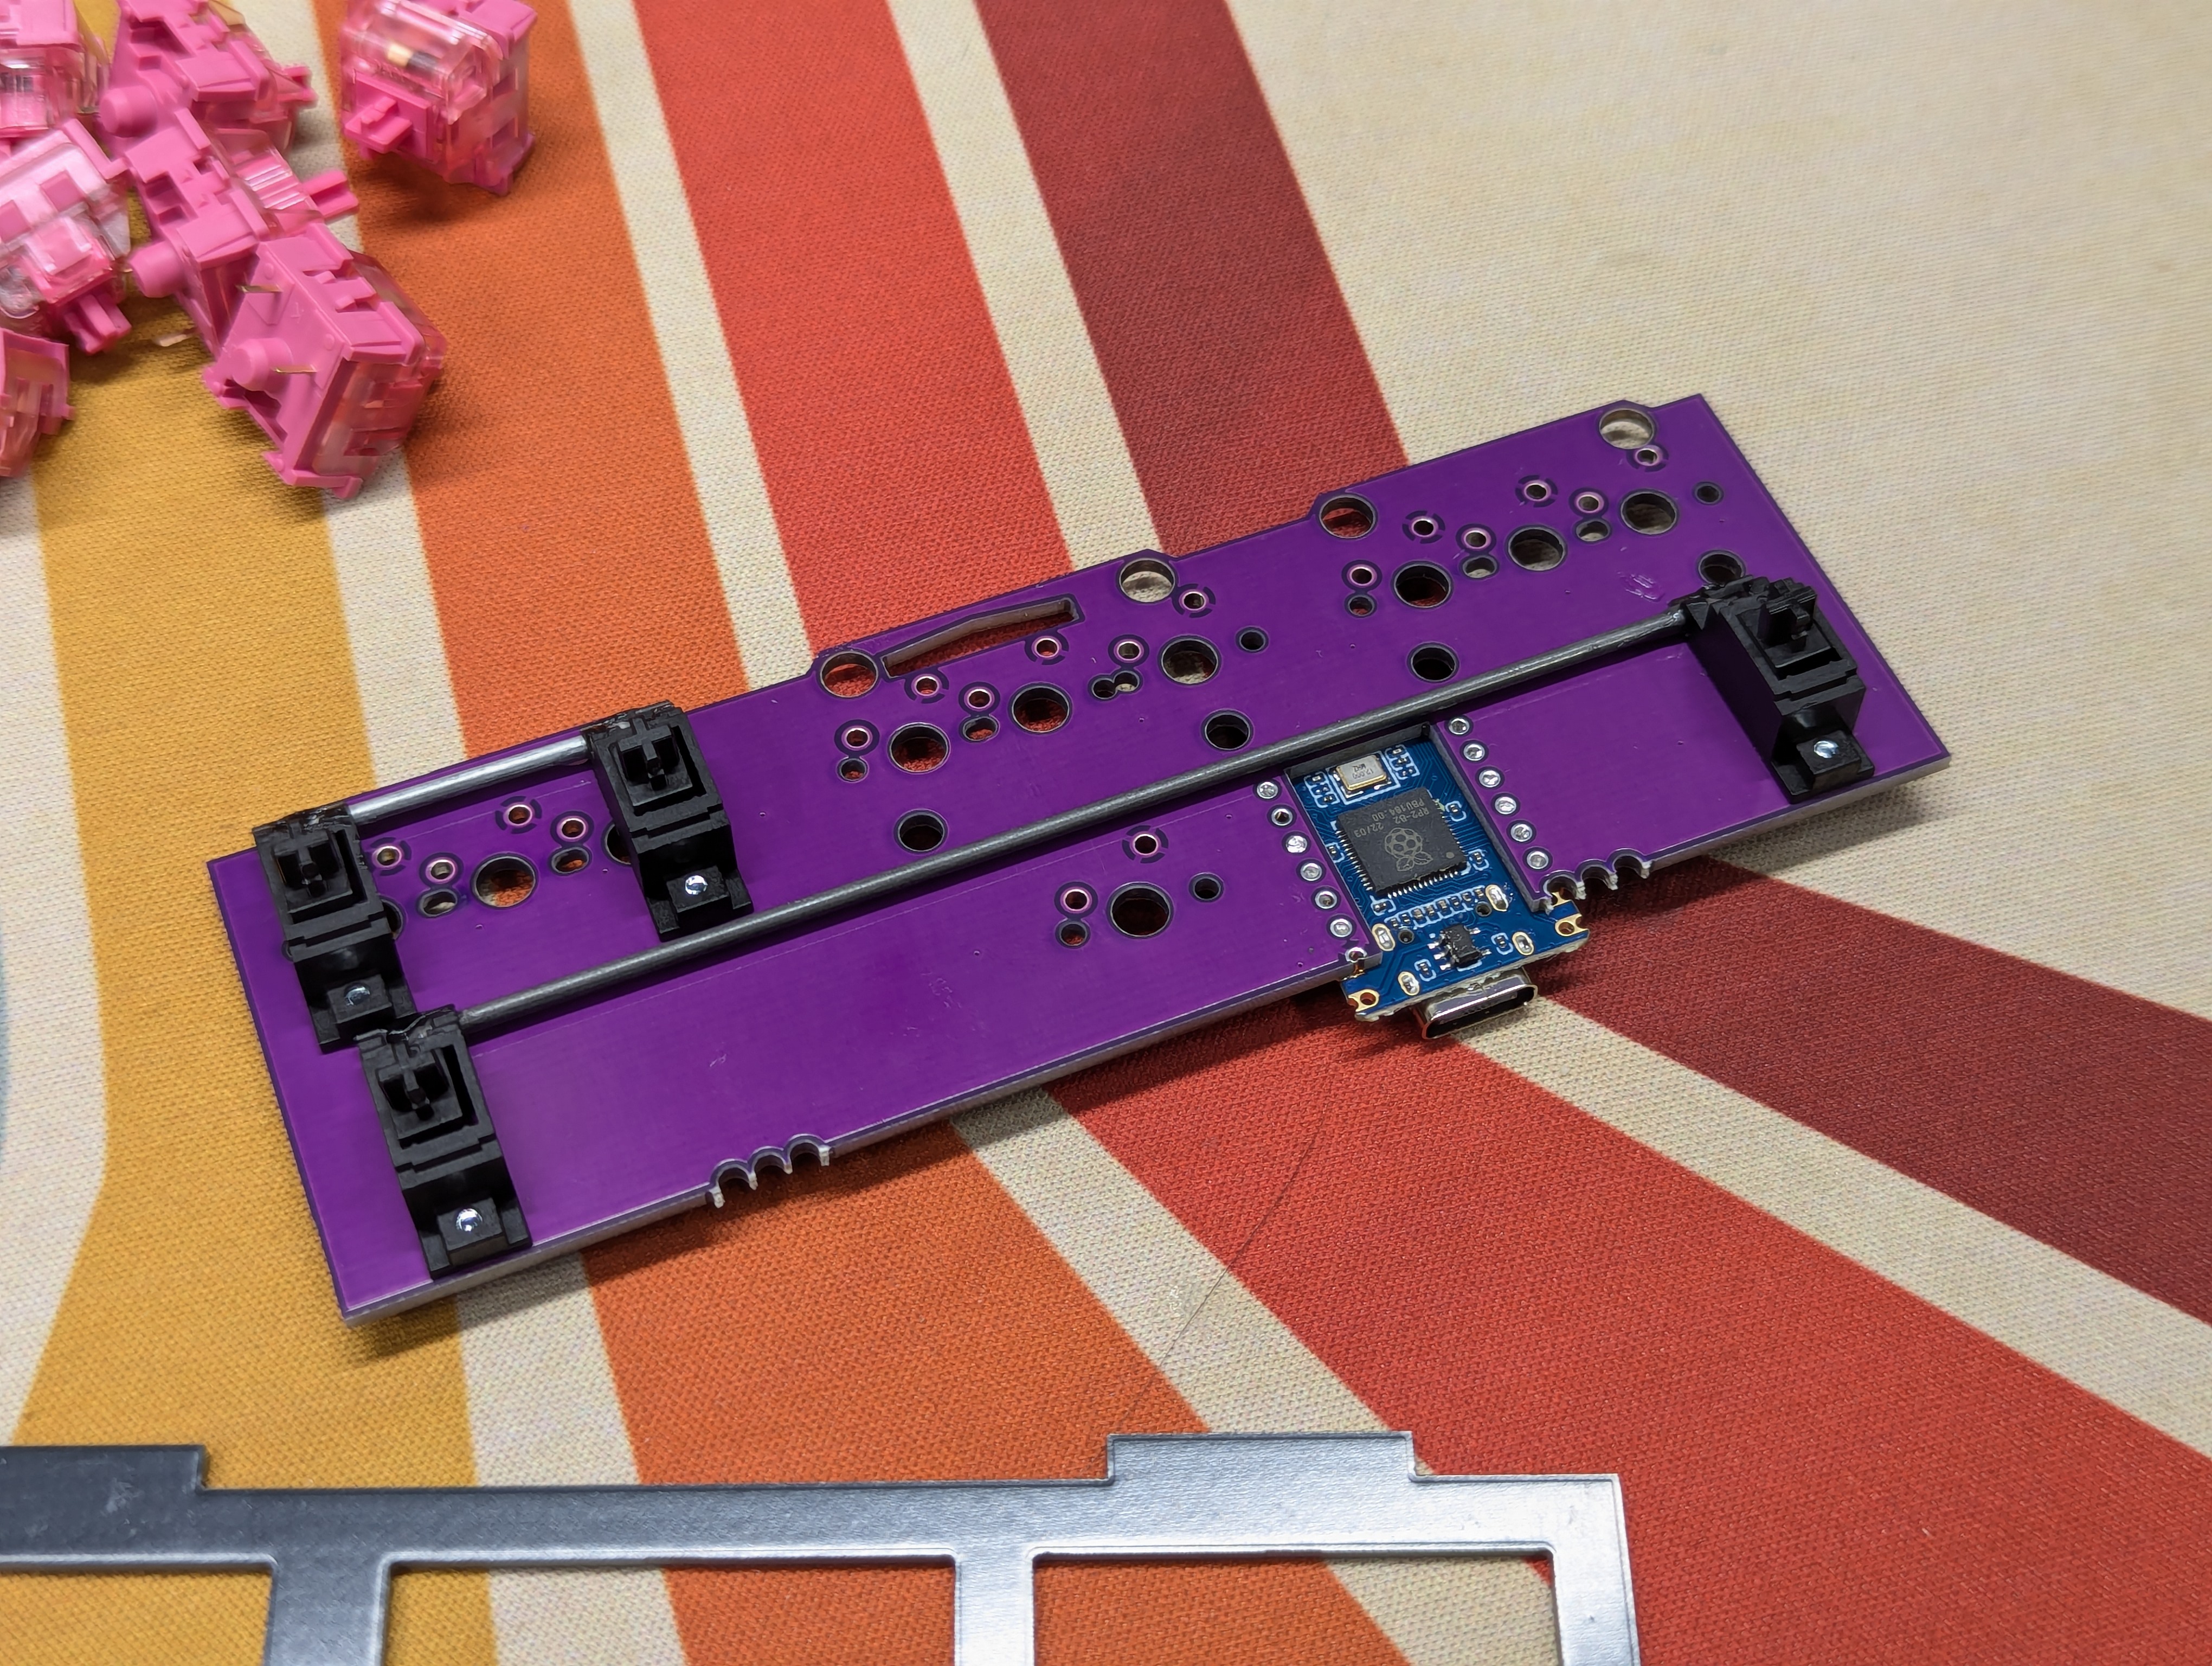
# Solder the MCU
Place the MCU on the PCB like so
Then solder the MCU to the PCB
# Stabilizers
- Install the PCB mounted stabilizers. Not every spot needs a stabilizer, only where you'd like to use a 2u key instead of 1u keys.
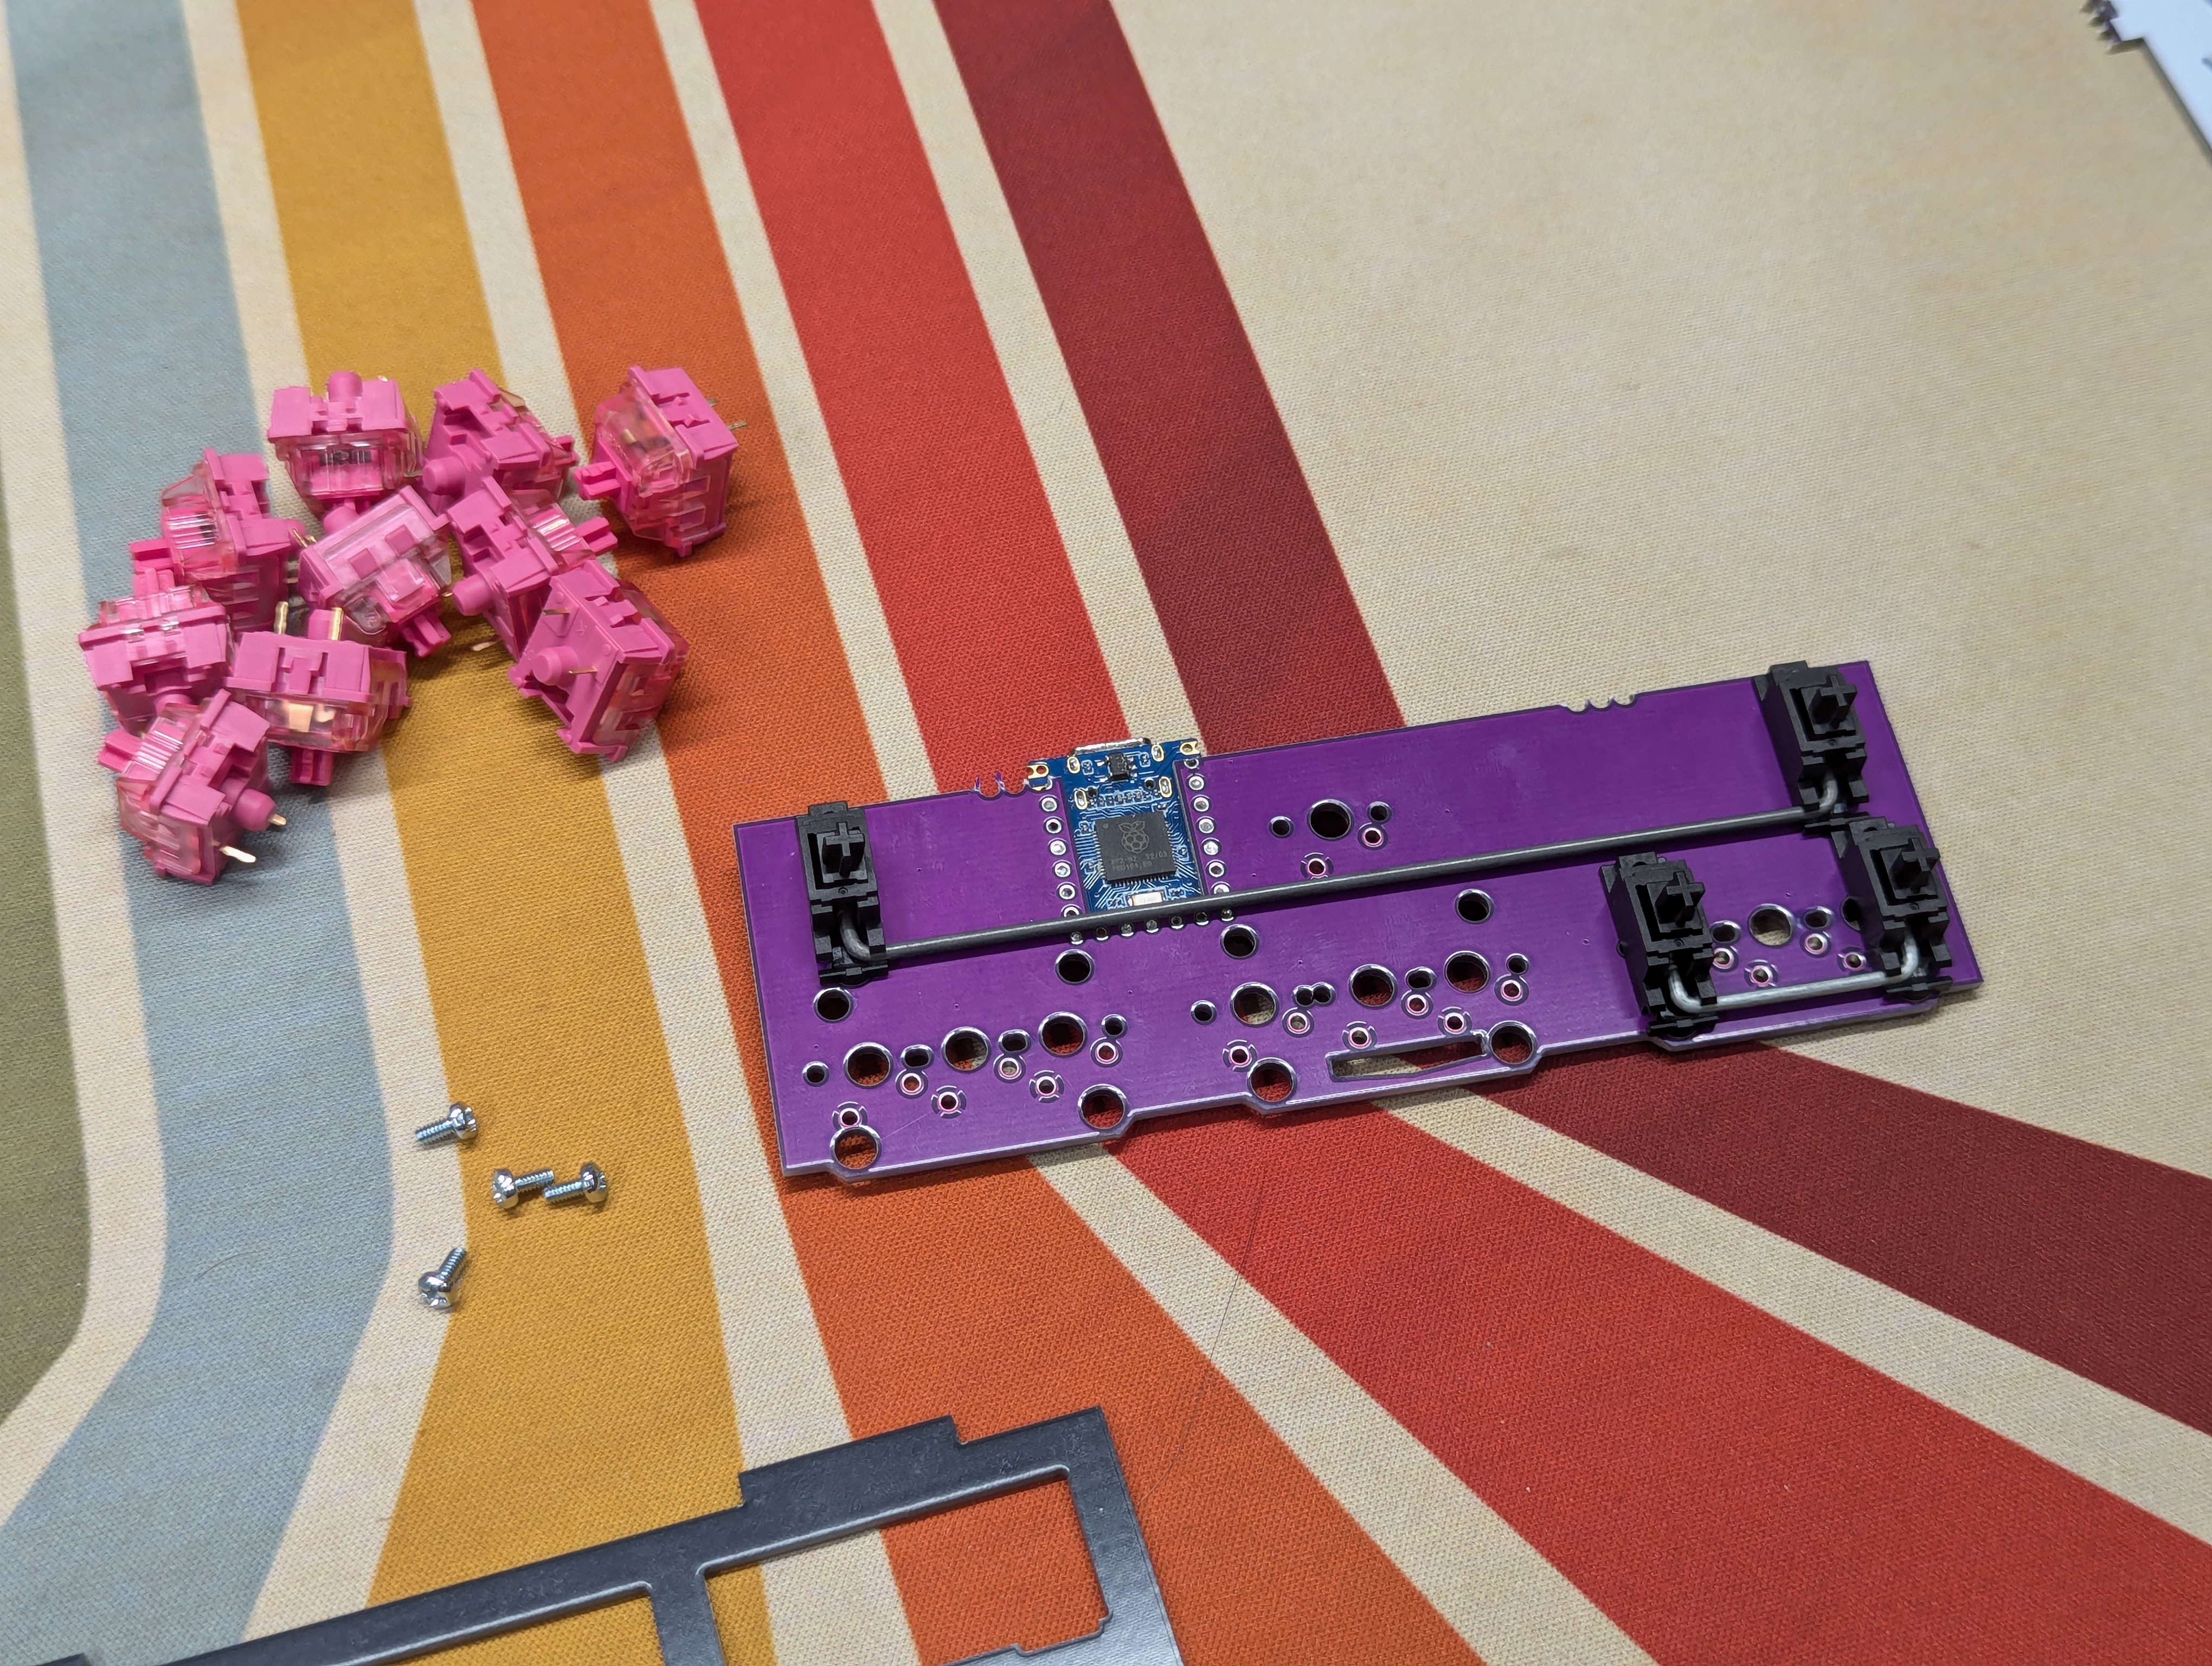
They usually screw in but some might clip in. Below are a few links that explain keyboard stabilizers and how to install them. You'll need a stabilizer for each key that is 2u or larger.
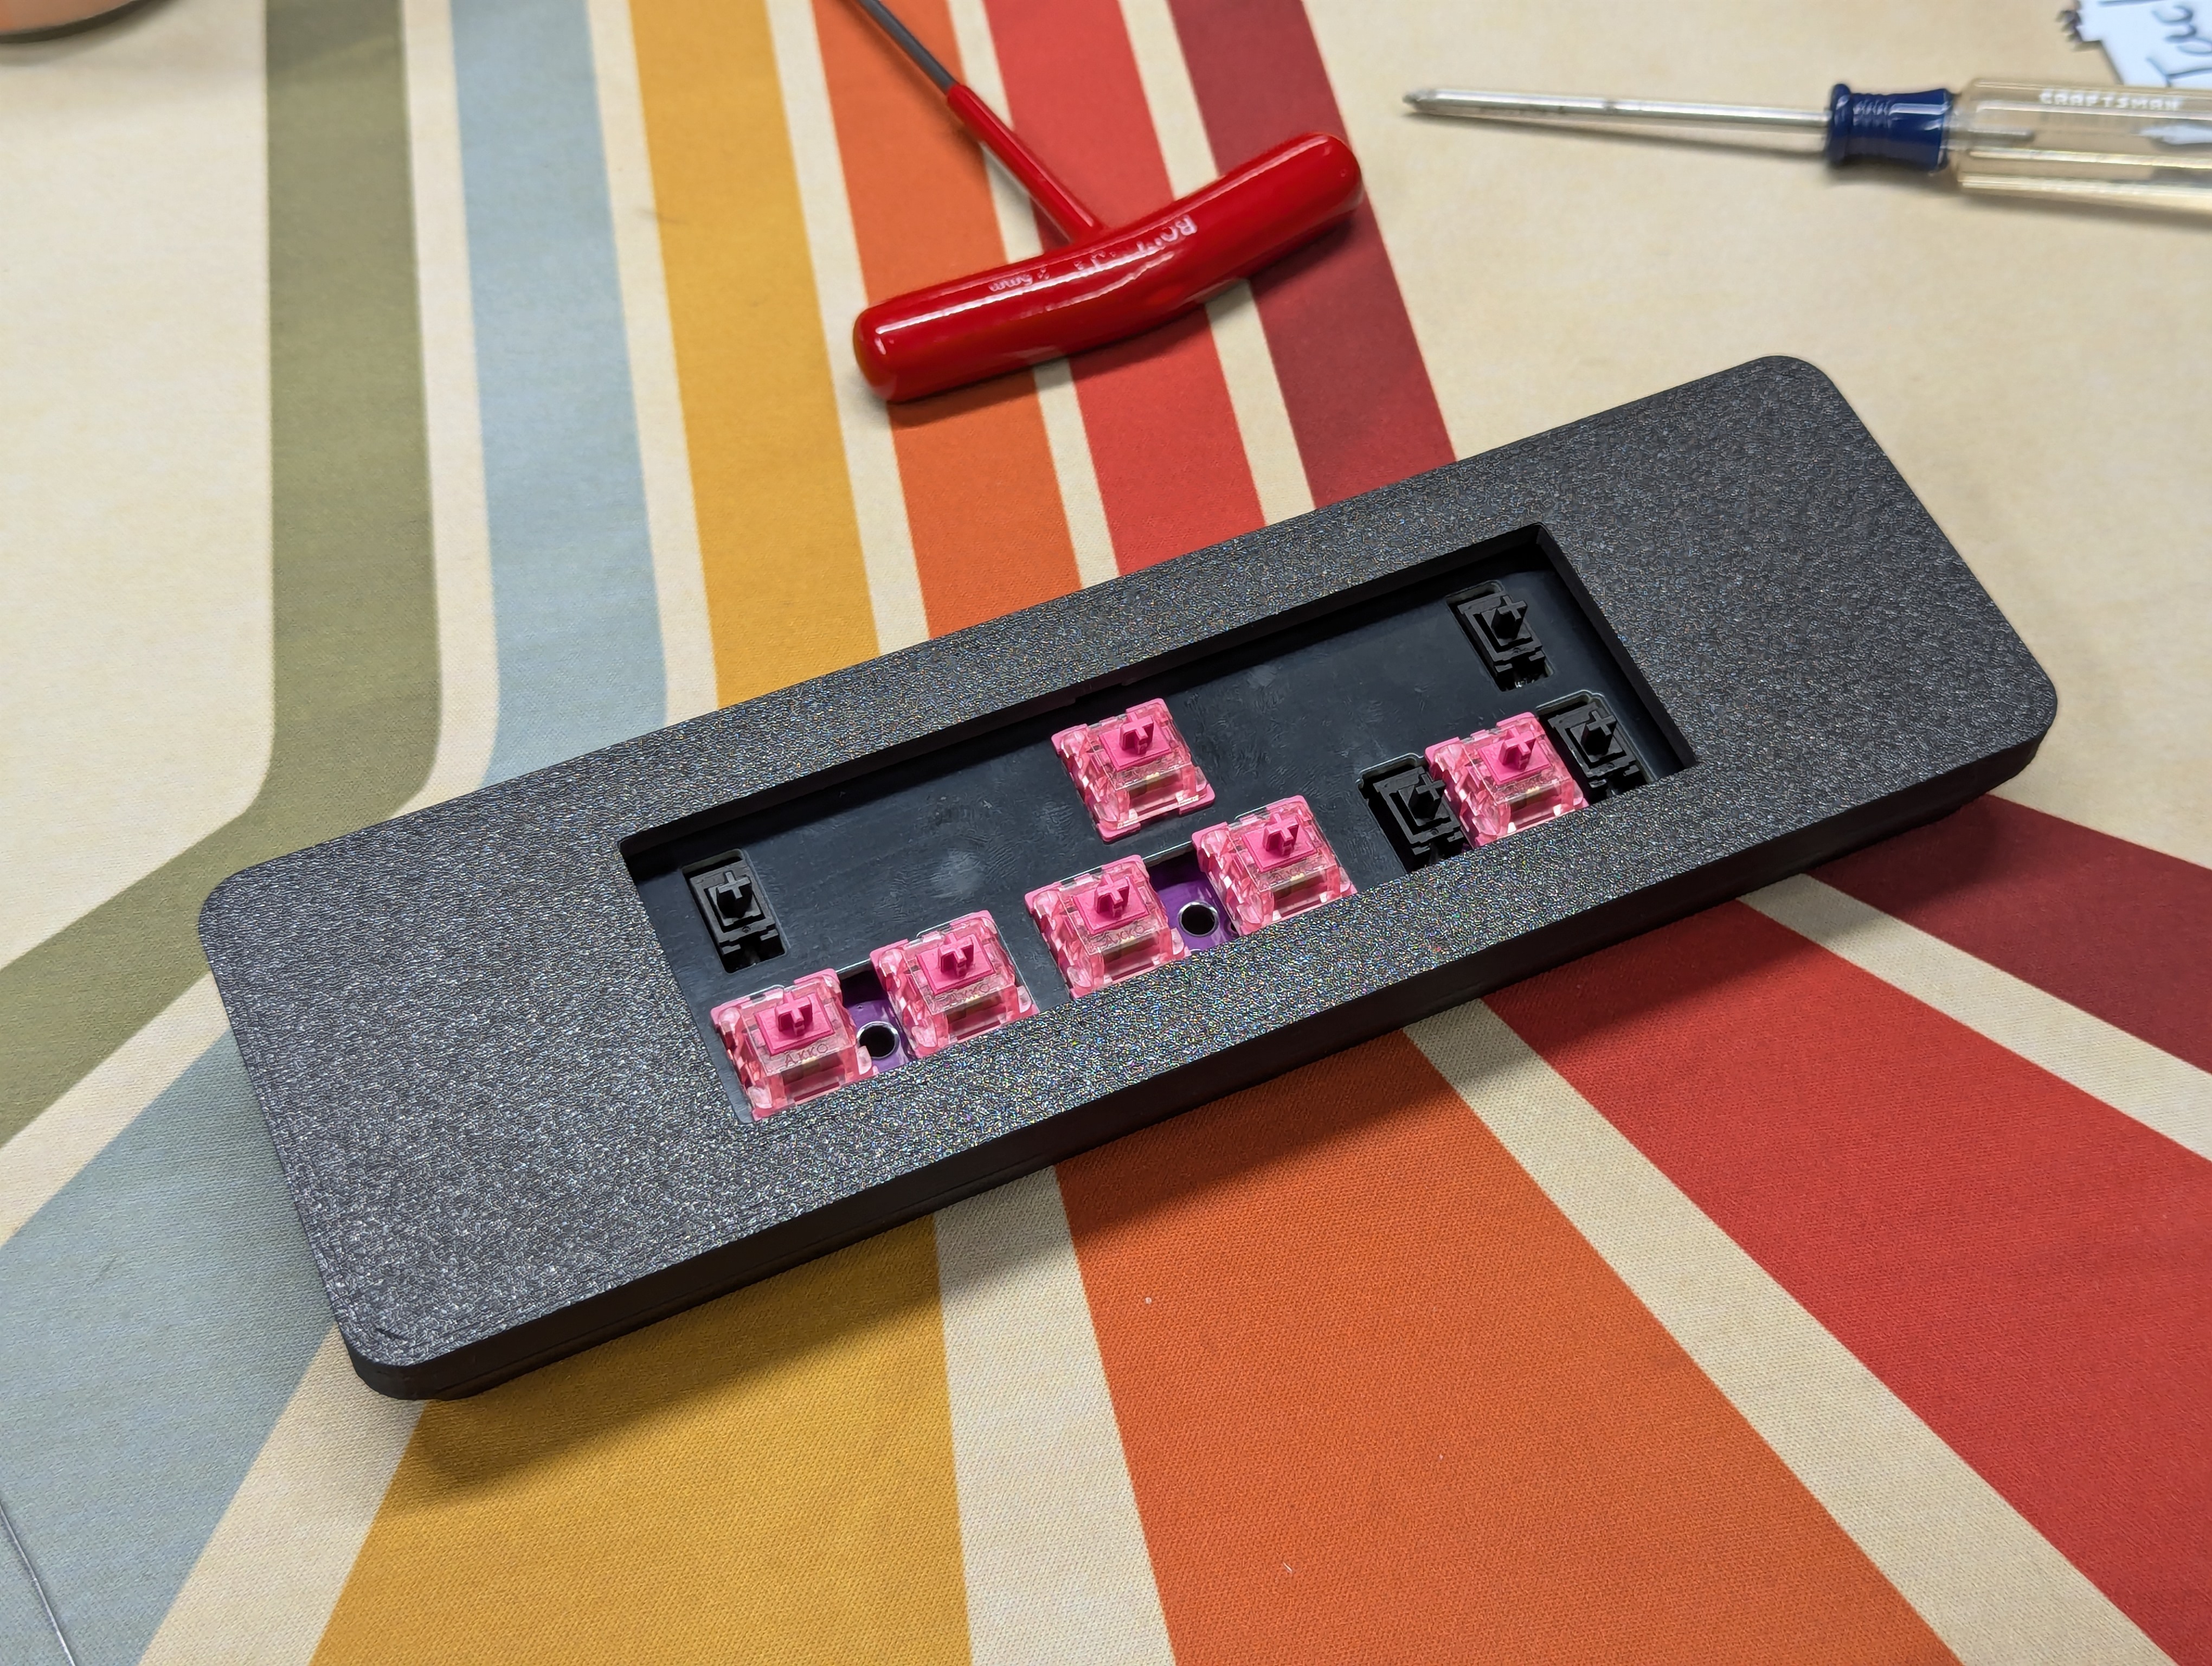
# Switches and Plate
The switches and the plate steps go together. It's your preference on the exact way to do it. If you're new to assembling keyboards, we recommend trying the order outlined
Install a few switches into the plate.
Install the plate and switches on the PCB, solder one lead of each switch if it's a soldered board.
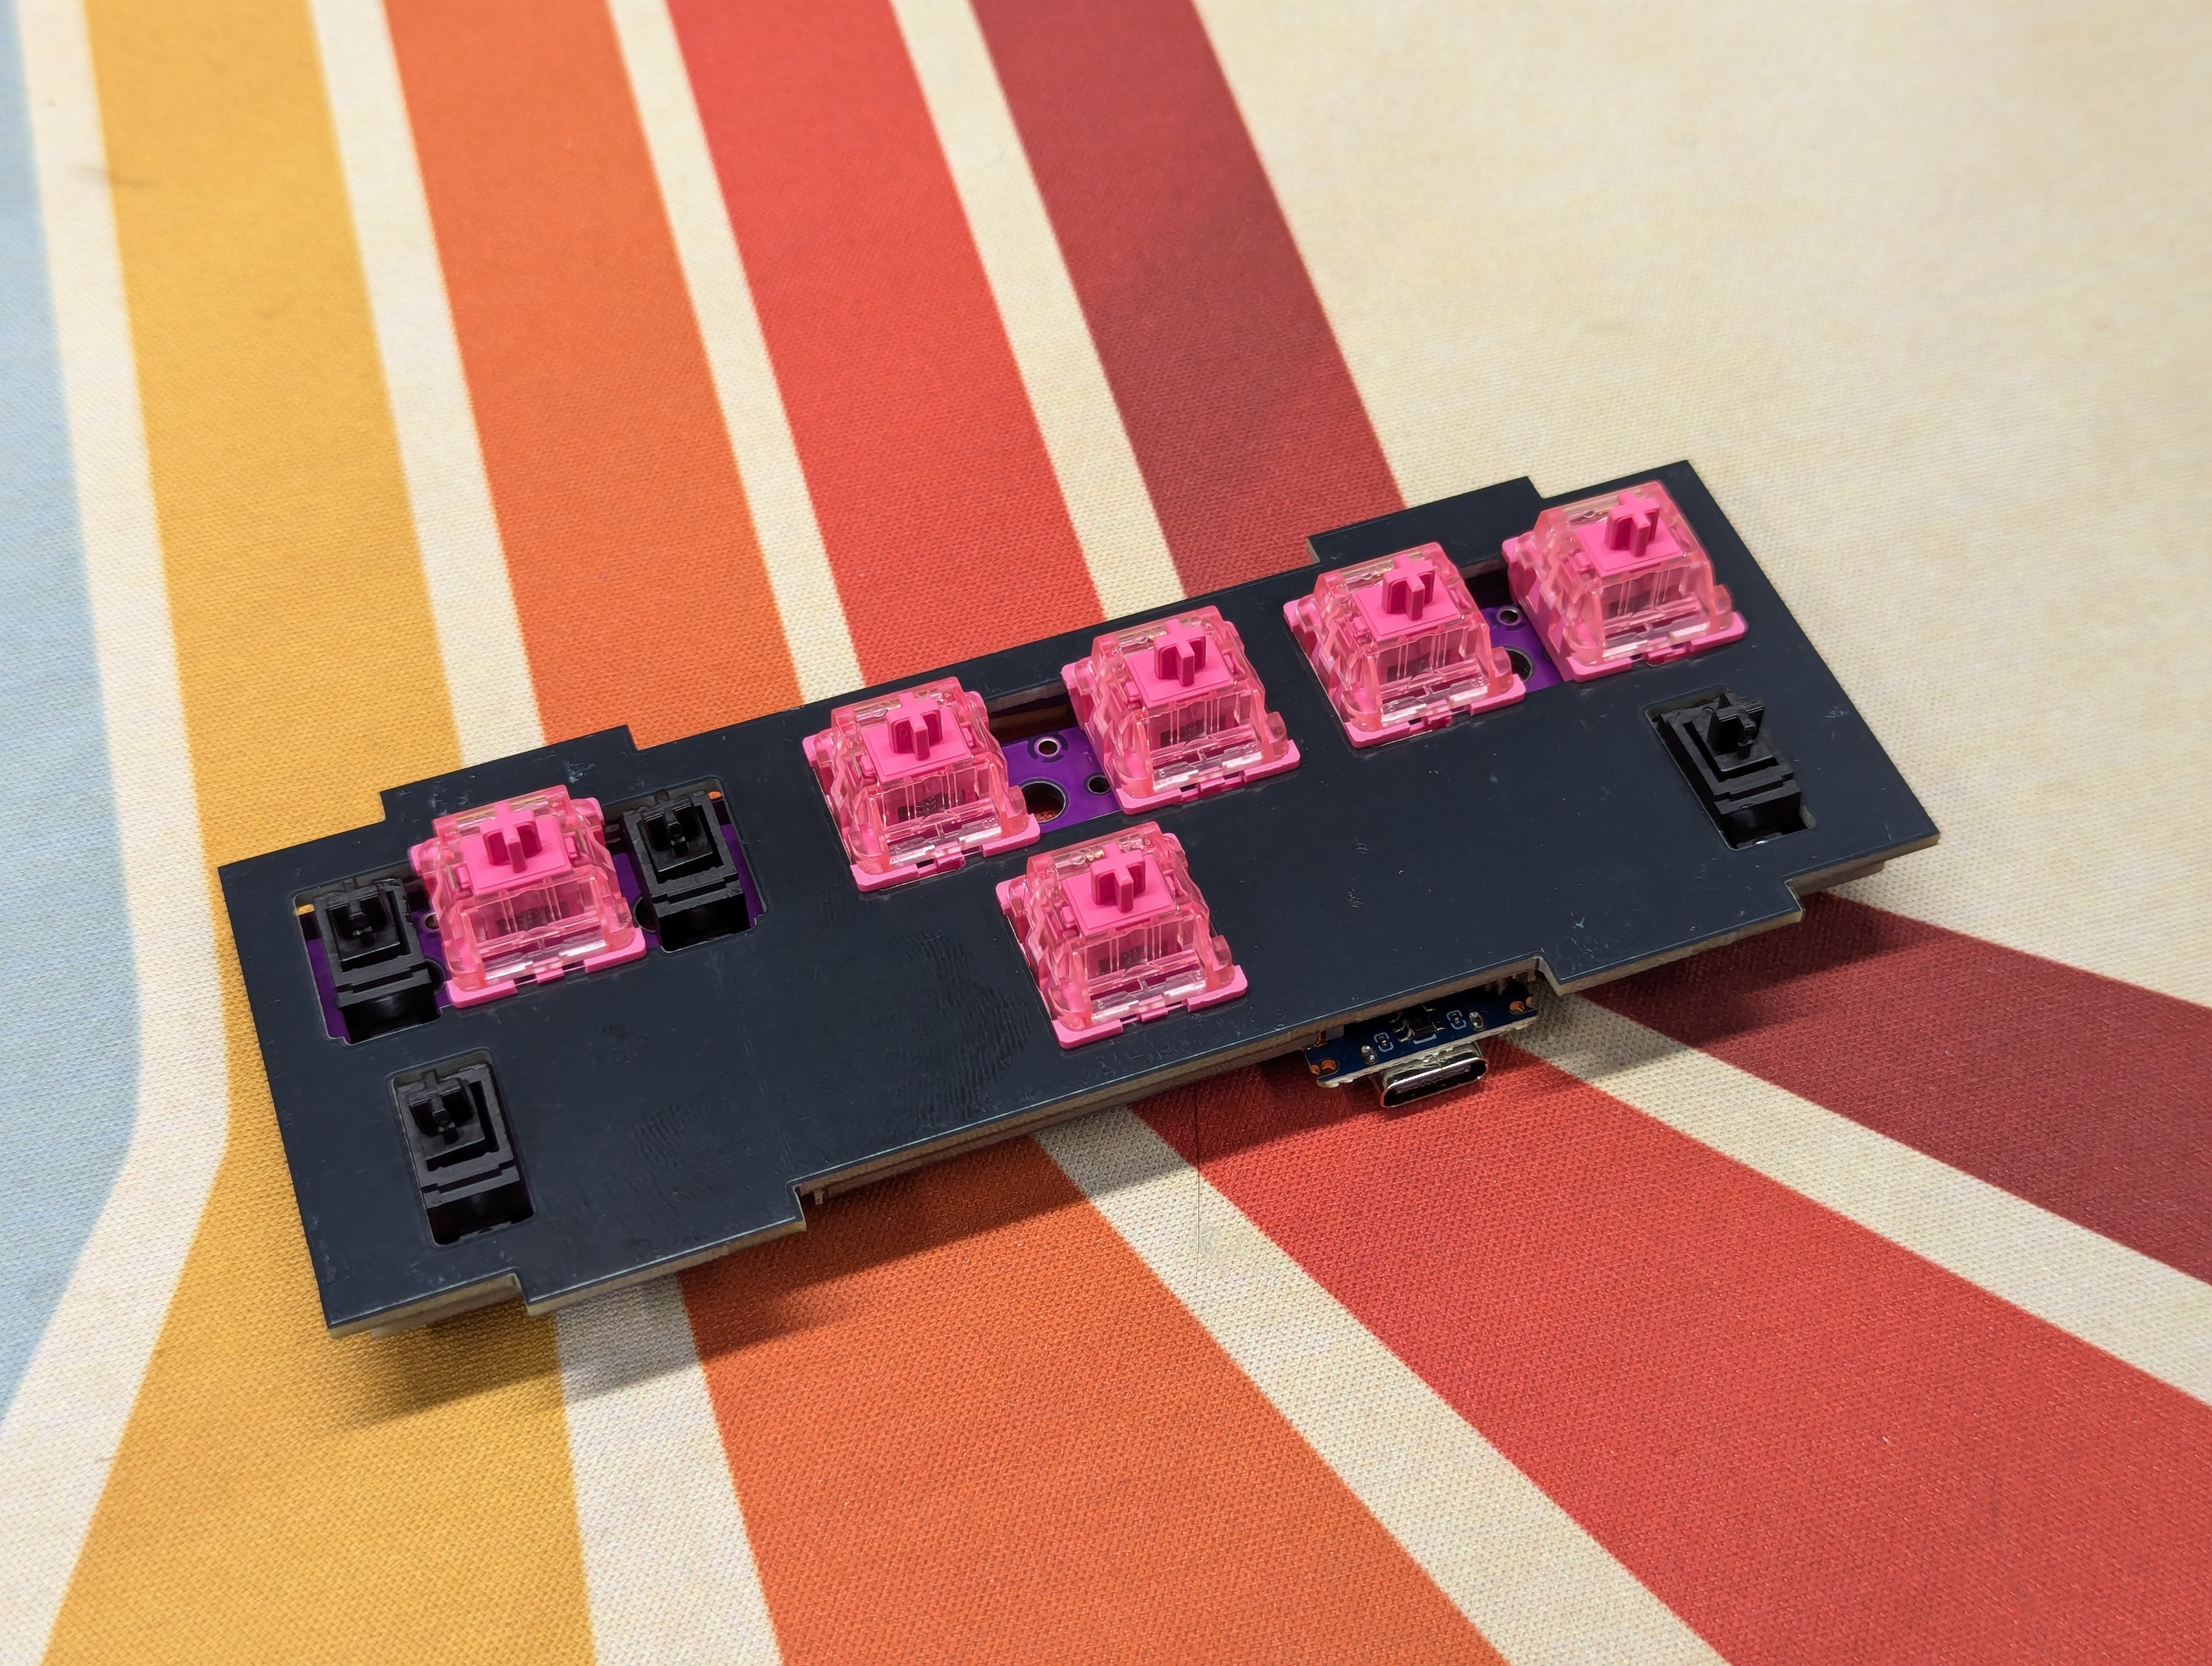
Verify switches are sitting flush.
Insert the remaining switches into the plate.
finish soldering all the remaining switches.
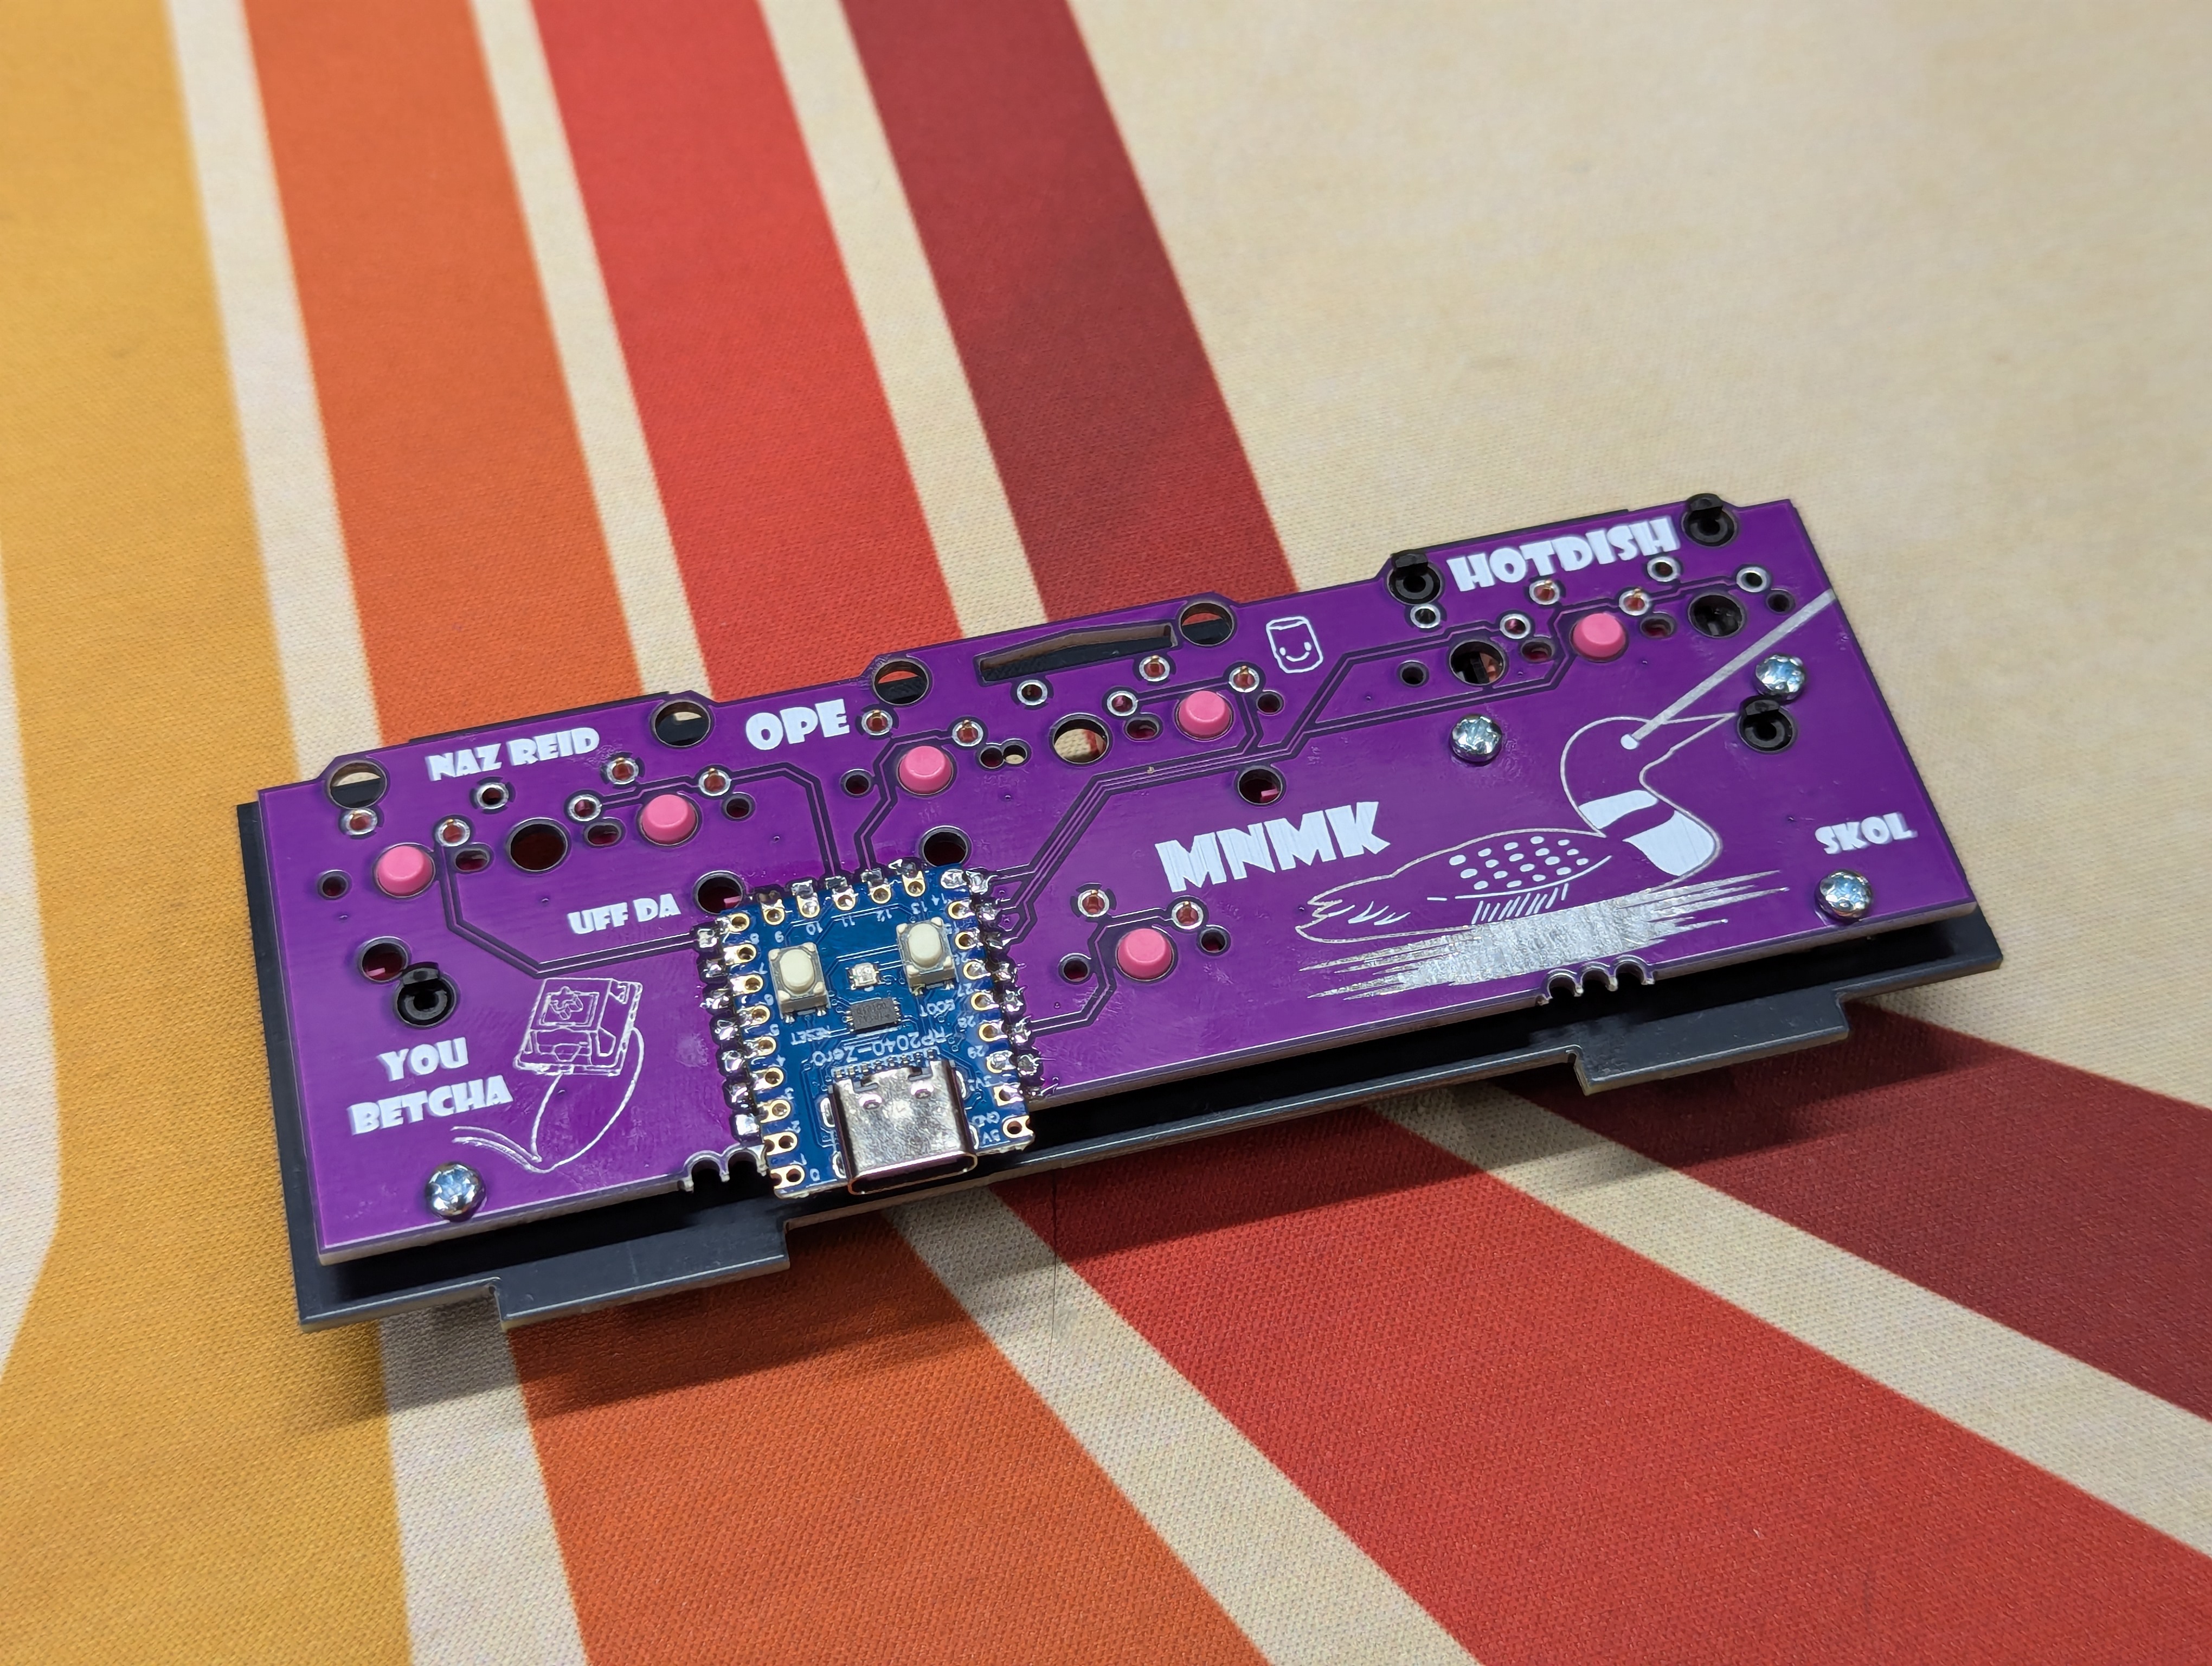
# Finish Assembly
With the PCB and plate put together, it's time to assemble the remaining components and complete the keyboard.
- Insert square nuts into the "Top" peice of the case. You may have to use a small allen key or other sturdy object to push them into place.
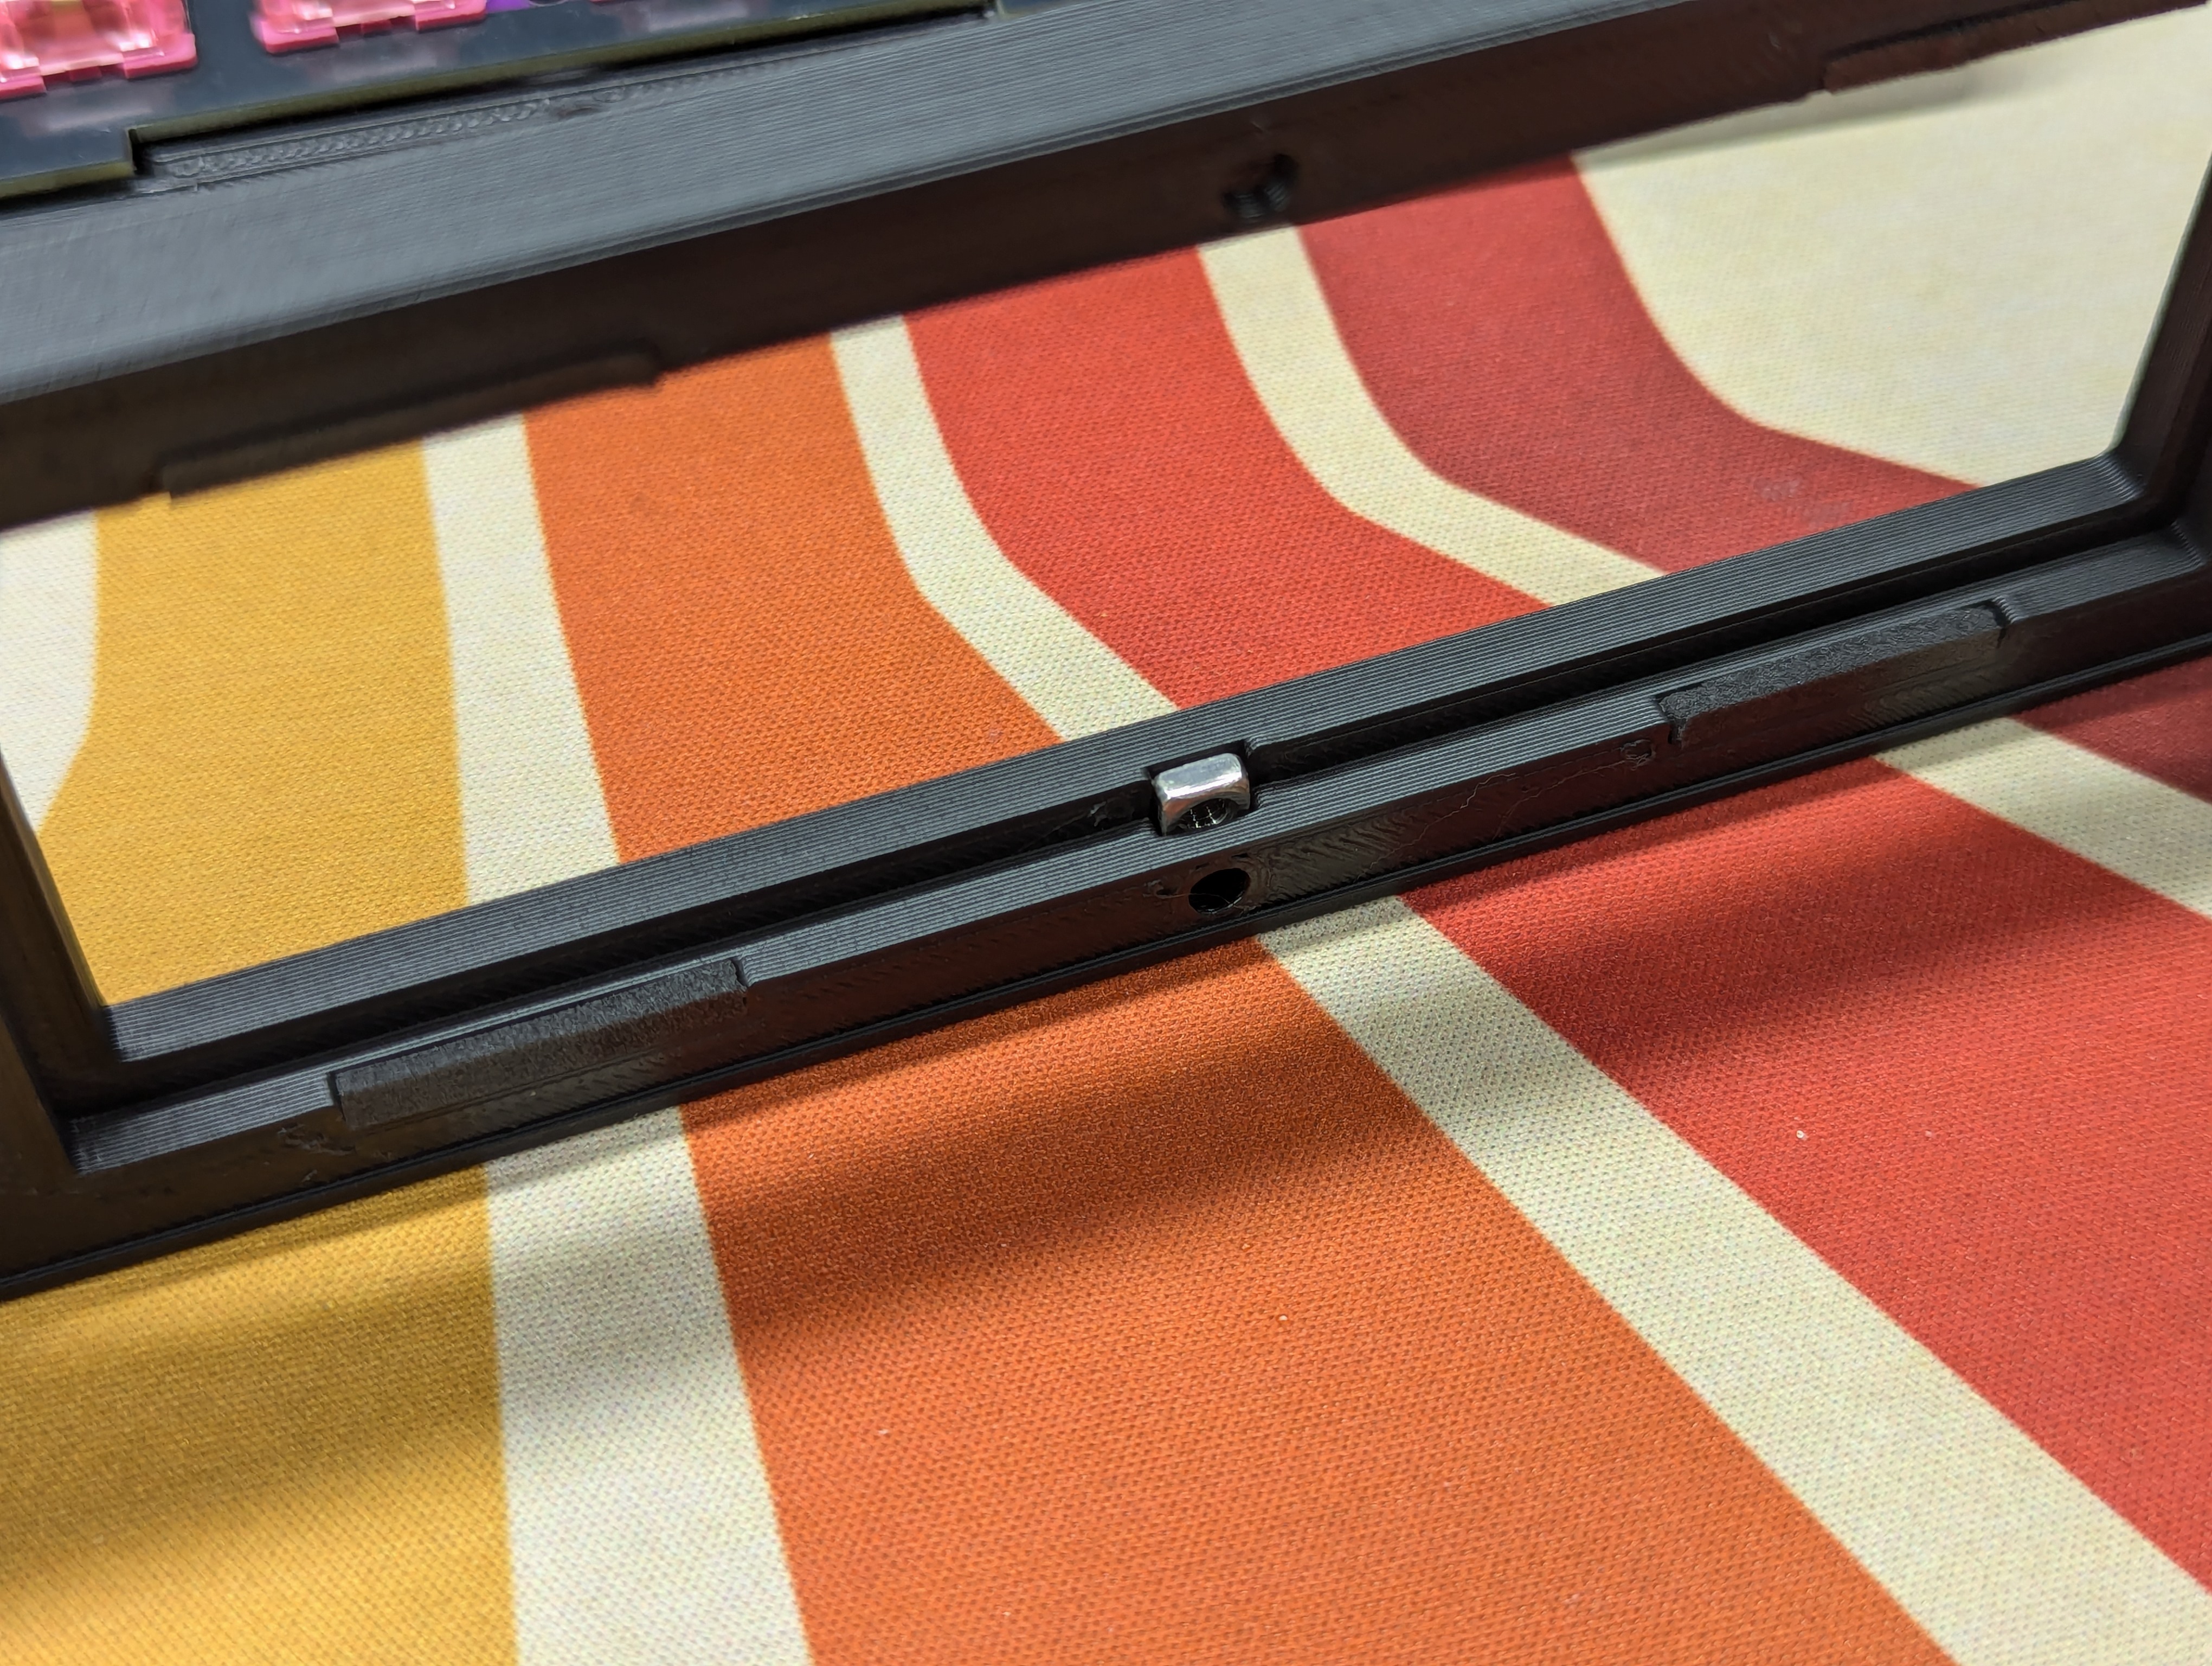
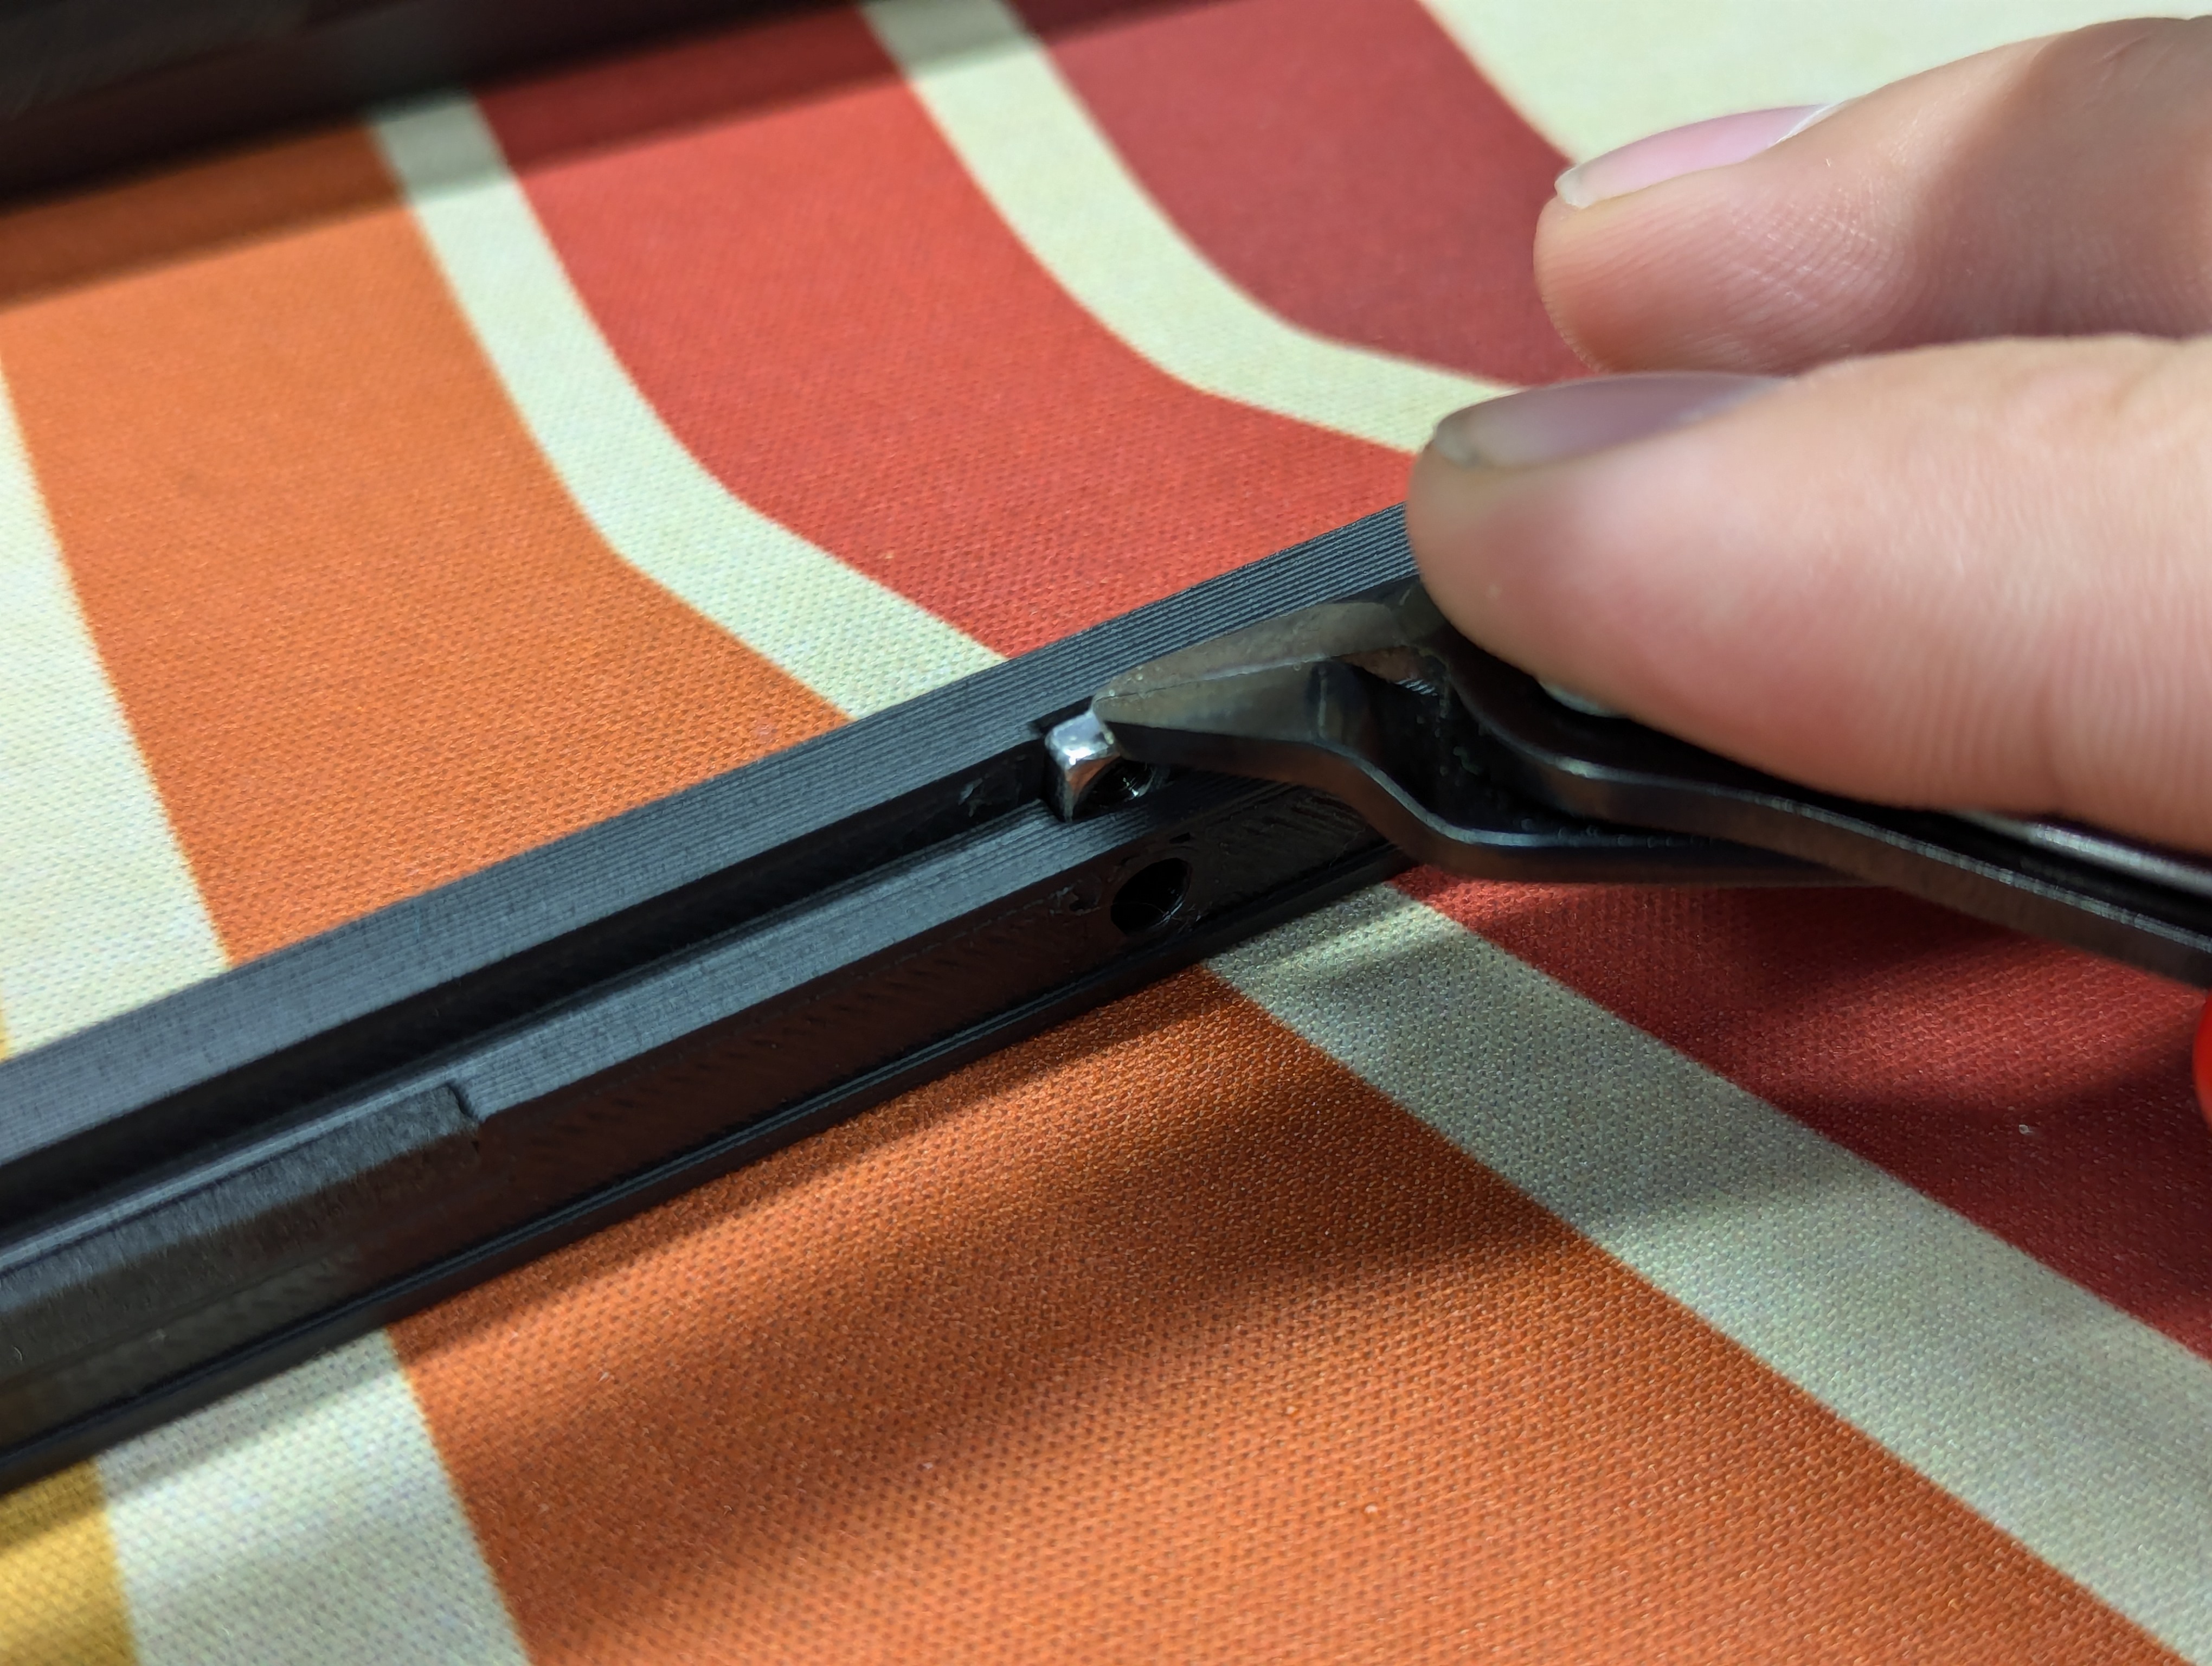
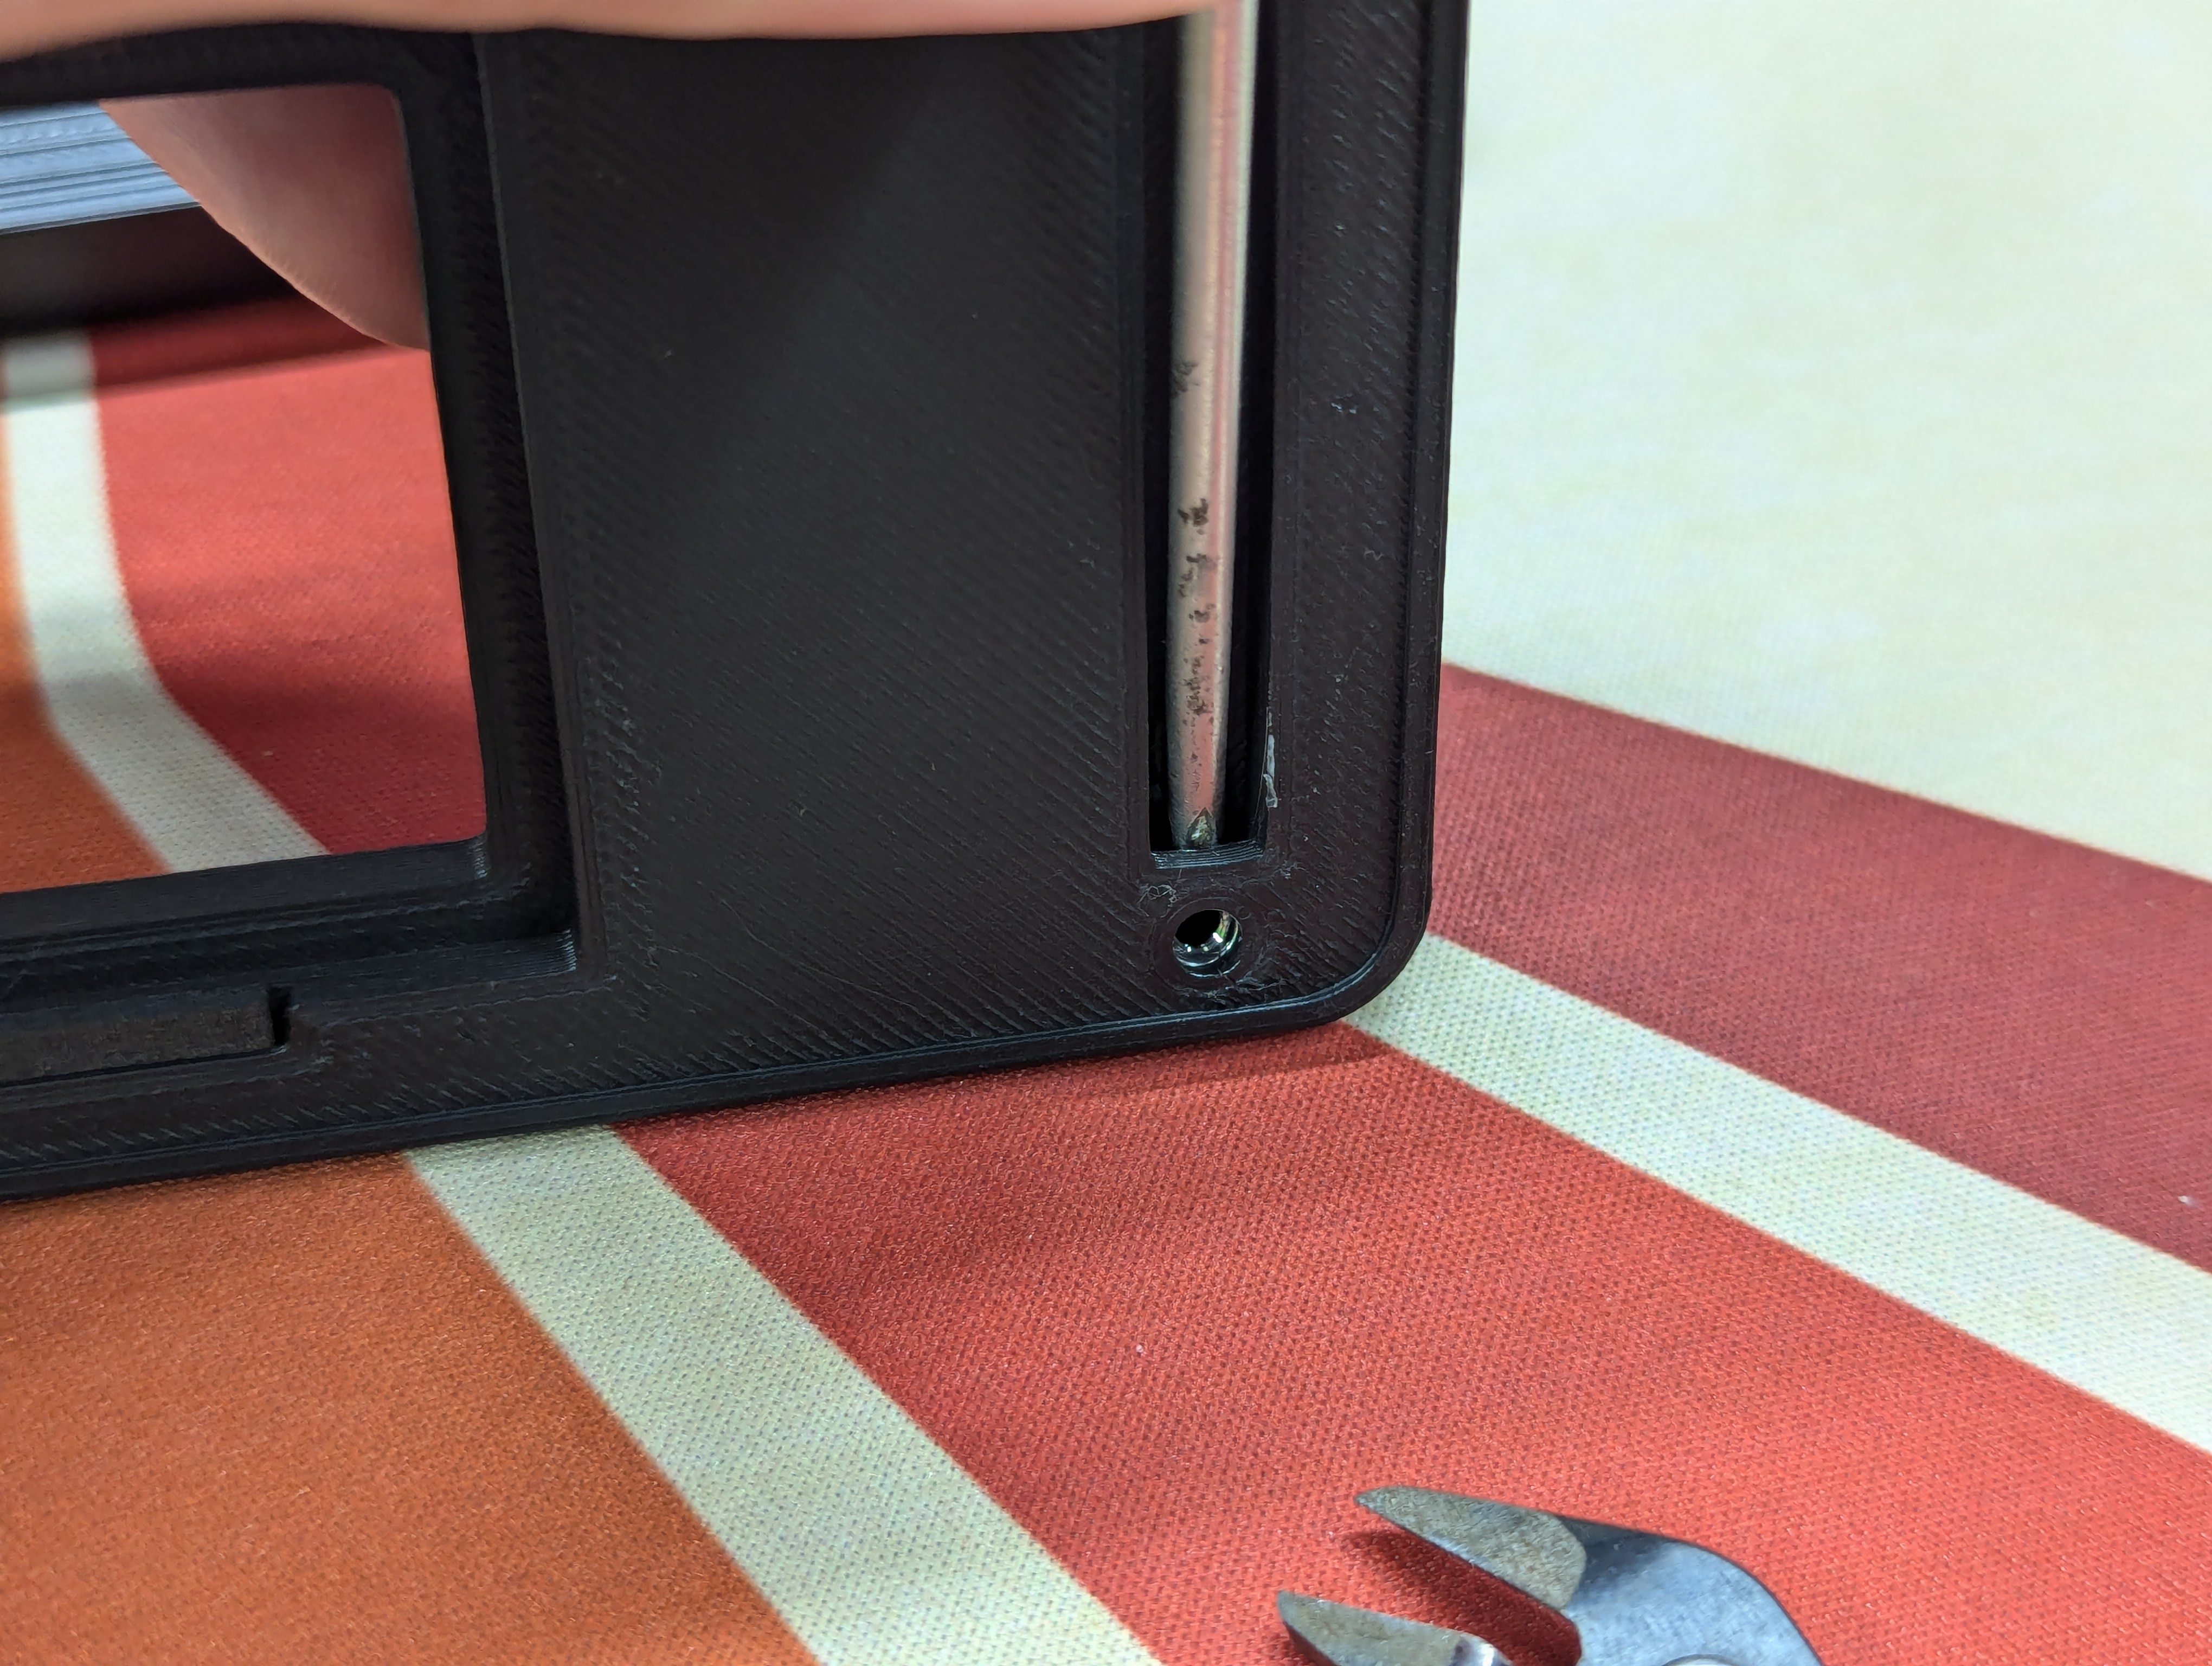
- Clear out any holes from the printing process
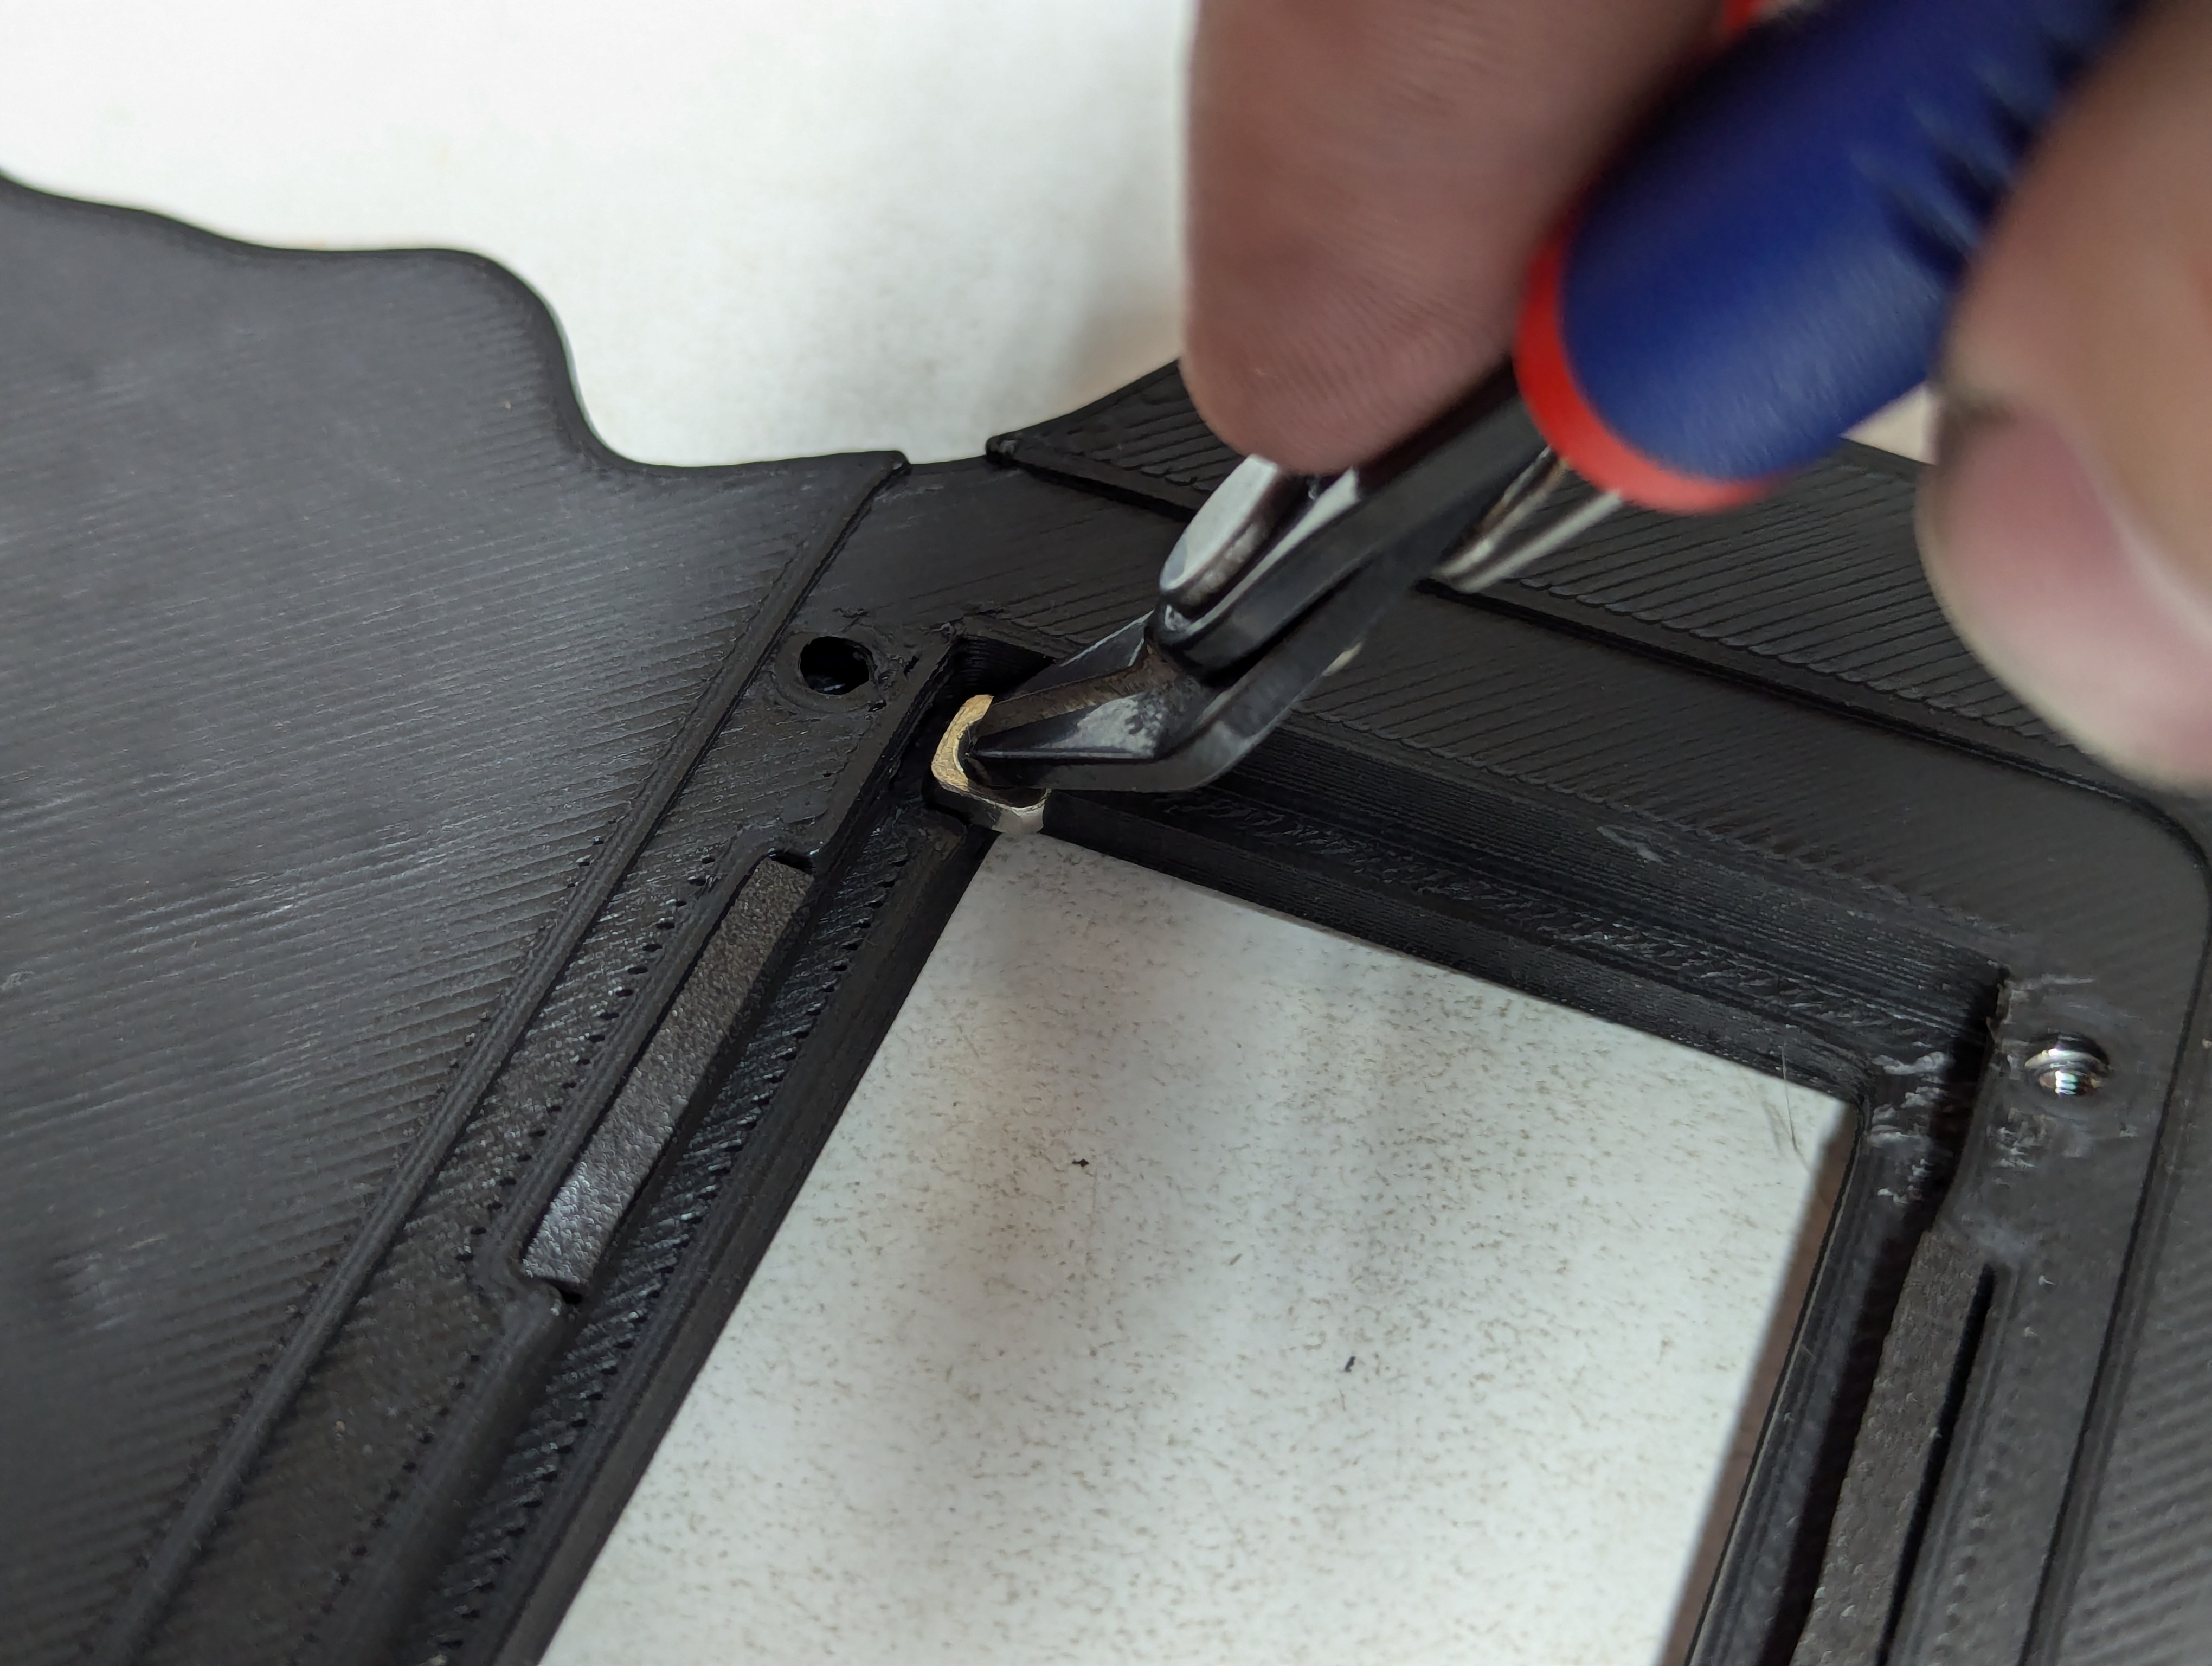
Place the Plate and PCB assembly into the "Bottom" piece of the case.
Place the "Top" peice onto the "Bottom" peice.
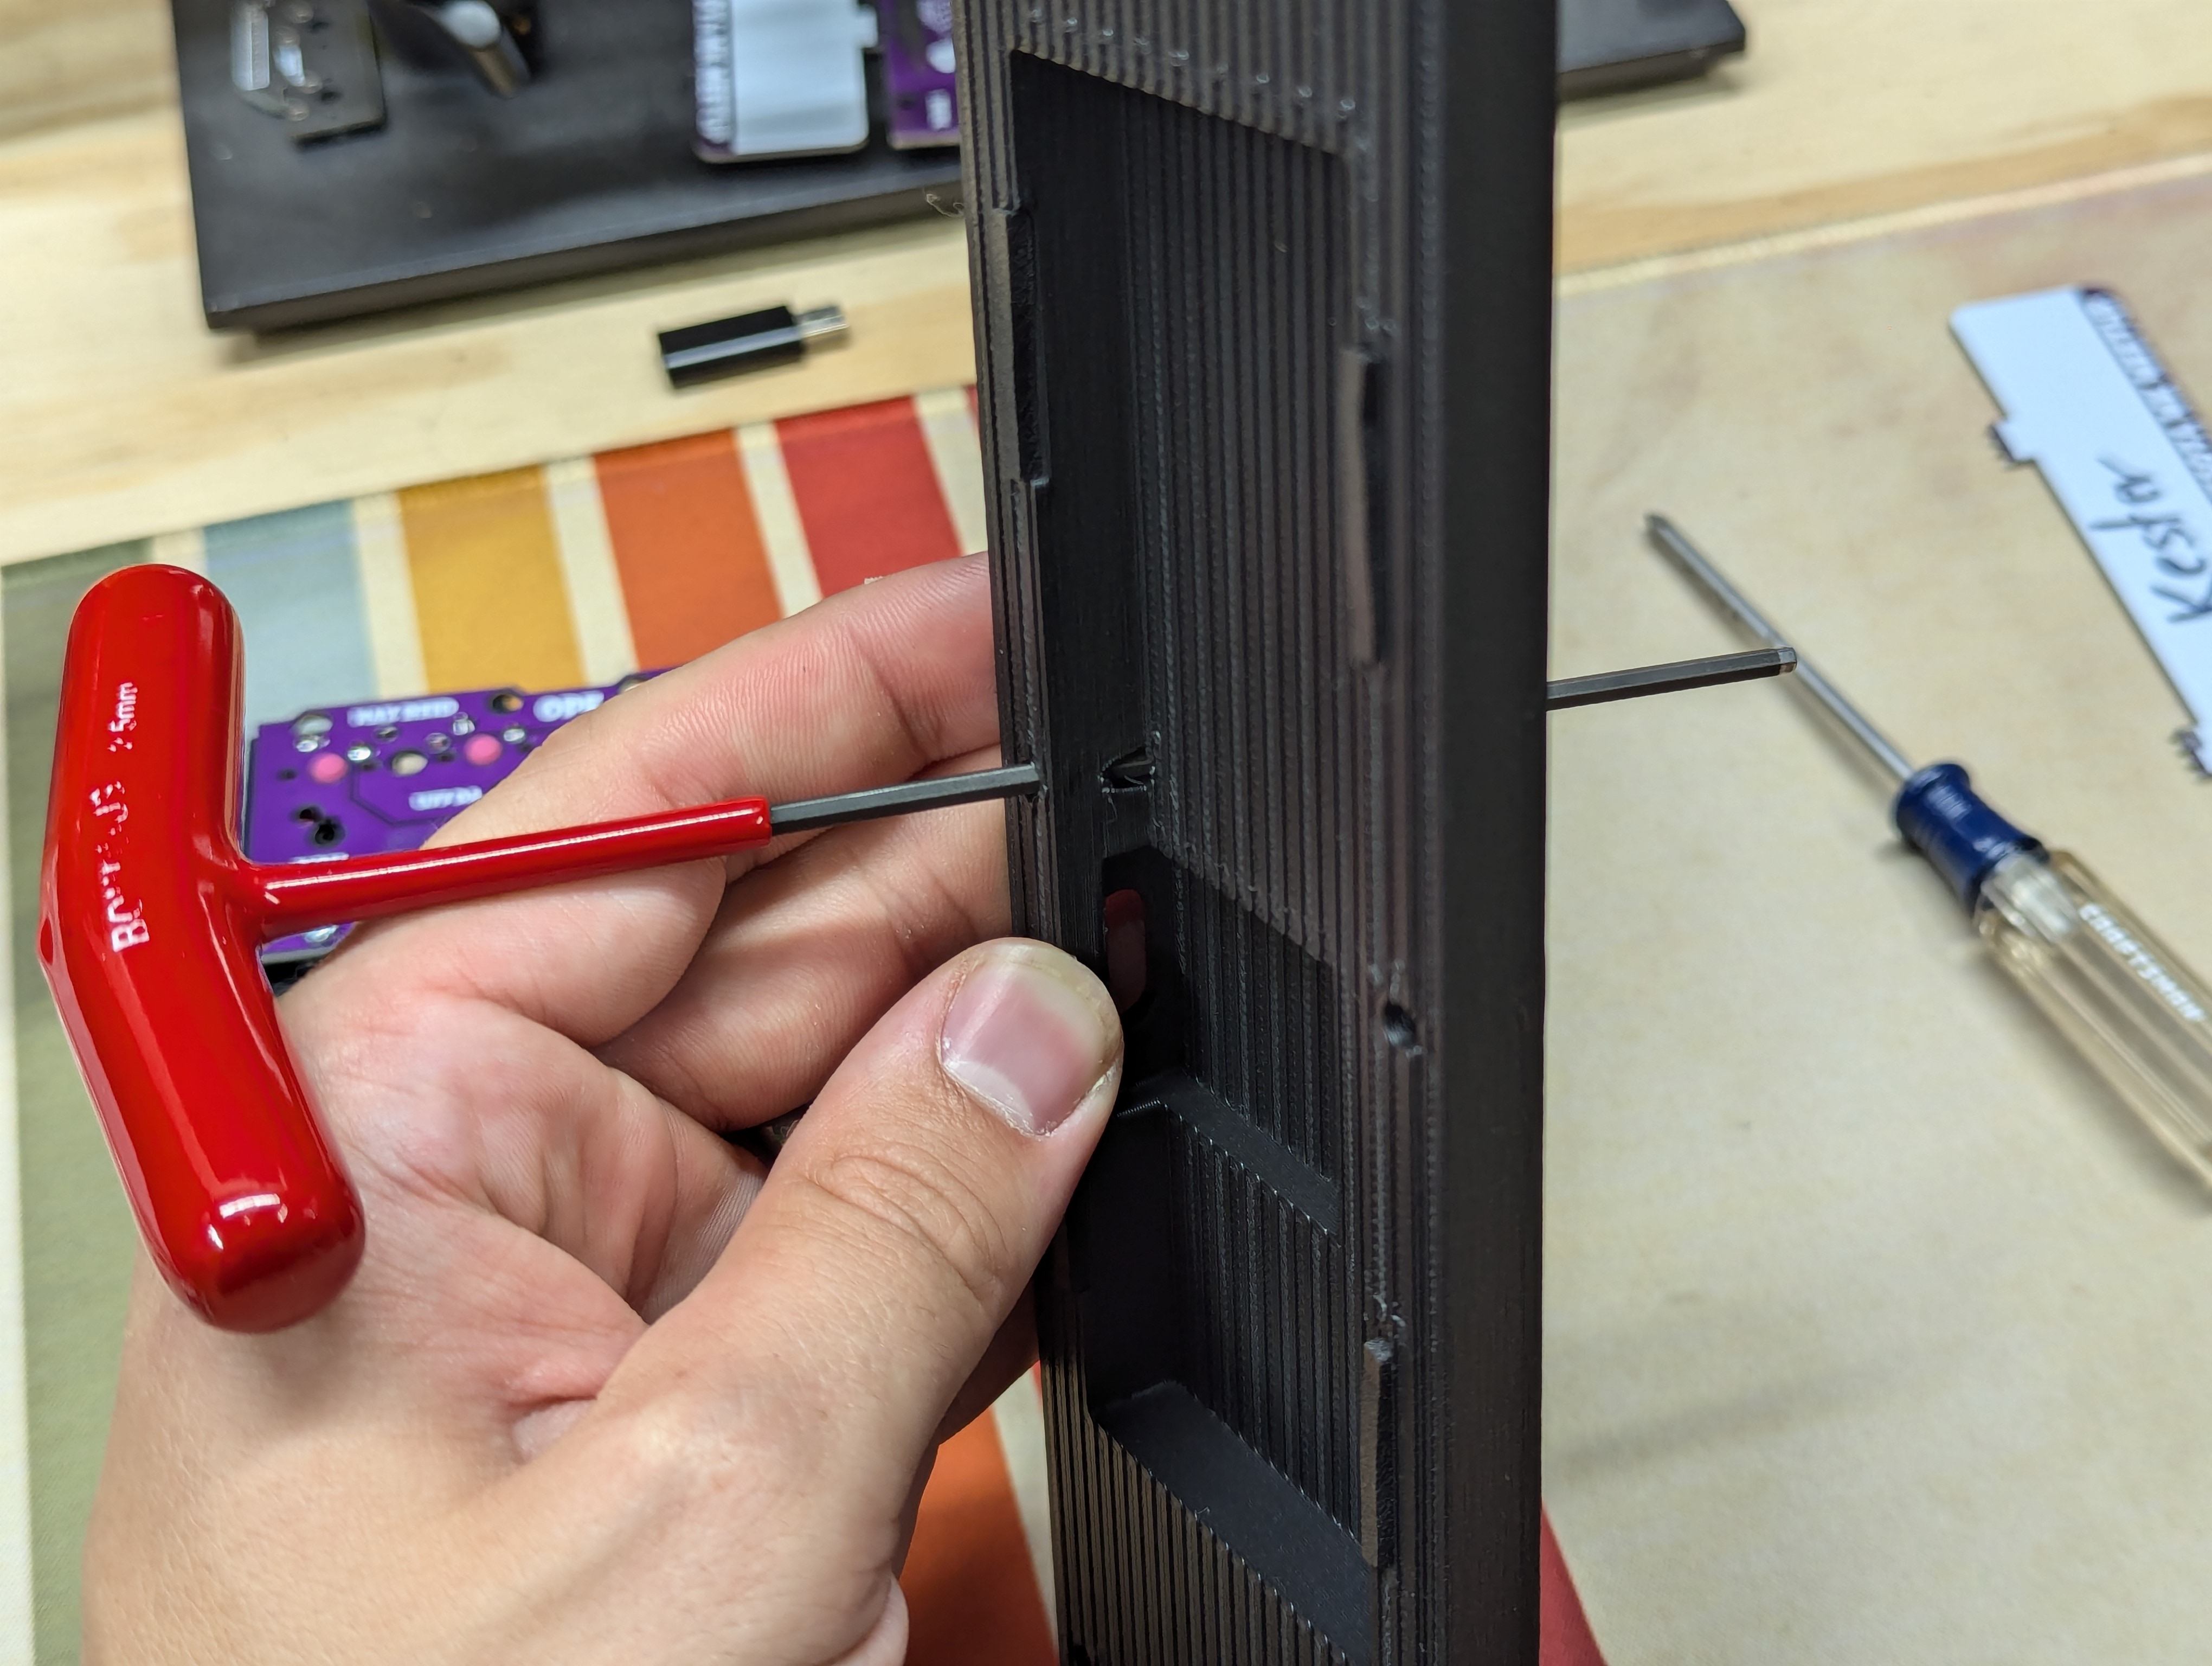
Insert the M3x12mm in the front holes and M3x20mm or M3x25mm, whichever is included, into the the back holes. Tightenm them down pretty good with an allen wrench.
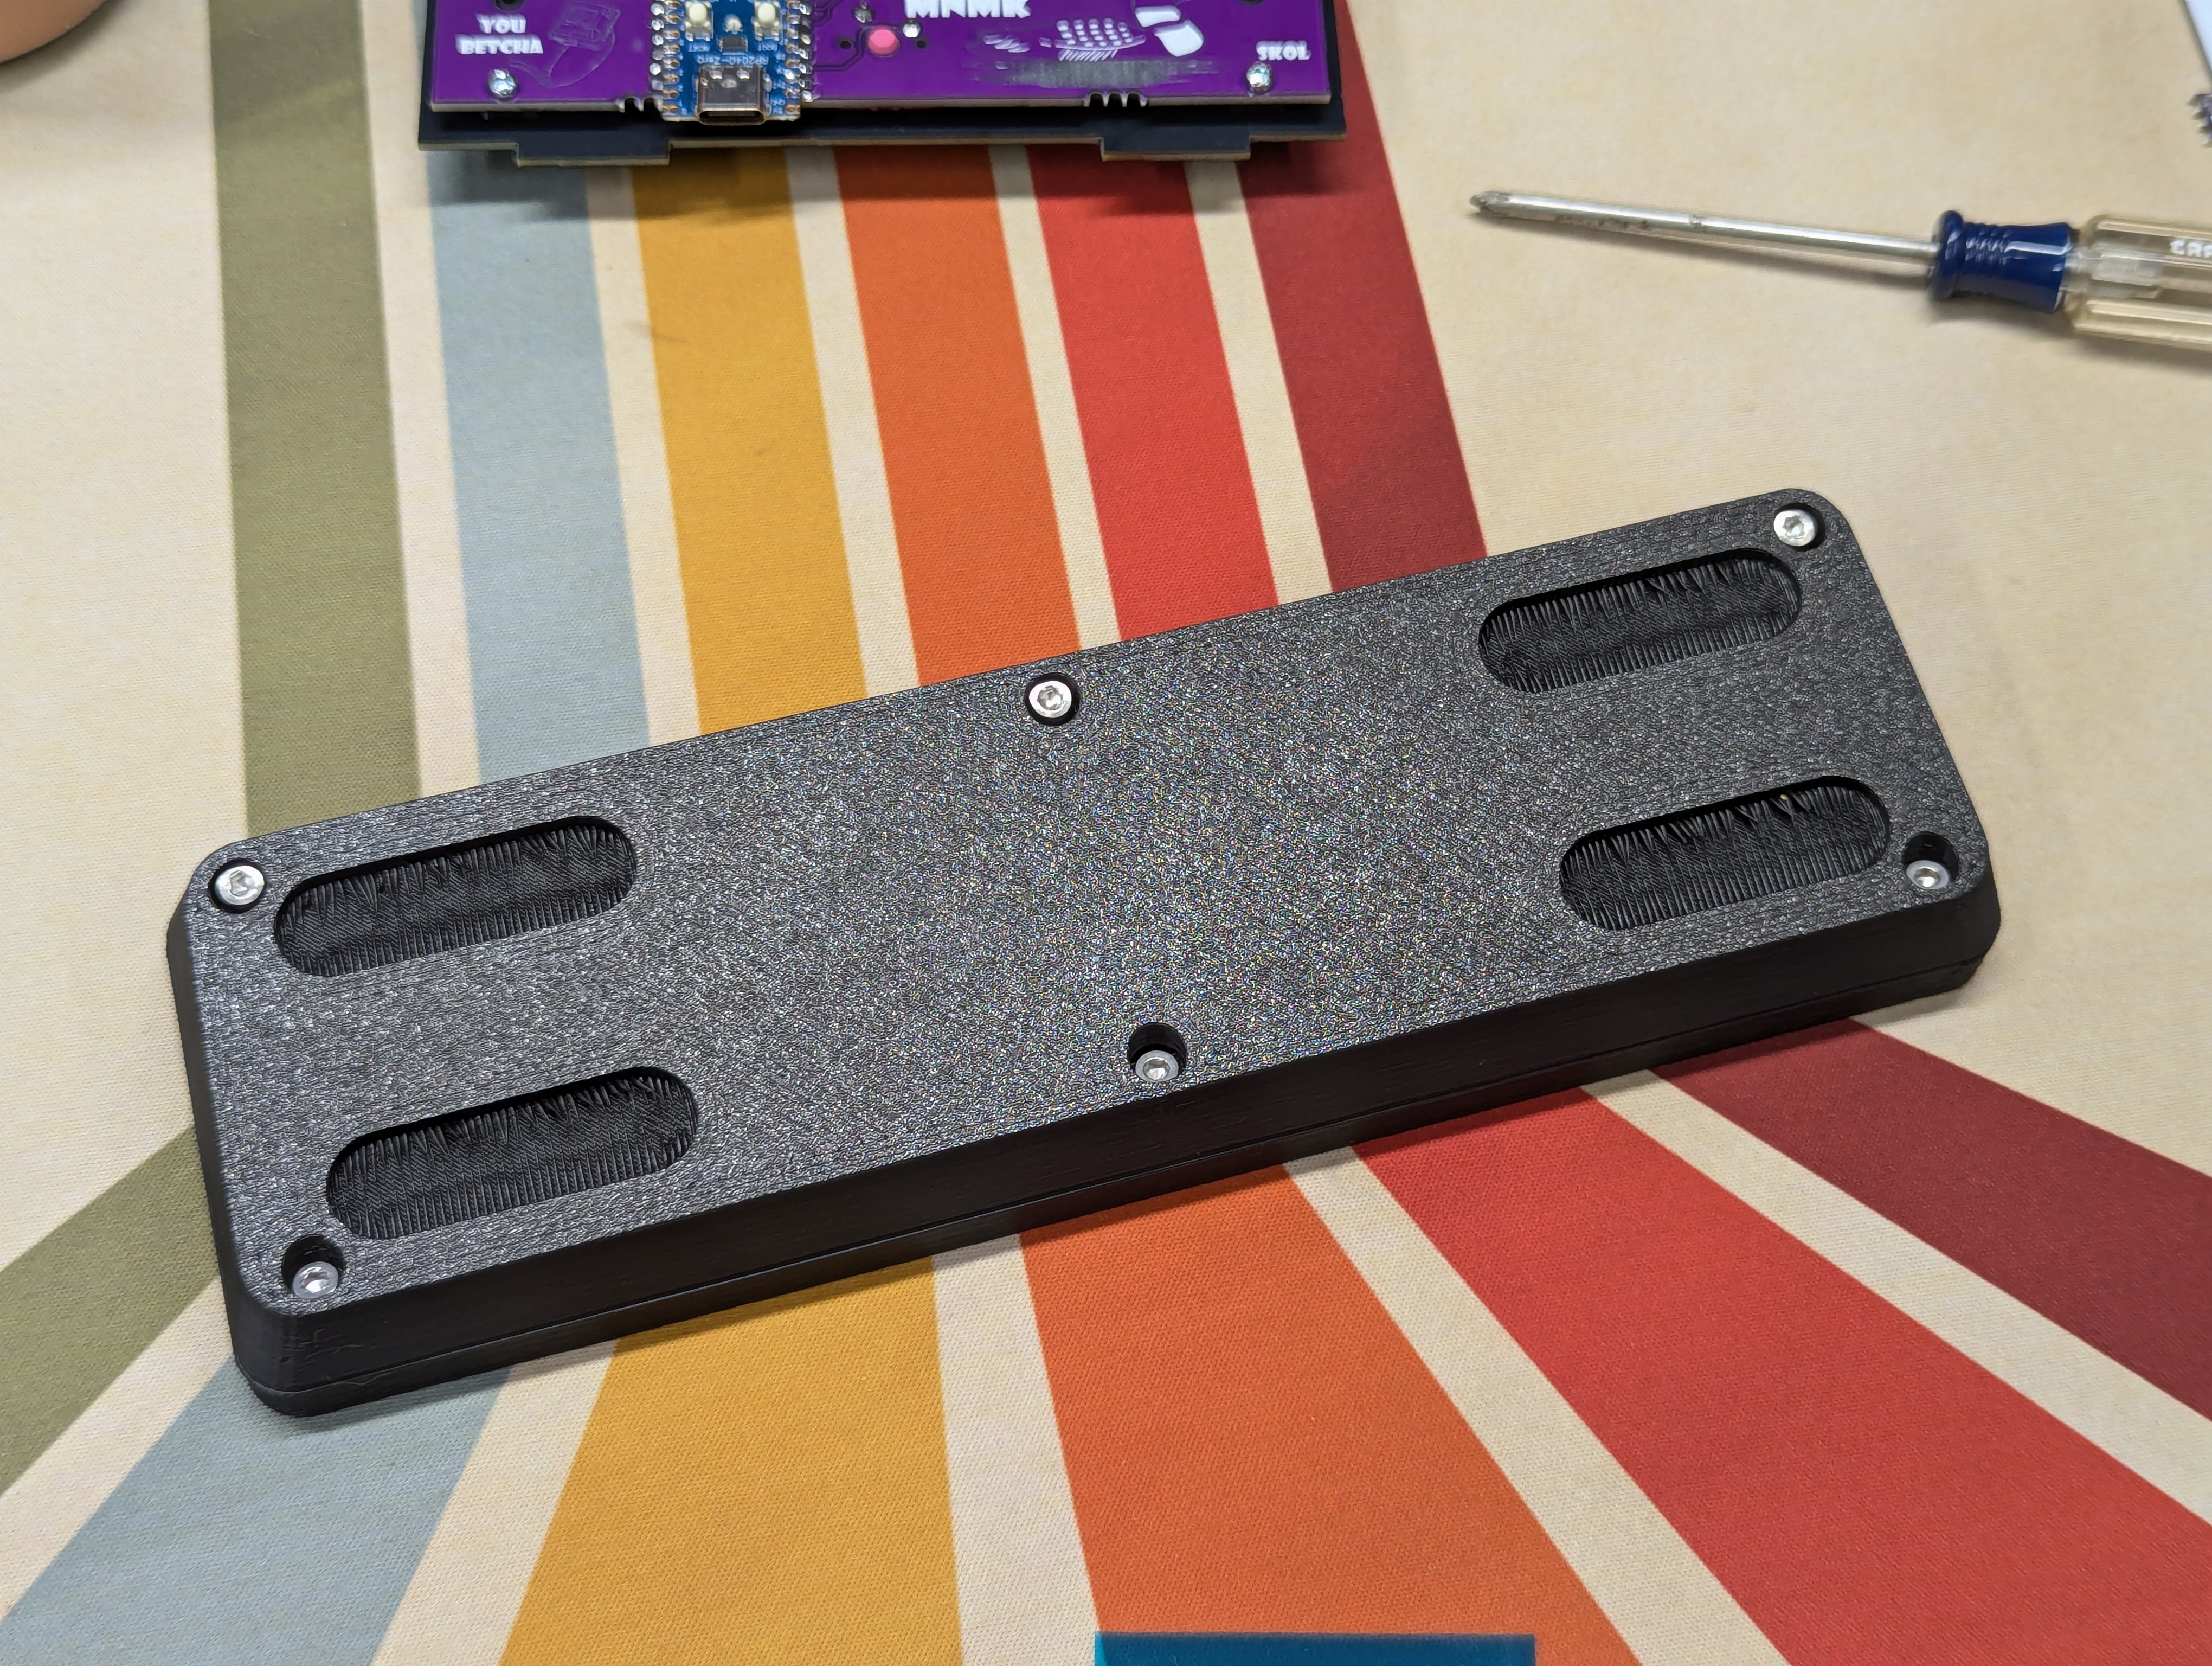
It's possible to have the top piece flipped the wrong way around. If there is a "lip" between the top and bottom case, try rotating the top piece 180 degrees
# Add Keyboard Feet
this photo is from a different macropad 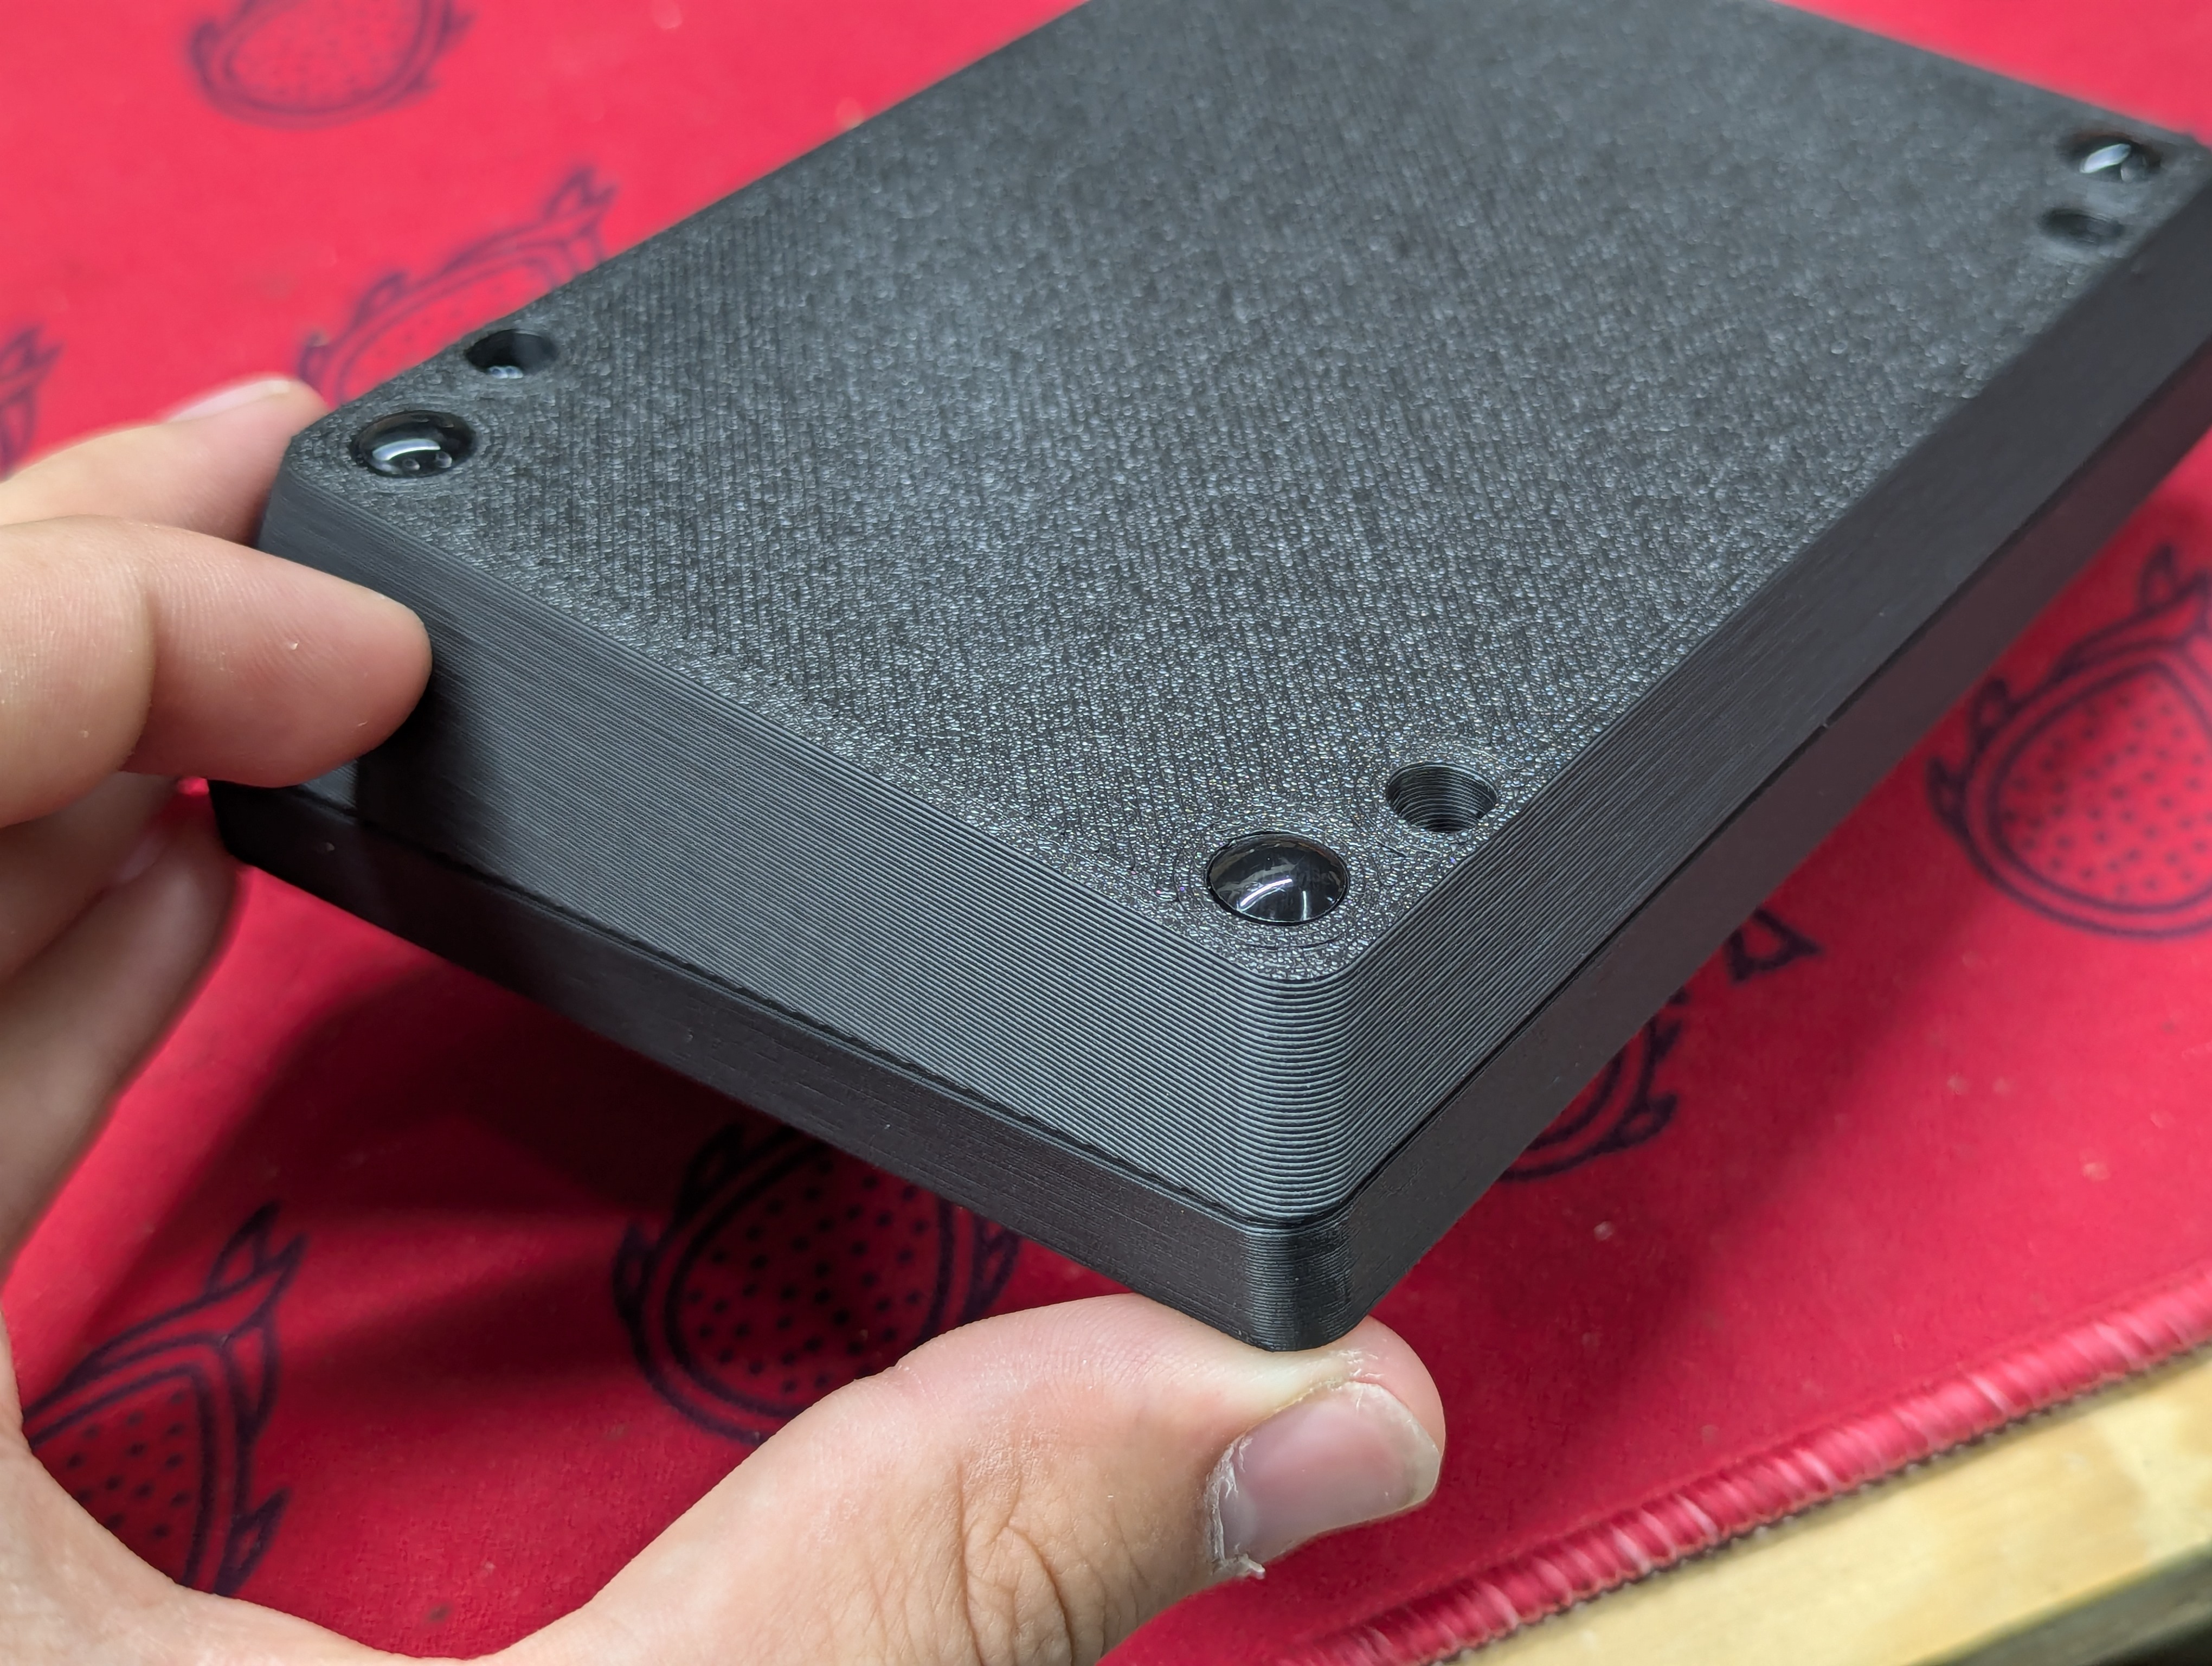
# Add keycaps
# That's it!
- Celebrate. It's required.
Check out the programming guide to learn more about how to use your device.